Thursday, August 29, 2013

Review: 3D's APC Orange Degreaser

Note: This was in accordance with 3D's promotion.

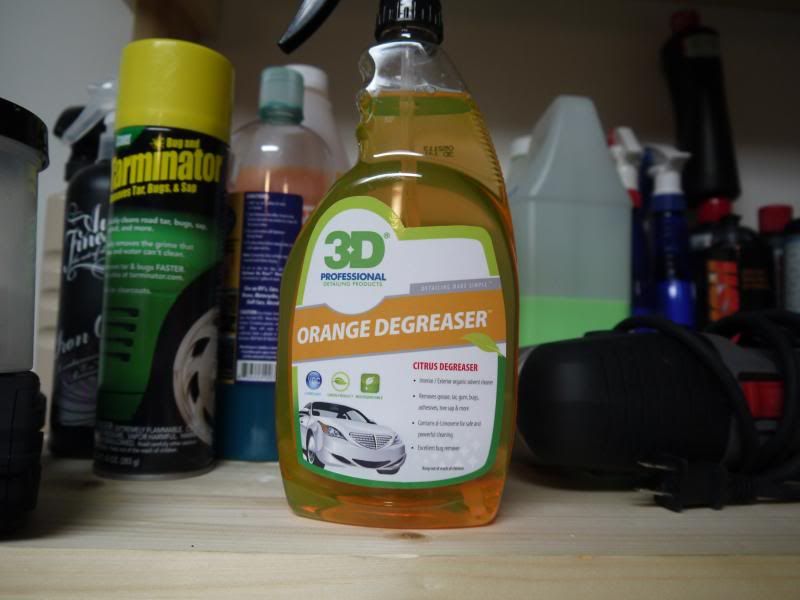
3D APC - Orange Citrus Degreaser
Price: 22oz. - $6.99 (1 Gal - $14.99)

Packaging


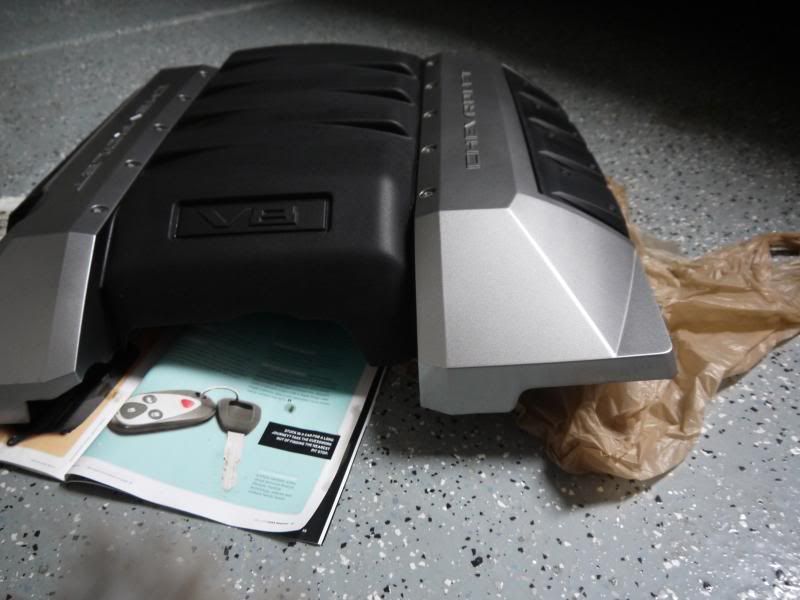
I recently got this in and wanted to try it out on my engine bay cover that hadn't been cleaned in a few weeks and had a layer of grime and other bits that have been kicked up from the flooding that has overtaken NW Vegas.


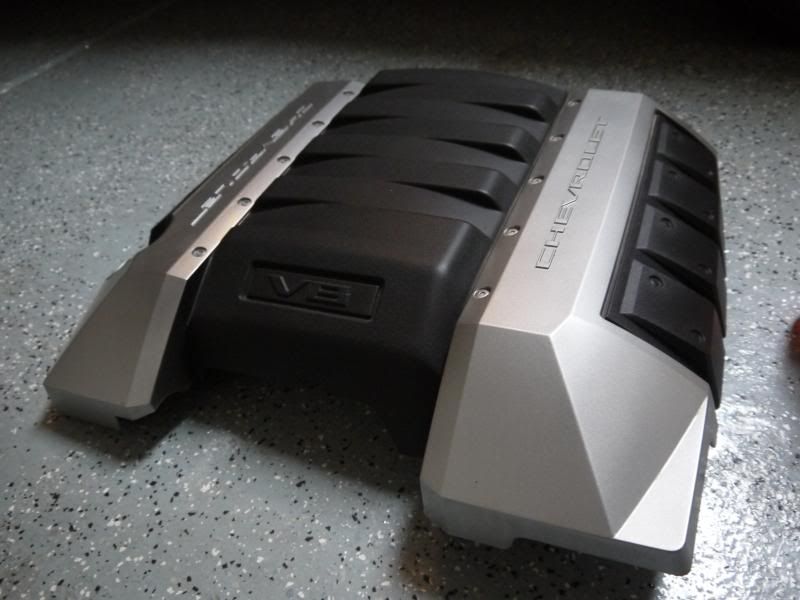
Quick picture of what I am working with .

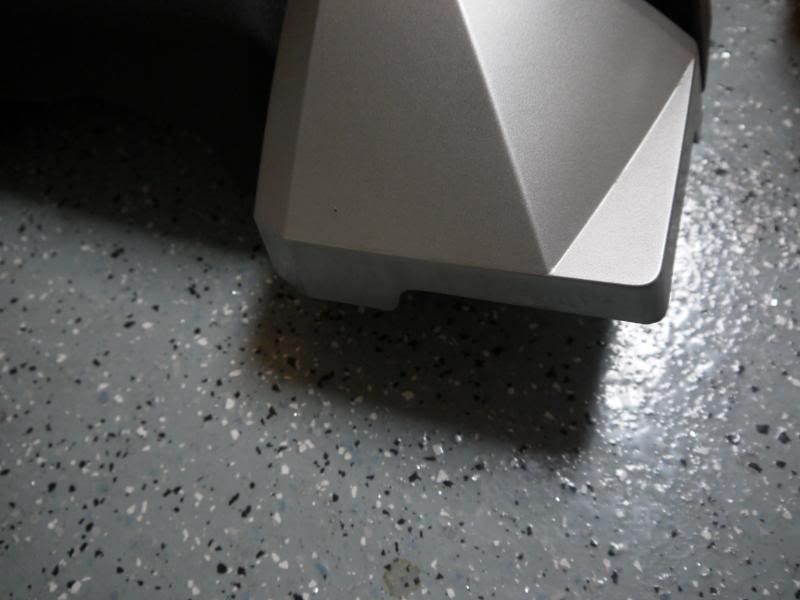
And a close up


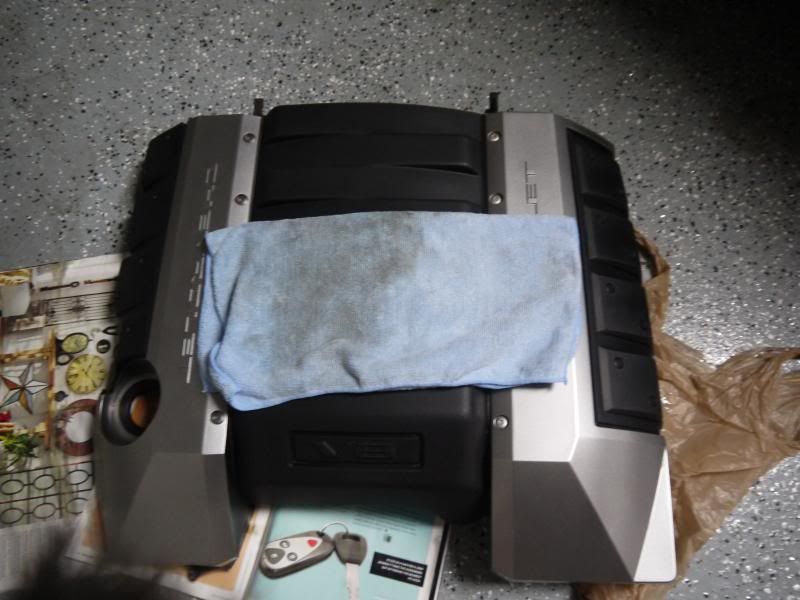
After spraying it on, letting it dwell for 15-30 seconds or so then agitating with a Mother's Detail Brush I was left with this much dirt remaining on the microfiber after wiping it clean.


And the finished product


Overall the product did what is was supposed to do, it didn't blow me away but for the price it's definitely an economical option if you can pick it up locally.  Compared to other APC's that I have used such as Adam's or Meguiar's it was about equal in terms of performance, but it is biodegradable which is always good to see and I will keep it in mind when I run out of my current stock of APC.

Thanks for reading feel free to post up any questions or tips.

Tuesday, August 20, 2013

DIY/Review Applying Wax and CG Pete's 53, 3D Caranuba Wax, Blackfire Midnight Sun


So before opti-coating the Jetta I had decided to leave the hood alone so I could test products on it as I deemed fit.  The Camaro is a pretty difficult vehicle to find an open panel on since the hood and trunk lid are covered in vinyl stripes.

This weekend (8/17) I went over the hood of the Jetta with 3 waxes to test application, longevity, durability, and if there was any difference in look of the waxes.

The 3 waxes up for the test are Chemical Guys Pete's 53, 3D's Caranuba Wax, and Blackfire Midnight Sun, the hood was split into 1/3's and each was applied with a Swissvax red foam applicator.  I will not be releasing which was put on which section of the hood until it's complete so there's no pre-conceptions.

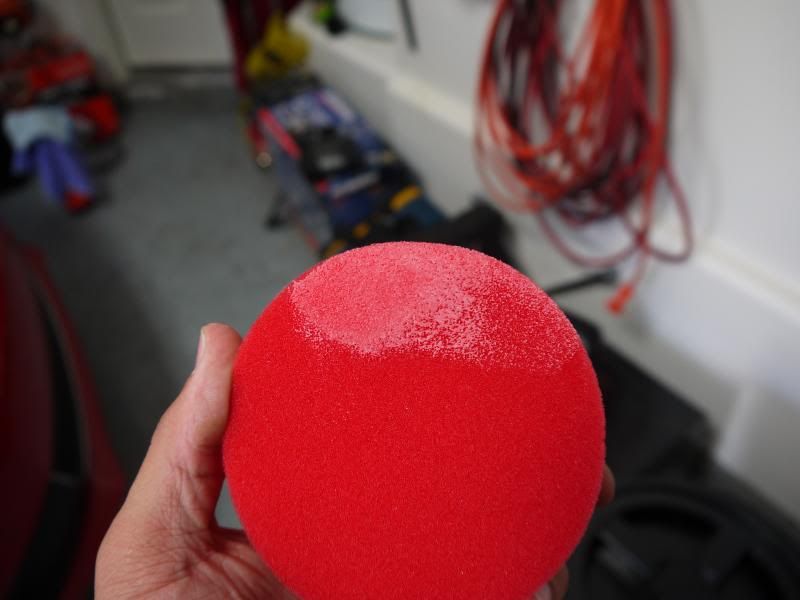
First up, a bit too heavy of a swipe of wax for 1/3 of a hood section as this would easily be enough to cover the entire panel if not more.  I applied all of these by hand, but applying by machine I feel can greatly extend how far wax can go.


You can see how thinly this was applied in the very beginning, you want a very thin layer, just enough to see that product is being applied to the surface.  I personally use a cross-hatch pattern, what this means is going vertically across your working area then going back over it horizontally.  This ensures full coverage with the wax or product you are using.


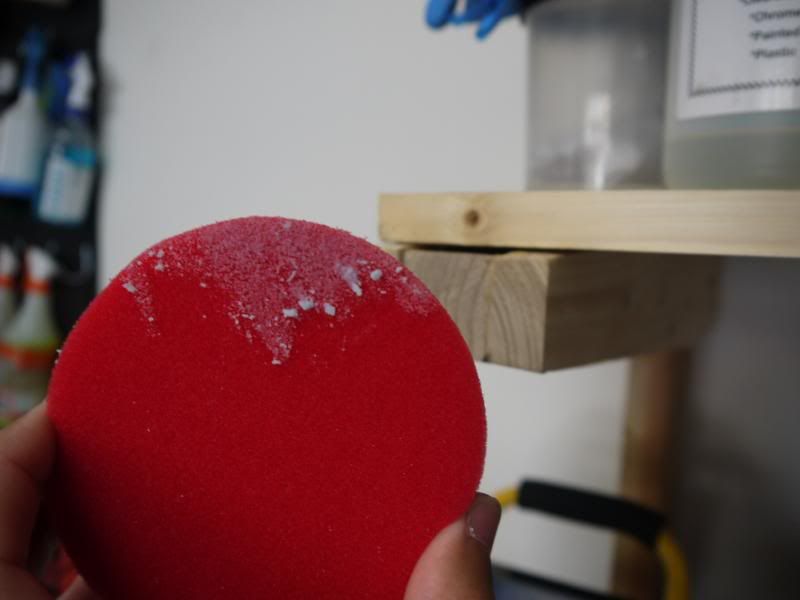
Here is 3D wax, you can see how clumpy it is when trying to swipe some out of the can.  I recommend breaking these down and spreading the residue over the pad.


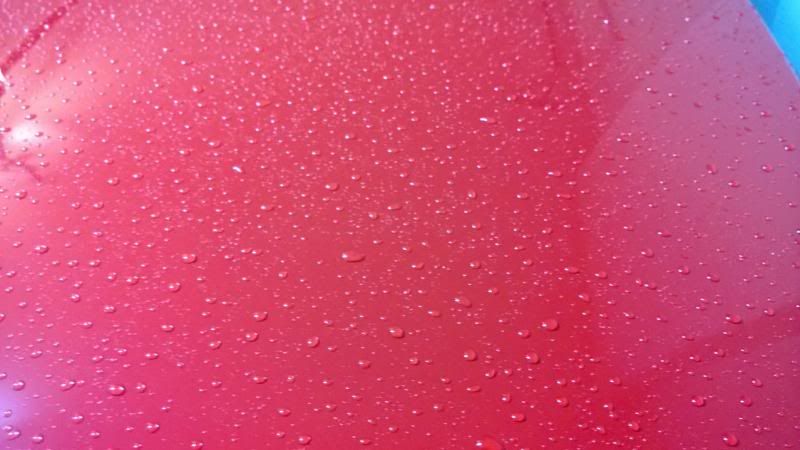
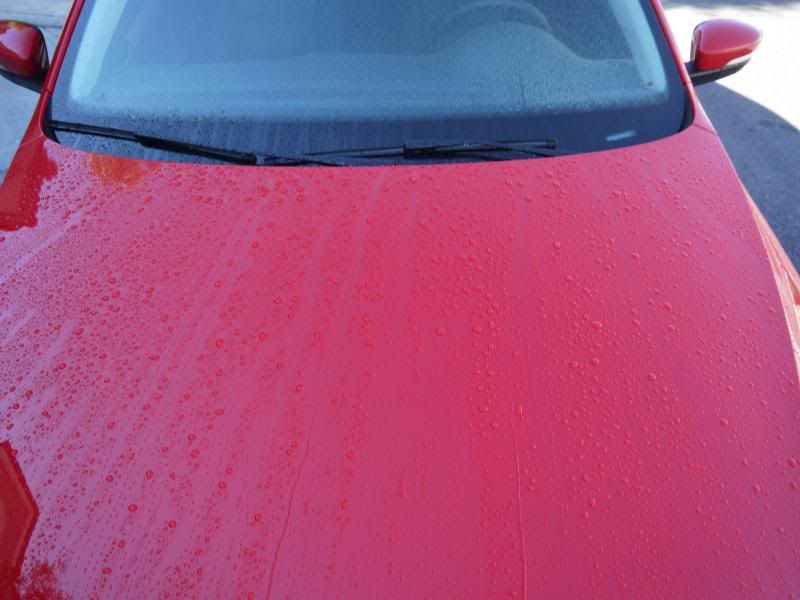
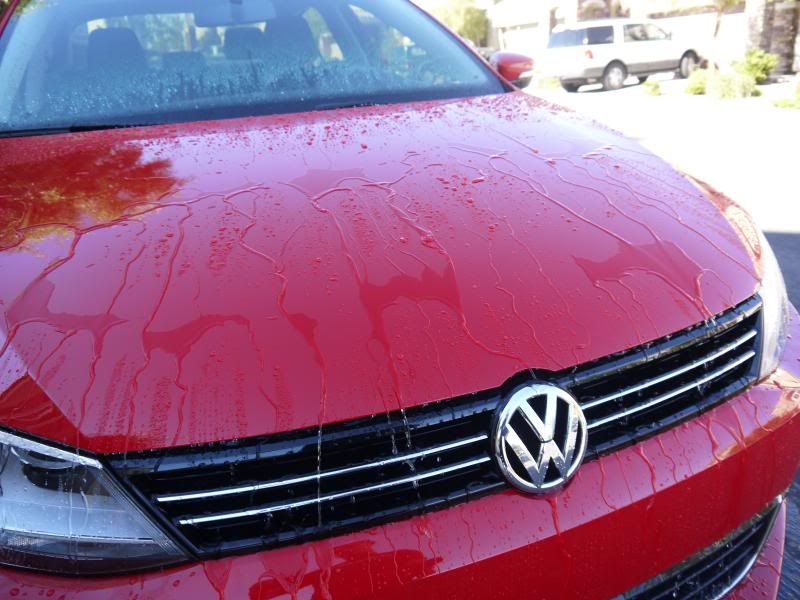
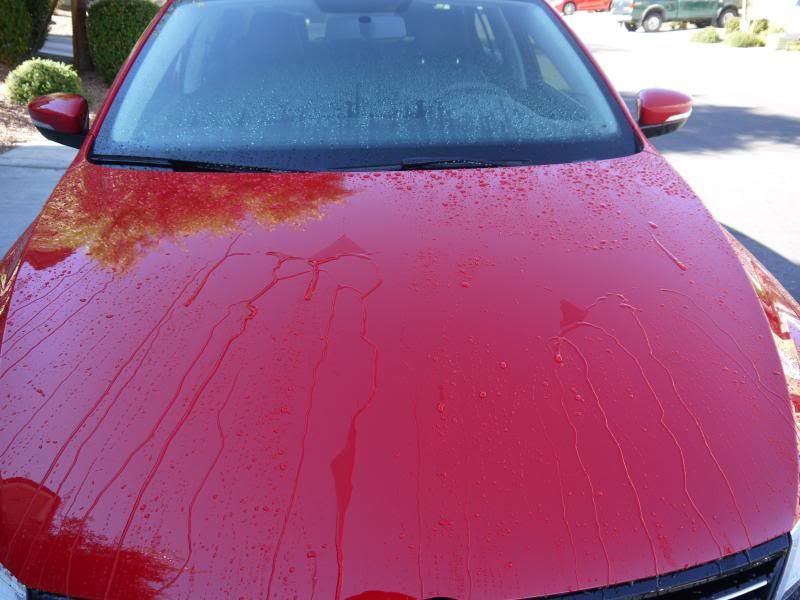
Now lucky enough for me just a few days later it rained while I was out.

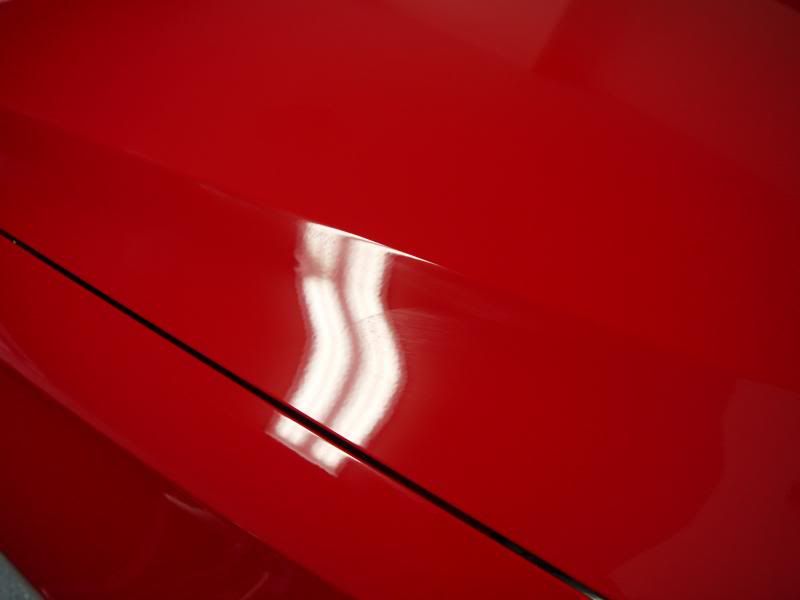
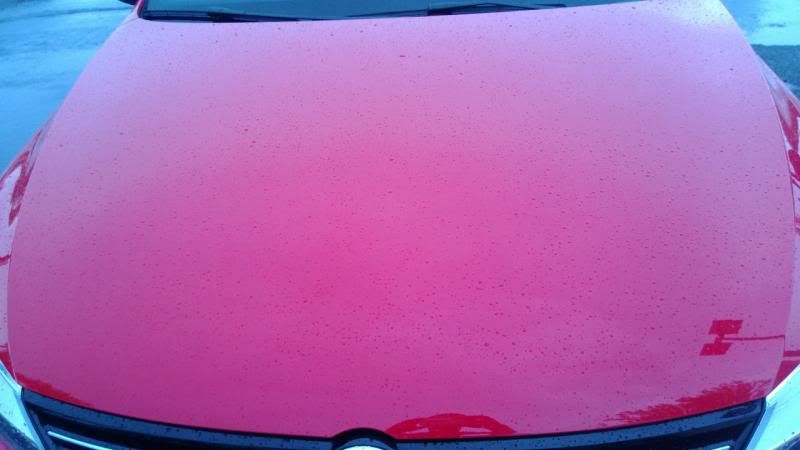
Here is the hood


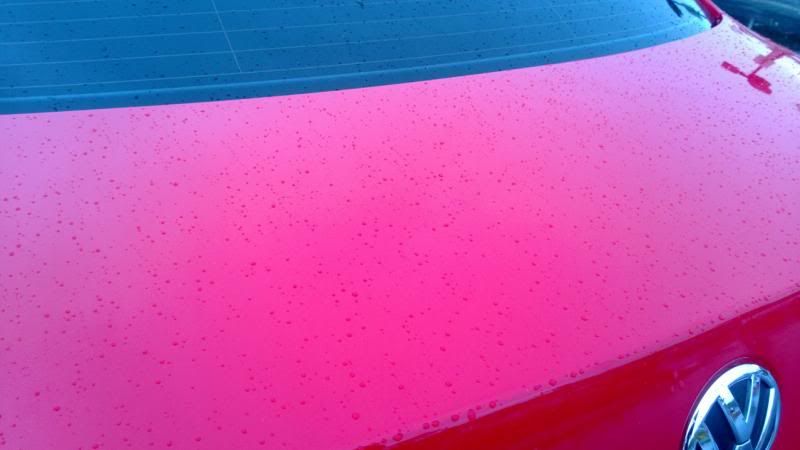
And the trunk for reference coated with Opti-Coat 2.0


Updated 8/25

Rained again, pictures are Pete's 53 / 3D Wax / BF Midnight Sun


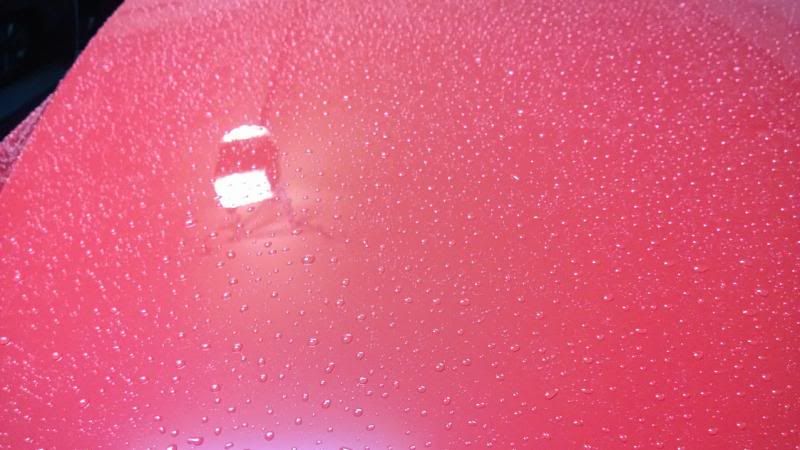
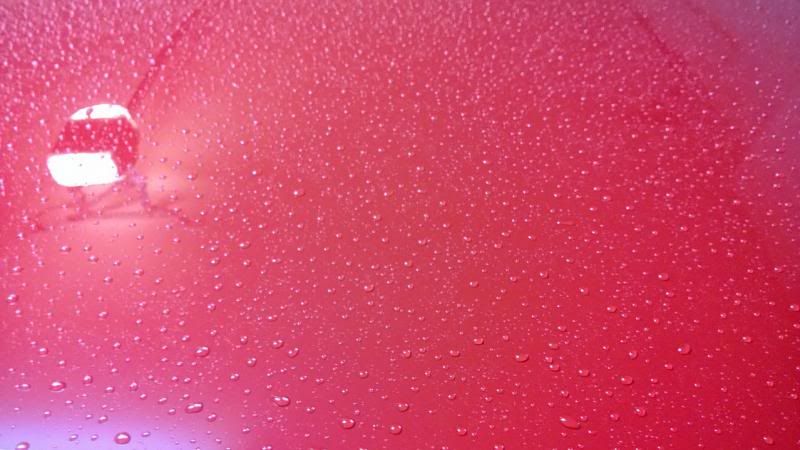
Closeout.  I decided after almost 3 months it was time to clay and polish it off.  But not before taking a few pictures of the beading and sheeting that still remained.

11/13

You can find Pete's 53 on the left 1/3, 3D Wax on the Center, and Midnight Sun on the right.  Yes it's now spoiled which is which.


Final rankings, split into beading, ease of use, longevity, sheeting, and my overall thoughts.

Beading
  • Pete's 53 by a small margin over Midnight Sun.  You can see slightly tighter grouping.
  • 3D's had worn off much more than the other 2, but granted it's price at roughly $25 for 8 oz as compared to $40 for 8oz of Pete's 53 or $80 for 7.4oz of Midnight Sun this makes it a very economical wax.
Ease of Use
  • Pete's 53 again, it swipes very easily, fits a 3" pad in the pot, and is just soft enough where it's easy to feel confident you have enough when you swipe.  
  • Now this is tough because overall the next two were good but I had my issues.
    • First 3D, the wax is very chunky and prone to breaking making it very difficult without boiling the container to get it uniform in the can.  Now on the other hand the large pot container allows even a 5" pad to fit in there, which is awesome for machine application. 
    • Now Midnight Sun comes in a great container with an o-ring to prevent it from drying out, and is top notch quality.  But my issue was that I felt it may have been too hard of a wax out of the pot.  This is minor but I wish that the 3 oz. containers were made wider and shallower to allow a full 3" pad.  Yes you can scoop it out and apply to a pad but putting a pad in there and spinning it a few times on speed 1-2 is just much easier and economical.
    • Overall Midnight Sun gets the nod.
Sheeting
  •  This was tough, but I'd have to give it to Midnight Sun slightly over Pete's.  It just released water slightly quicker, but both would be fantastic choices.  Water absolutely runs away.
  • Now for 3D, again much more economical but just doesn't have the same effect and durability is shortened.  Whereas I would have no problem leaving Pete's or Midnight Sun on the car for even double this time period based on this, you could definitely tell a noticeable change after around 4-6 weeks.  
Overall with everything taken into account if I had to recommend one I'd stick with Pete's 53, while it's hydrophobic properties are similar to Midnight Sun, the price and cost effectiveness overtake it.  It's a great wax, easy to use with both hand and machine application.  But I would have no problem recommending either of these.  Which leaves 3D, a good offering but there are just better choices out there.

Thanks for reading post any comments or questions or below!

Friday, August 16, 2013

How-to: Maintenance Washing/Wheels & Tires/Glass Care

After seeing many people have questions on exactly how to wash and dry a car, take care of wheels and tires, and glass cleaning I decided to make this step-by-step process with pictures which I find to be the most effective.

So you're paint is all corrected and in great shape, but how do you maintain it? How do you prevent swirls and scratches from returning or at least minimizing them.

Note: This is my process and is technique only.  If you find another way that yields great results by all means stick with it.  And post it up so we all can learn.

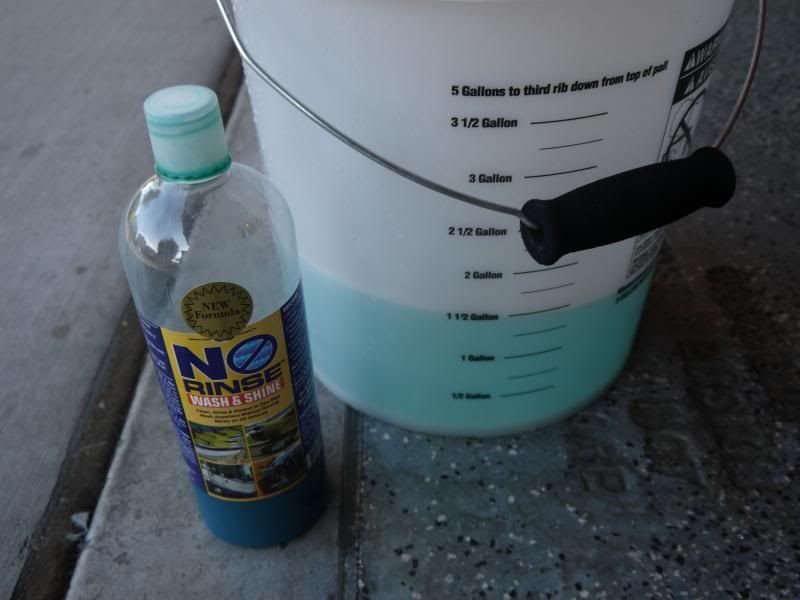
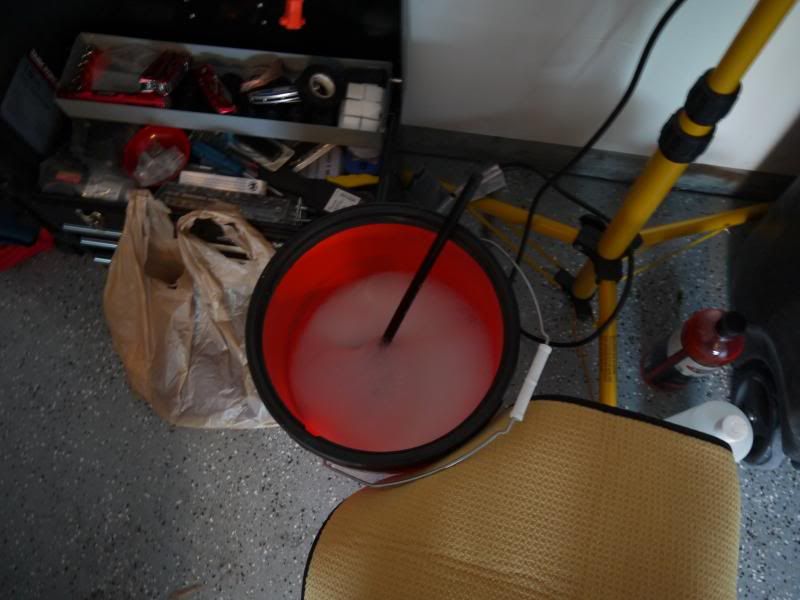
First off I begin by filling a bucket with roughly 1-2 gallons of water with 1-2 oz of ONR depending on how soiled the vehicle is.  ONR recommends 1 oz per 2 gallons of water.  But in this case, better safe than sorry.

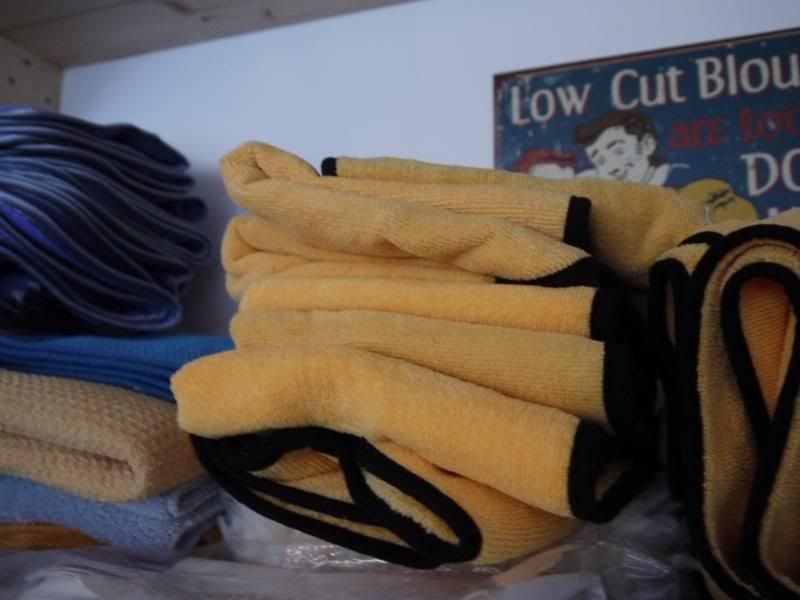
I use reusable wash media, so instead of a wash pad or mitt, I use multiple wash towels, usually 6-8 for a medium sized vehicle.

These towels are 360g/m and can be found at microfibertech for 10 for $23.

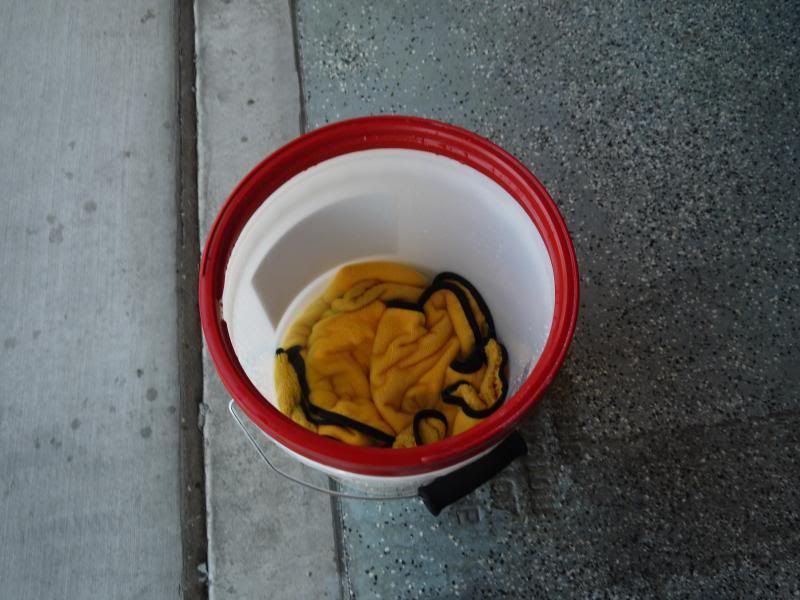
Next I soak them and let them sit in the solution for the time being.

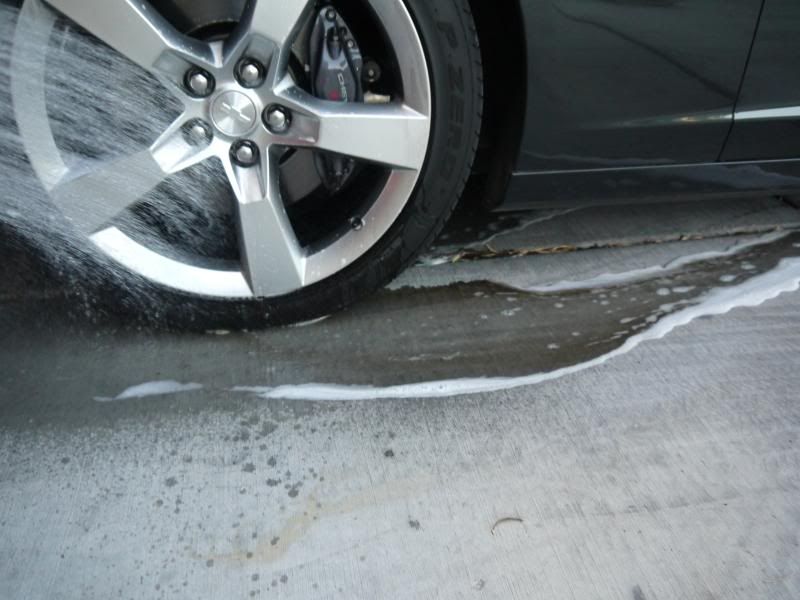
Next I move on to wheels and tires while these soak.

For heavily soiled wheels a dedicated cleaner like Sonax Full Effect or Poorboy's Spray and Rinse works great.  Mine weren't too covered in brake dust so I went with Meguiar's D101 All Purpose Cleaner at full solution.  Before trying any product it is important to do a test spot in an inconspicuous place to check for any discoloration or damage to your wheels.

Here is the D101 in action


You can see the dirt being lifted off.  Then using a variety of brushes such as Wheel Whoolies, Raceglaze brushes for the lugs, and different wheel brushes.  For the tires using a foaming sprayer works great then brushing it off with a Tuff Shine tire brush.

Here's the type of gunk, tar, and various other things that your tires pick up daily.


After I'm done cleaning the wheels it's important to get your tools into a cleaning solution, I just use water and APC.

See:


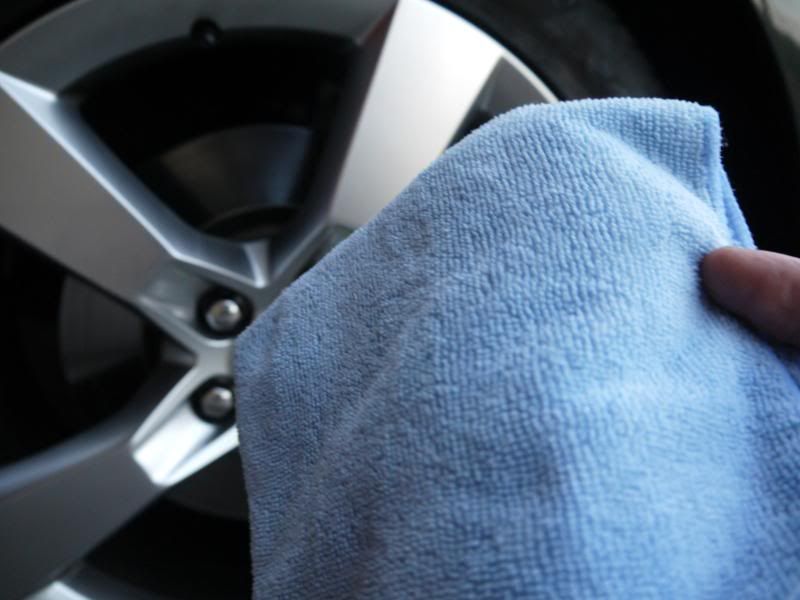
Often cleaners will cause rusting and oxidation to start on brake rotors.  So I'll take the car for a quick spin before a wash it to clean the rotors, the problem is that the wheels take the brunt of the grime on the brake rotors as well as any leftover dirt that wasn't washed away. After parking it again I just take a microfiber towel and clean up anything left over on the wheels.


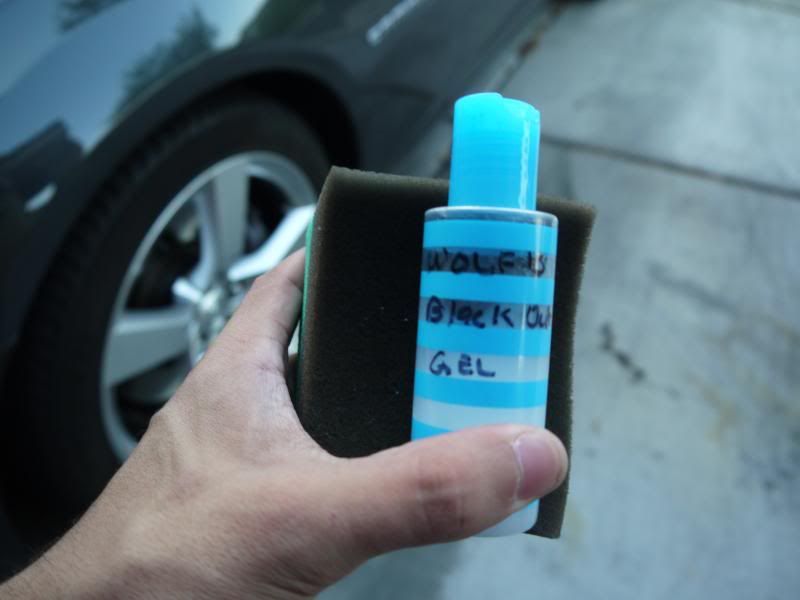
Now the last thing to do is dress the tires.  Here I'll be using Wolf's Blackout Gel, it provides nice sating sheen that doesn't look greasy and lasts for 2-3 weeks depending on your driving style.


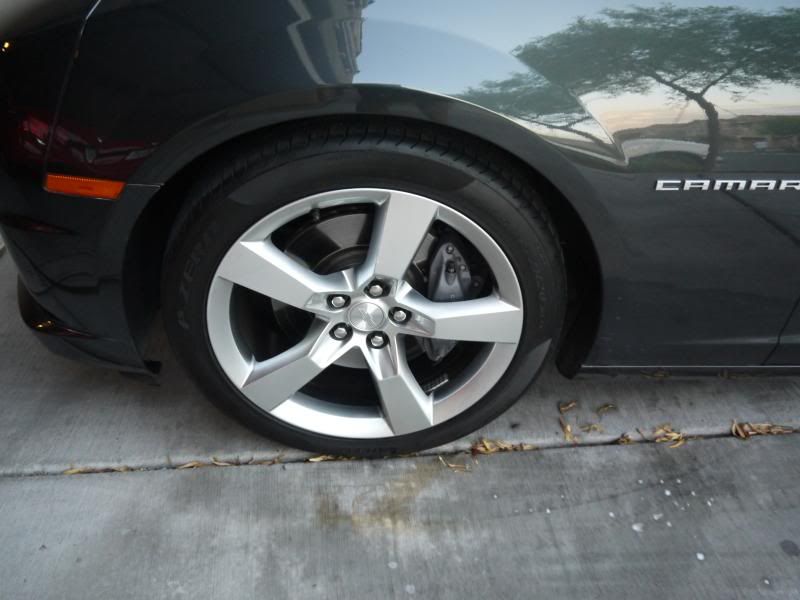
Tire Before


After


For a glossier shine go over the tire again until it meets your desires, for a more satin shine use less product.

Now it's time to move on to washing the car.

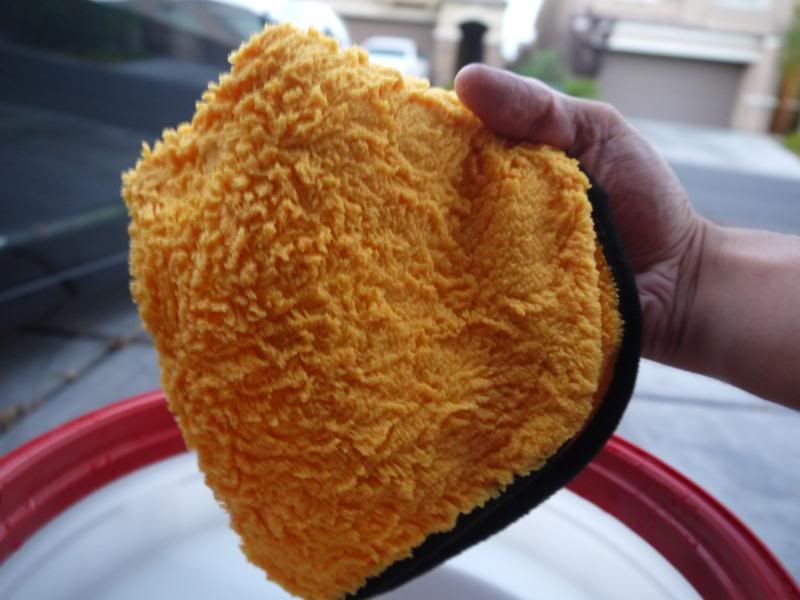
For this take your towel soaked in solutions and gently wring it out. You want it wet but not completely soaking and dripping water.  With towels with a short nap and long nap side use the longer nap.  This lets the more dirt get trapped deeper and since you're trying to minimize swirls and scratches you want to avoid dragging dirt across the paint surface.


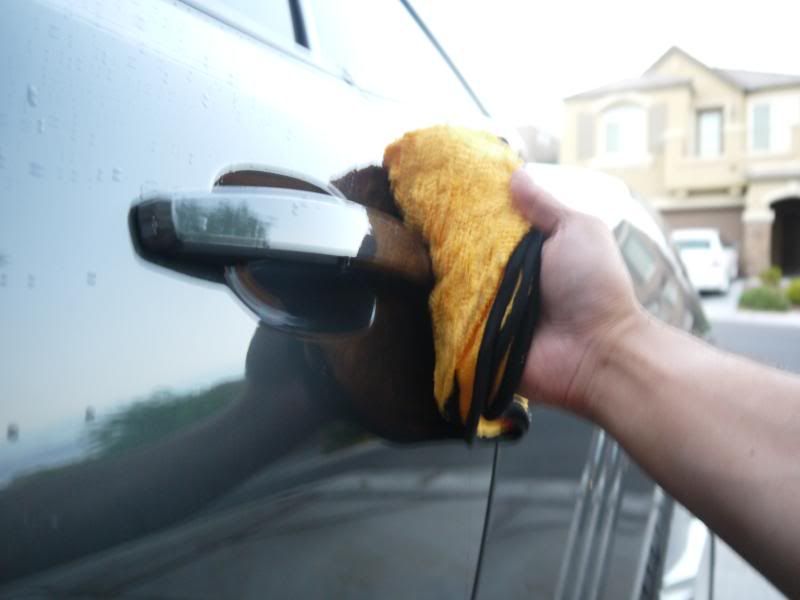
When you first start washing your car lay the towel folded in 1/4s flat on the surface and drag with absolutely zero pressure as so.


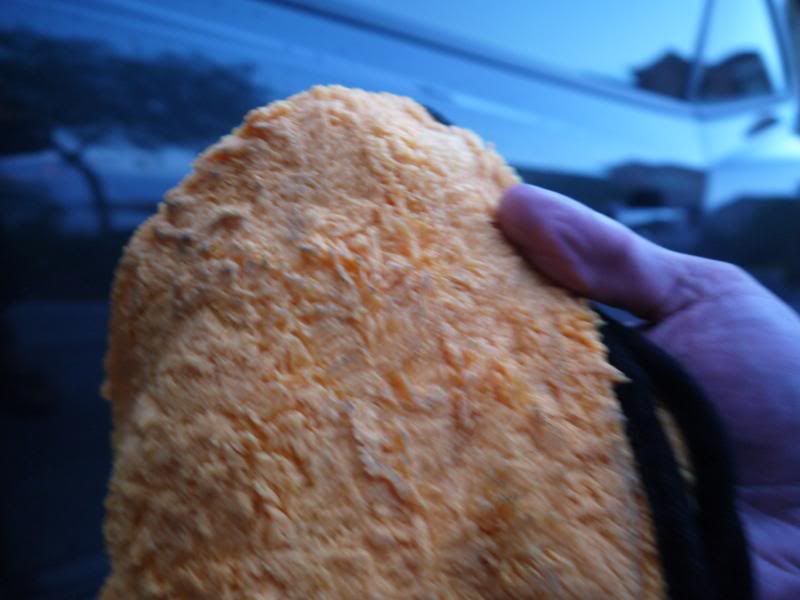
Now you're going to be picking up dirt and grime as seen here.


To avoid dragging this back across the surface lift slightly on the front of the towel


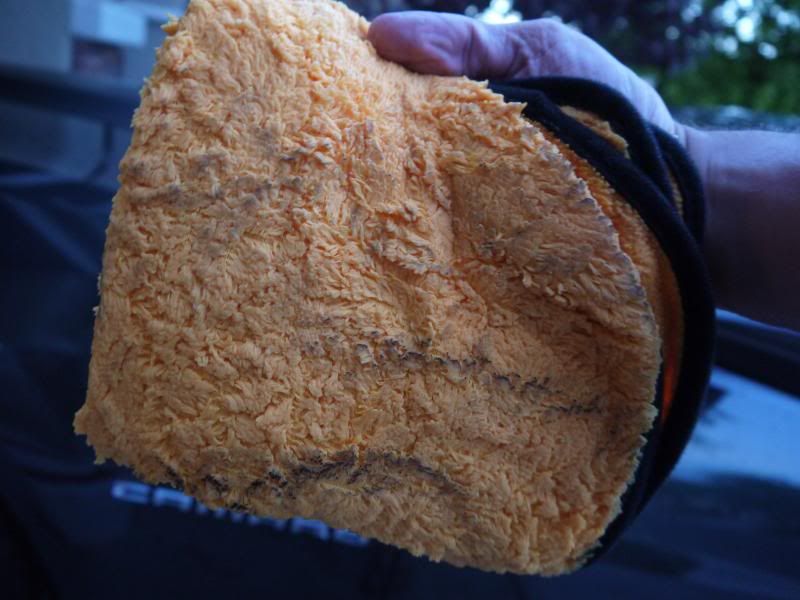
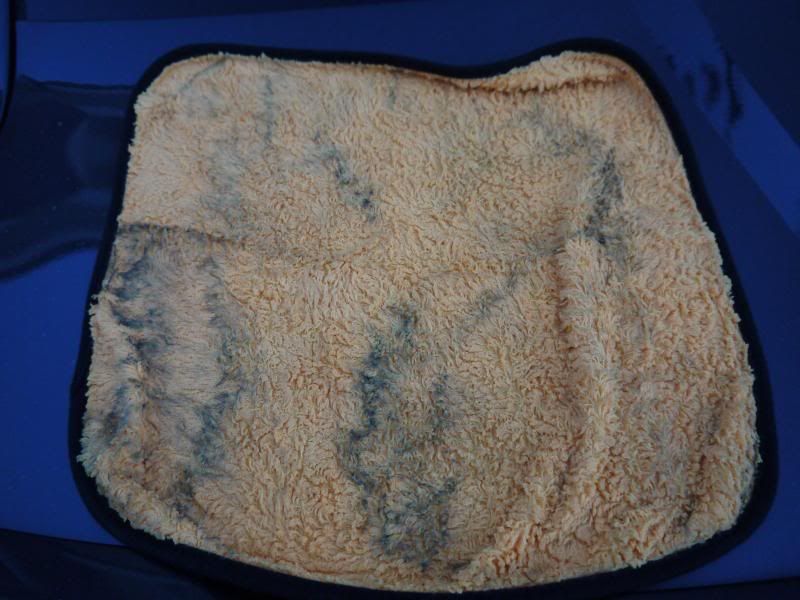
When you're done lifting 2 or 3 times your towel will have lines of dirt similar to this.  After each panel is complete I dry using a Cobra Guzzler HD, again as little pressure as required folded in 1/4's.


If you're towel still has solution you can continue using a different 1/4 of the towel.  You can see here where I used all 4  of the long nap side.


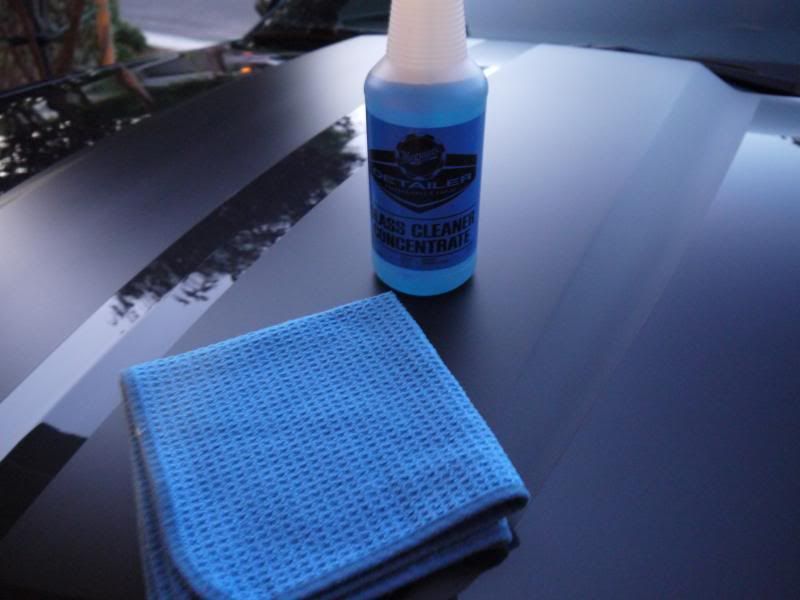
Lastly is the glass.  Right now I'm using Meguiar's D120 Glass Cleaner, it works very well and is extremely cost effective at 1:20 dilution (1 part concentrate to 20 parts water) and a Microfiber Madness Cloudbuster, by far the best glass cleaning towel I've used.  For the windshield I spray directly on the windshield and clean and buff with the other side of the towel.  I also clean the windshield wipers.  For the side windows and mirrors I spray on the towel so the solution avoids the paint, it's not dangerous but just means less to clean up.


Thanks for reading, let me know if you have any questions or tips!