Showing posts with label Chemical Guys. Show all posts

Wednesday, August 13, 2014

BRZ Opti-Coat

I decided recently to Opti-Coat the BRZ and took yesterday and today to go ahead and get that done.  I went with the usual foam wash with Chemical Guys Maxi Sud and All Purpose Cleaner added in for some extra stripping power.  Followed by a Nanoskin clay, polish with HD Adapt, wipedown with CarPro Eraser and GTechniq Panel Wipe, then Opti-Coat.


Then after the solid foam bath and deep wheel and wheel well cleaning.


Time to let the brushes soak in some APC to clean them out while I pressed on.


Following the standard rinseless wash, I went with a Microfiber Madness Duo wipedown.  Dry Me Crazy followed by the Crazy Pile to knock out any towel marks or stray water left behind.  Not that its possible the Dry Me Crazy soaks up a ridiculous amount of water.
 

Nanoskin clay was next, I used Ultima Waterless Wash as the lube and just a simple waffle weave to wipedown residue leftover.  Waffle weaves are great for claying since the surface is already clean you don't need to worry about the short nap and they are lightweight, easy to use, can be folded numerous times, and soak up multiple times their weight in liquid.


D'oh!  Bottle of V07 fell and broke the sprayer, good thing I keep a few extras around and used up a bottle of CarPro Eraser on this detail.


Following with the duo wipedown, I've began to really use this technique in most aspects, two towels is better than one especially on softer paints.


RID down below, didn't try chasing this one too far, may have to use some Dr. Colorchip later on to see if it can be filled in slightly.  I don't think I'm ready for wetsanding just set but that may change.


For the polish I went with HD Adapt and a Blue Uber Pad.  Worked pretty good overall, just a light polish for most but there were a few areas where I needed to go over it again or use varying amounts of pressure.  Found a few spots after I had opti-coated where I missed some, oh well just a project for another weekend.


So, I finally decided to pass this along, I see it quite a few times about draping the cord of an orbital polisher over the shoulder.  But personally I don't think it's good enough, I've had it fall off on more than one occasion. What I've moved on to doing is wrapping the cord around my opposite leg as well, this prevents slack from building up which keeps pressure tighter on the line.  Technique only but I like it and will continue to use it.


Wipedown post polish was done with CarPro Eraser until it ran out then followed by GTechniq Panel Wipe.  Both work great, Eraser by far has a better scent but ease of use is just about equal.


Again I went with a crazy pile to ensure nothing was transferred to the surface.


Opti-Coat time!  Dual Pro Applicator as used and a Gold Plush disposable towel.  I'm not a huge fan of trusting these towels to remove all the residue and be used on the paint again.  Also, interesting issue, since I don't use Opti-Coat too often the blue applicator tip must have had some stuck in it because it refused to work, I ended up going without a tip and using it that way.  The black locking tip still works perfectly.


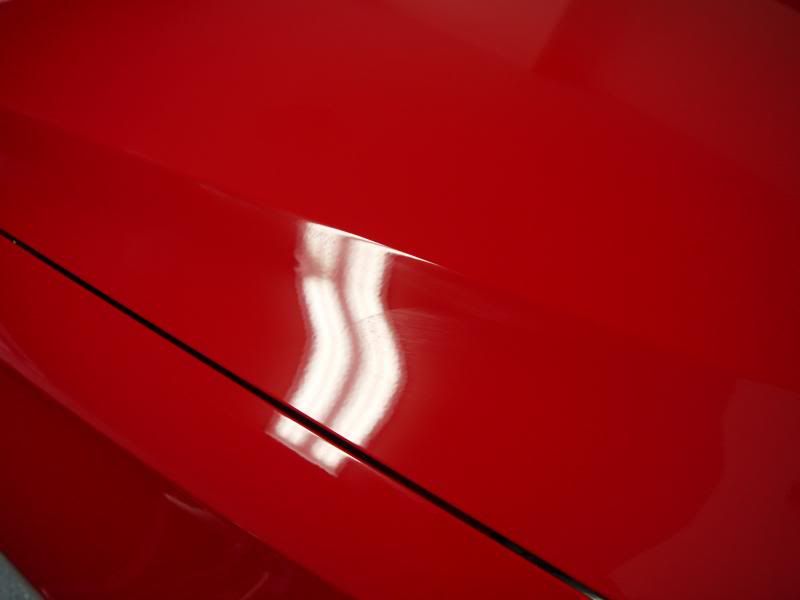
And the final product, followed by more than one walk-around to check for high spots and missed spots.  Found just a couple, but for a daily driver 85-90% is acceptable but I'll be sure to go back and knock out those couple missed areas and re-apply Opti-Coat.  Ensure if you do this to tape around the area to reduce the area you are removing Opti-Coat from since it needs to be re-applied after polishing.


Thanks for reading!

Thursday, March 20, 2014

Brand New Car Prep

So you have that brand new car that just came home from the dealer.  Now what? Unfortunately most dealerships are time based when it comes to auto detailing, that means more cars in and out means more money.  Well with detailing patience and attention to detail is key, so you can see the issue here.  What this leads to is sub-par products being used, towels being re-used that aren't effective in the first place and would strike horror to anyone who takes a look at the paint under a high power light.  More often than not when you sign those papers you're getting an unintended option, the dealer installed swirl option, or DISO.  Now I don't blame most dealers for this because I believe they just don't know the damage they are doing, but I implore you when taking delivery or having your car serviced that you request your car not be washed.  You can even download and print out placards for your rear-view mirror in big bold print.

Moving on though, what do you do with your new car?!  Well I've outlined steps on what to do and also provide you with options on different ways of protecting your new car.  Now like any regular car wash start with the wheels.  Now overall barring extreme environmental factors a simple rinse, gentle agitation with brushes like Wheel Woolies (which are fantastic), if you need a dedicated wheel cleaner congratulations because there are numerous but for simplicity's sake I recommend 1z Einszett Colourtec.  I would next move on with a solid foam gun pre-wash such as Chemical Guys Honeydew.  This will allow all of the extra and loose dirt to wash off reducing any chances of marring, scratching, etc...  Next is a simple car wash dependent on the condition of the vehicle will determine if a 2-bucket wash or rinseless wash is required.

(Optional) Now this is where we go more in-depth because the car has been transported across large distances, more often than not it is done by rail.  What traveling by rail allows is iron particles to embed in the paint that won't be removed by regular washing.  Here is where we can use a product called CarPro Iron-X just spray it on, you can also work it in with a sponge if you desire, and watch it do magic.  Let it sit for 5-10 minutes (I recommend making sure it is cool out when doing this to avoid spotting), and then rinse off, you will see red/purplish marks as you rinse it off where the product has bonded with iron particles and removed them from your paint.

After using Iron-X we can move on to claying, pretty standard, ensure you cover each area until it feels smooth (use the baggie test for reference).  Check the link down below or post a comment below if you absolutely have any questions.

 Polishing is the next step.  Unfortunately this is where it gets murky.  Why?  Because every car is different, paint reacts slightly different between cars and wildly difference between makes and colors.  This is where the least aggressive mindset comes in to play.  You don't need or want to jump straight to wet sanding when a light finishing polish will do.  So using common sense and having a few variety of products allows us to effectively do this.  What this means if you're car is absolutely scratched and swirled like it was ran through a car wash a dozen times, using a light finishing polish and light cutting pad probably isn't the best idea and you likely want to start off with something mid range. So since paint varies here are a variety of options, here's this handy chart I made.


Cutting Pad
Aggressive Compound
Medium Polish
Finishing Polish
Wool
Meg’s M101
Meg’s M205
Menzerna SF4000
Microfiber
Meg’s M105
Menzerna PF2500
Menzerna SF4500
Cutting
Menzerna FG400
HD Adapt
Sonax 3/6
Medium
Wolfgang Uber Compound
Meg’s D300
HD Polish
Light
Optimum Hyper Compound
Optimum Hyper Polish
CarPro Reflect
Waxing

Sonax 5/4


Now I realize this can still be confusing, specifically with pads and which polishes to choose.  All manufacturers use different color schemes with pads so it's not easy to say X pad will be Y color.  Personally I find a microfiber cutting pad from Meguiar's followed by a light pad from Uber either green or blue gives great results on most paint.  With polishes you don't need to have an entire collection of the above, more often than not you can adjust your pad choice to make a specific polish to work.  The internet is also a great resource because you can likely find a paint correction thread on your specific car and color combo and read on what previous detailers have used effectively.

After polishing is compete a simple CarPro Eraser or IPA wipedown ensures the paint is bare, you can also go with a simple wash if you desire as well.  Followed by a thorough inspection under sunlight and artificial light source of your choosing.

Lastly protection.  How do we protect this piece of work we just spent hours and hours over.  Well what are your options?  Do you prefer to protect it and forget it?  Or do you enjoy heading out to the garage every month or two and washing and waxing your car?  If it's the first, go with a long-term coating such as Opti-Coat or CQuartz.  If you enjoy waxing and sealing your car, choose a viable wax or sealant like Chemical Guys Pete's 53, Sonax Net Shield, Menzerna Power Lock, Blackfire Midnight Sun, Blackfire Black Ice, etc...

Well that's all for now! I'm sure as I go through this I'll remember more and edit this as well as add pictures once I get my car in.

Once again thanks for reading post any comments and questions below and I'll get back to you as soon as I can!


How-To's used in this post for reference.

Rinseless Washing

Wheel Cleaning

Claying

Sunday, October 13, 2013

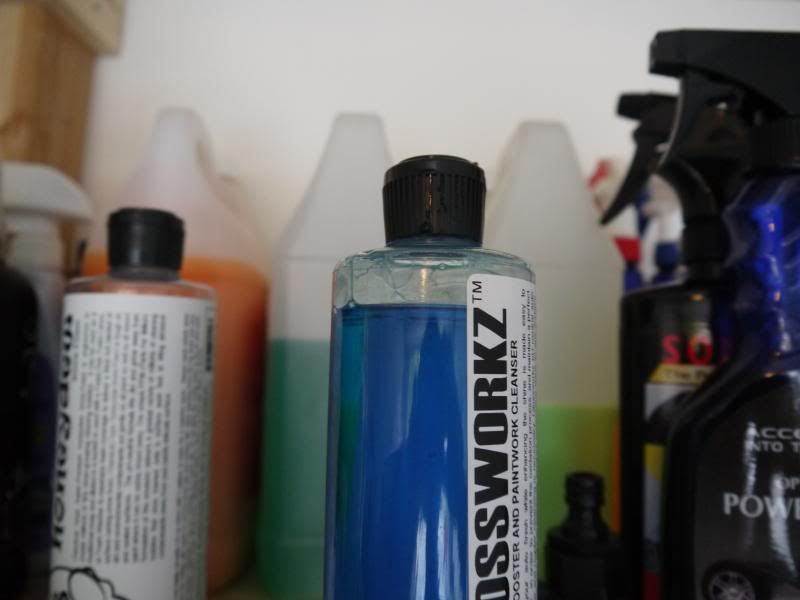
Review: Chemical Guys Glossworkz Car Shampoo

Lately I've been trying new soaps out to see which I prefer ever since I got the foam gun.  Well after using Adam's Car Shampoo, I decided to pick up a couple pretty highly reviewed options.  Both from Chemical Guys, Honeydew and Glossworkz, this is my take on Glossworkz.

Product Link


Initial Reactions:

Smell is great, extremely diluted at 1:640 or 1 oz per 5 gallons of water!  Now I only used this as an initial foam to get rid of any dirt I could that was barely sitting on top, by reducing this by not touching the car before moving on to my rinseless wash.

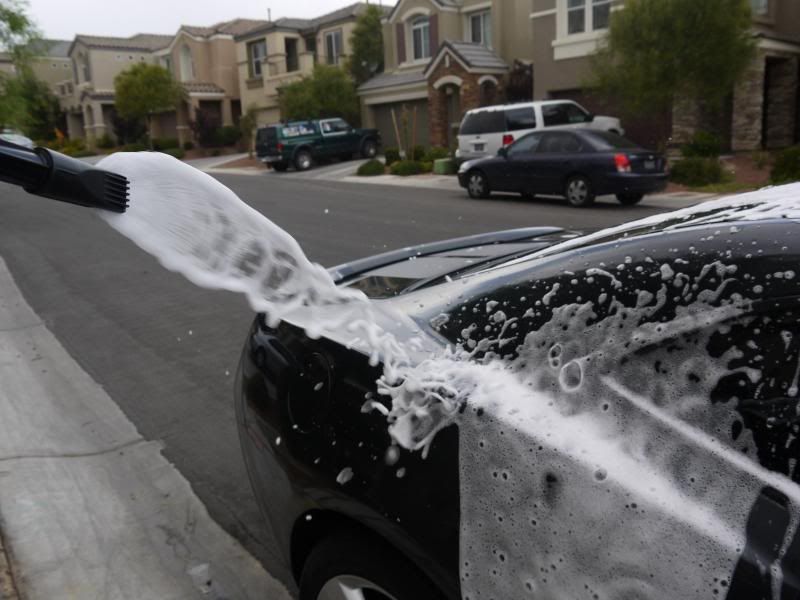
Here it is coming out of the foam gun.


Overall after using it I did like the foam, unfortunately I didn't get the cling I was hoping for, I may adjust the dilution ratio to see if this will help.  As for noticeable gloss difference, I will keep this updated, it got dark after I was done but I will check in the morning.

Thanks for reading!
Wednesday, October 9, 2013

Products List: Basic Washing and Drying (Foam Gun, Rinseless Wash, and more!)

Lately I've been responding to quite a few people on what I personally recommend or use to wash and dry my car to keep proper care of it.

I figured I'd consolidate a list (with links!) of what I use for maintenance washes and you can find my technique here.

For all but the most soiled of vehicles I've moved on to pre-soaking with a foam gun.

Foam Gun and Soap

Here is the Gilmour foam gun I use from Amazon (tip if you can find the same gun from Butcher's I paid $36 for it)

           This is definitely a technique and not necessary, this just allows the dirt settled on to be moved off before touching the paint and I have found it to soften the dirt and grime on there.  It significantly reduces the dirt I have picked up with wash media.

As for foam gun shampoo I have been experimenting with a few but my recommendation as of now is Chemical Guys Honeydew.

I follow the foam gun spray with a simple rinse off then move on to rinseless washing. 

Rinseless Wash and Towels

The staple for this of course Optimum No-Rinse (for my Wash & Wax Version review click here)

For the original version click here.

For wash media I use re-usable wash media, this allows different sides of the towel (4 in total) and different towels after each side is used every time I touch the paint.  This reduces the risk of inducing swirls and scratches.  Here is a great video link that explains this in detail.

As for towels, for washing I use these from MicrofiberTech they are paint-safe 360gsm weight.

Another recommendation many recommend are the 530gsm weight found here.

Note: Use the coupon code NEWS5 for an added discount.

For drying towels my absolute favorite is the Microfiber Madness Dry Me Crazy, one towel is absolutely more enough to dry a car.  I follow it up with a simple light buff with a 530gsm towel as found above just to eliminate any residual towel marks that may have been left.

Wheels and Tires

Check out my review page here for multiple links on wheel and tire products

Thanks for reading!

Tuesday, August 20, 2013

DIY/Review Applying Wax and CG Pete's 53, 3D Caranuba Wax, Blackfire Midnight Sun


So before opti-coating the Jetta I had decided to leave the hood alone so I could test products on it as I deemed fit.  The Camaro is a pretty difficult vehicle to find an open panel on since the hood and trunk lid are covered in vinyl stripes.

This weekend (8/17) I went over the hood of the Jetta with 3 waxes to test application, longevity, durability, and if there was any difference in look of the waxes.

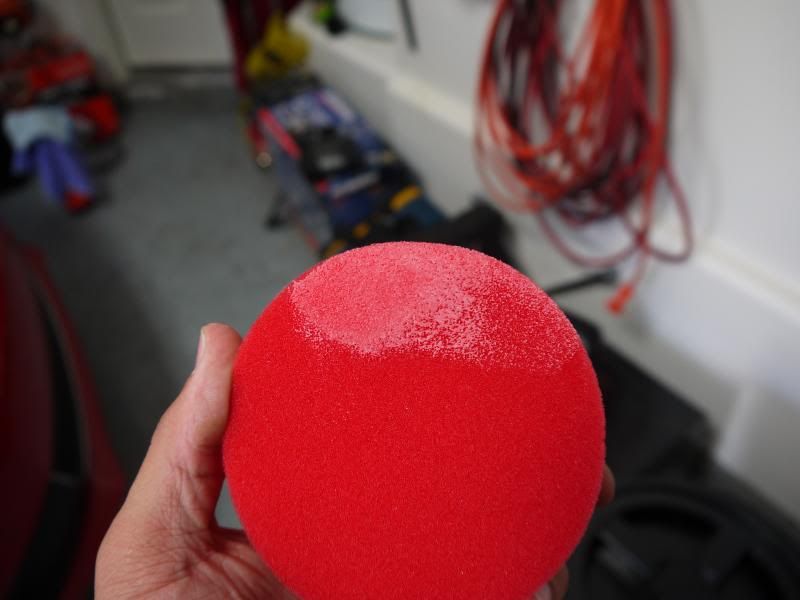
The 3 waxes up for the test are Chemical Guys Pete's 53, 3D's Caranuba Wax, and Blackfire Midnight Sun, the hood was split into 1/3's and each was applied with a Swissvax red foam applicator.  I will not be releasing which was put on which section of the hood until it's complete so there's no pre-conceptions.

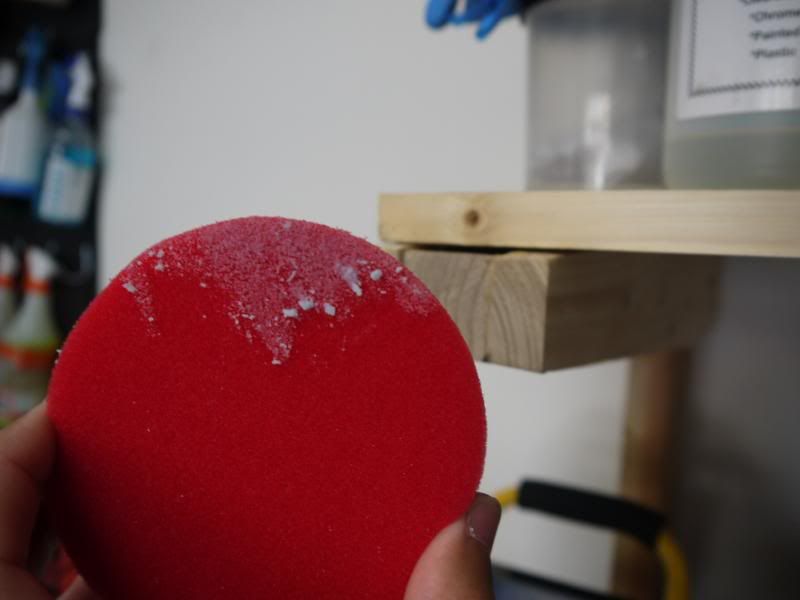
First up, a bit too heavy of a swipe of wax for 1/3 of a hood section as this would easily be enough to cover the entire panel if not more.  I applied all of these by hand, but applying by machine I feel can greatly extend how far wax can go.


You can see how thinly this was applied in the very beginning, you want a very thin layer, just enough to see that product is being applied to the surface.  I personally use a cross-hatch pattern, what this means is going vertically across your working area then going back over it horizontally.  This ensures full coverage with the wax or product you are using.


Here is 3D wax, you can see how clumpy it is when trying to swipe some out of the can.  I recommend breaking these down and spreading the residue over the pad.


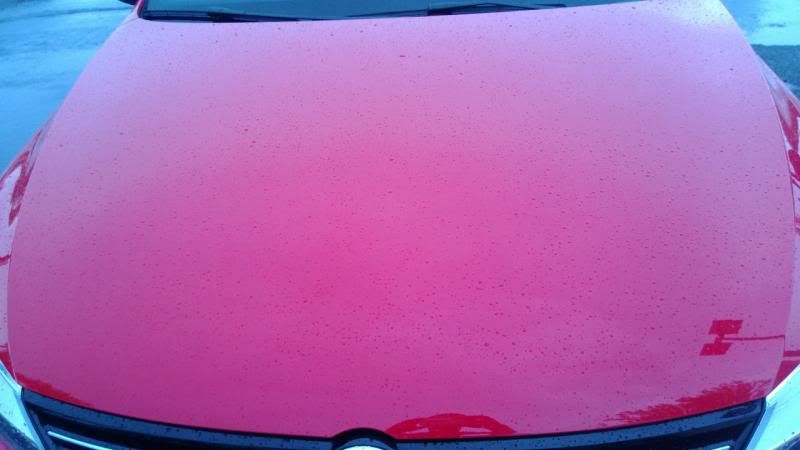
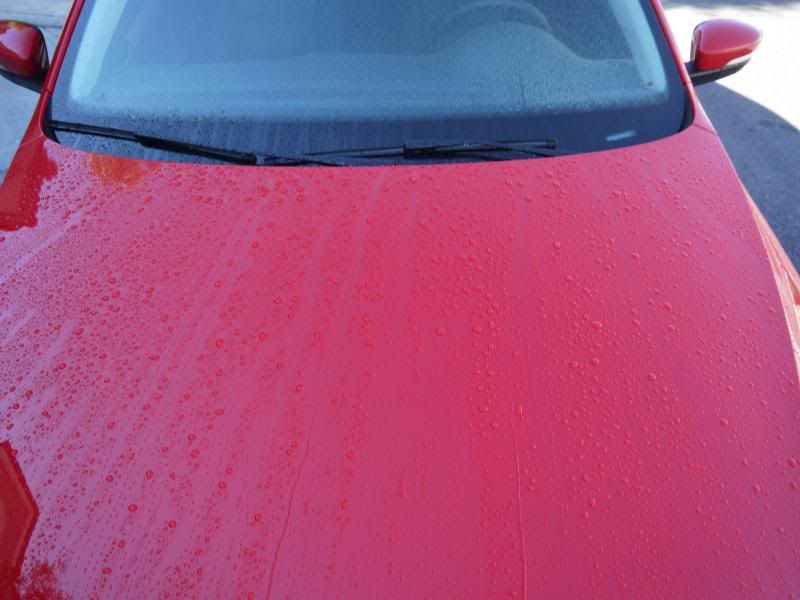
Now lucky enough for me just a few days later it rained while I was out.

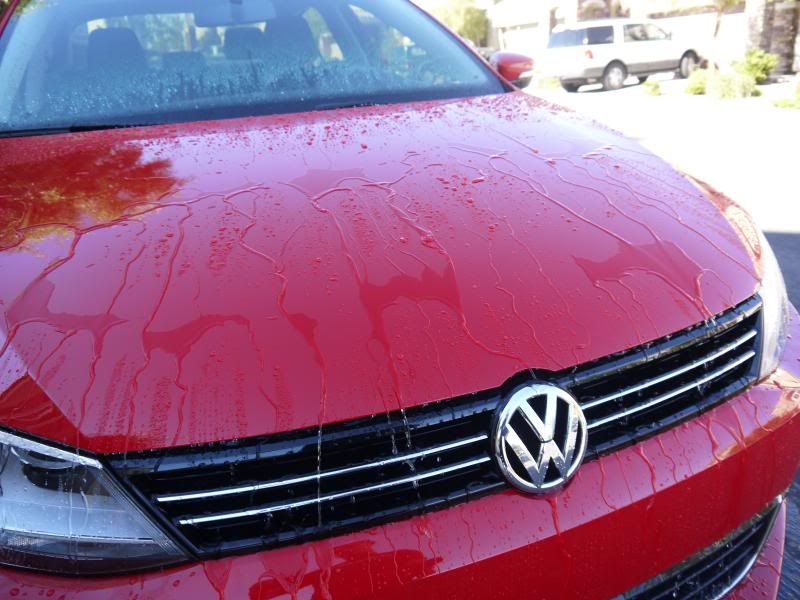
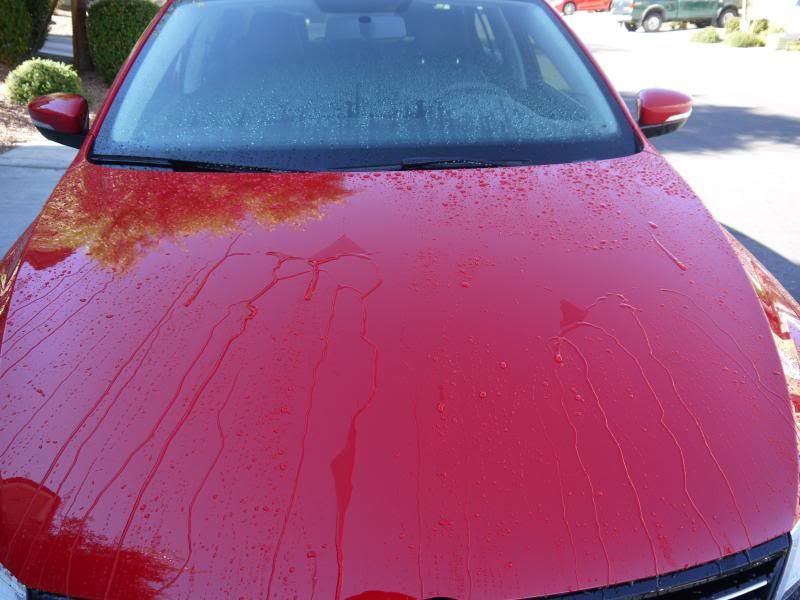
Here is the hood


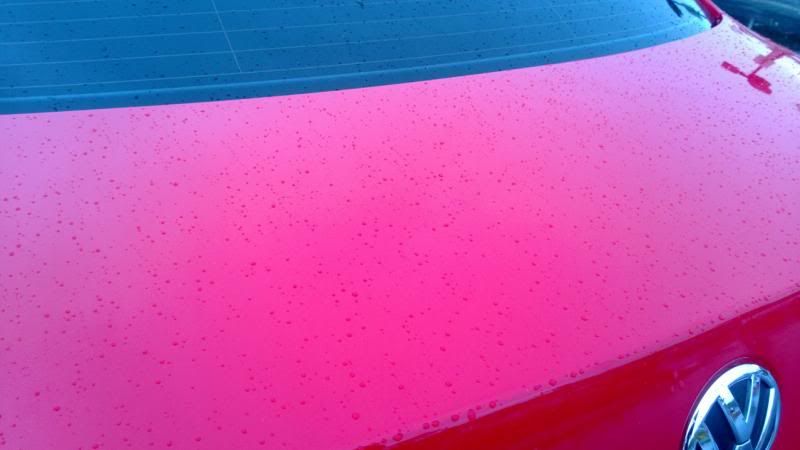
And the trunk for reference coated with Opti-Coat 2.0


Updated 8/25

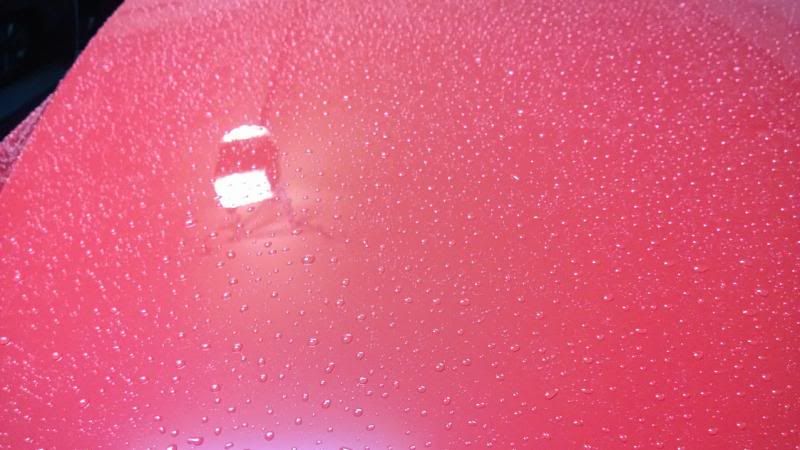
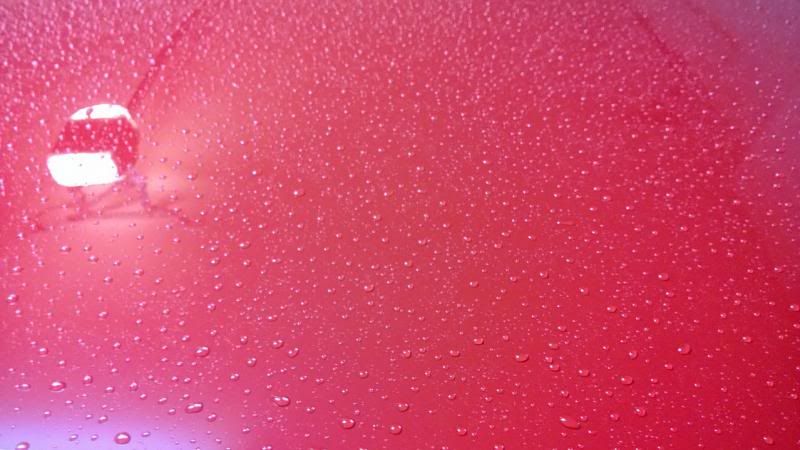
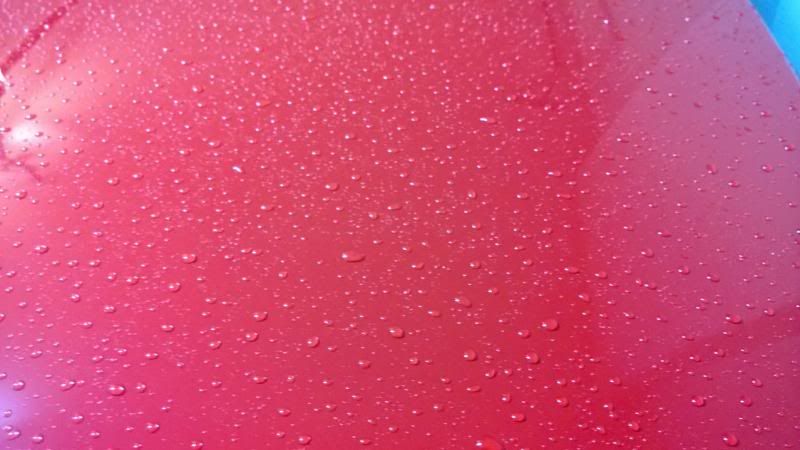
Rained again, pictures are Pete's 53 / 3D Wax / BF Midnight Sun


Closeout.  I decided after almost 3 months it was time to clay and polish it off.  But not before taking a few pictures of the beading and sheeting that still remained.

11/13

You can find Pete's 53 on the left 1/3, 3D Wax on the Center, and Midnight Sun on the right.  Yes it's now spoiled which is which.


Final rankings, split into beading, ease of use, longevity, sheeting, and my overall thoughts.

Beading
  • Pete's 53 by a small margin over Midnight Sun.  You can see slightly tighter grouping.
  • 3D's had worn off much more than the other 2, but granted it's price at roughly $25 for 8 oz as compared to $40 for 8oz of Pete's 53 or $80 for 7.4oz of Midnight Sun this makes it a very economical wax.
Ease of Use
  • Pete's 53 again, it swipes very easily, fits a 3" pad in the pot, and is just soft enough where it's easy to feel confident you have enough when you swipe.  
  • Now this is tough because overall the next two were good but I had my issues.
    • First 3D, the wax is very chunky and prone to breaking making it very difficult without boiling the container to get it uniform in the can.  Now on the other hand the large pot container allows even a 5" pad to fit in there, which is awesome for machine application. 
    • Now Midnight Sun comes in a great container with an o-ring to prevent it from drying out, and is top notch quality.  But my issue was that I felt it may have been too hard of a wax out of the pot.  This is minor but I wish that the 3 oz. containers were made wider and shallower to allow a full 3" pad.  Yes you can scoop it out and apply to a pad but putting a pad in there and spinning it a few times on speed 1-2 is just much easier and economical.
    • Overall Midnight Sun gets the nod.
Sheeting
  •  This was tough, but I'd have to give it to Midnight Sun slightly over Pete's.  It just released water slightly quicker, but both would be fantastic choices.  Water absolutely runs away.
  • Now for 3D, again much more economical but just doesn't have the same effect and durability is shortened.  Whereas I would have no problem leaving Pete's or Midnight Sun on the car for even double this time period based on this, you could definitely tell a noticeable change after around 4-6 weeks.  
Overall with everything taken into account if I had to recommend one I'd stick with Pete's 53, while it's hydrophobic properties are similar to Midnight Sun, the price and cost effectiveness overtake it.  It's a great wax, easy to use with both hand and machine application.  But I would have no problem recommending either of these.  Which leaves 3D, a good offering but there are just better choices out there.

Thanks for reading post any comments or questions or below!