Showing posts with label Meguiar's. Show all posts

Wednesday, July 22, 2015

DP Wheel Coating

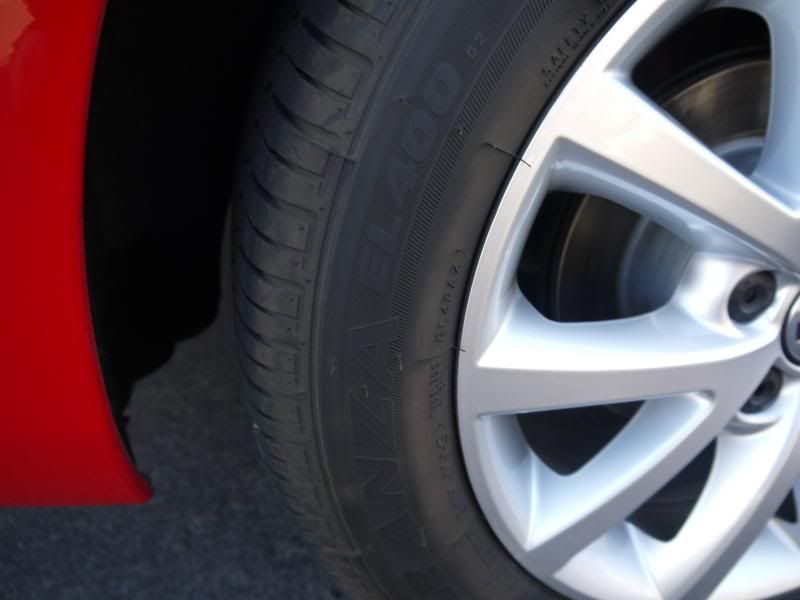
In continuing with the DP Coatings, here is their wheel coating.  I took some time to get the BRZ up on some jack stands and do an oil change and while rotating the tires decided to do a full wheels off detail.  

First up the rims and tires, for the tires Optimum Power Clean (OPC) was used as well as for the rims.  Following this just to be safe each wheel and interior of the rim got  a double IPA wipedown.


For the wheel wells OPC was used again with assorted brushes followed by two coats of Meguiar's Hyper Dressing diluted 1:1 5-10 minutes apart.  1:1 can leave a pretty shiny finish but diluting it anymore leads to a very liquid product that tends to drip off and make a bit of a mess.


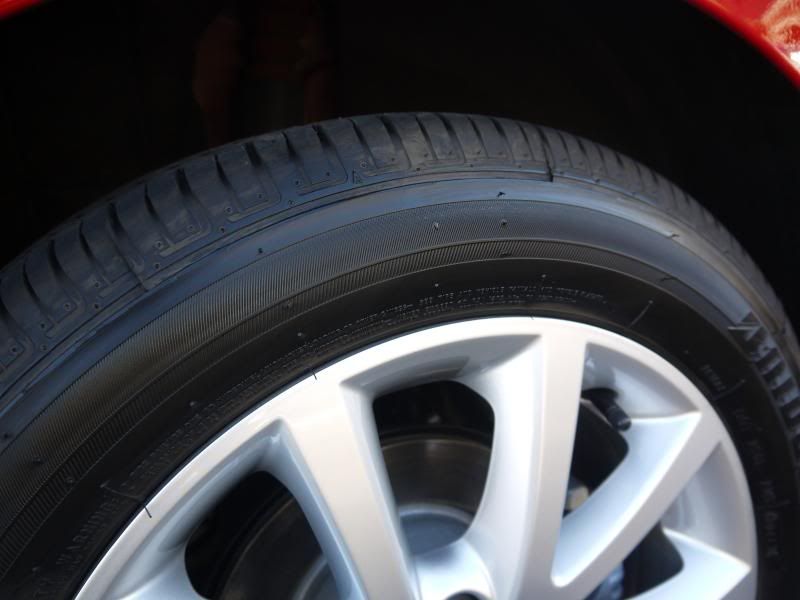
The tires got a double coat of AMMO Mud.  I picked up a couple of these new Carrand tire applicators in trying to find one that works well.


Each tire got two coats of a small bead.  It was evenly dabbed on the tire before spread.


In spreading it I used two coats clockwise, then swiped a third time counterclockwise to avoid smear marks and ensure even coverage throughout the tire.  This helps avoid high spots or missing areas of dressing.


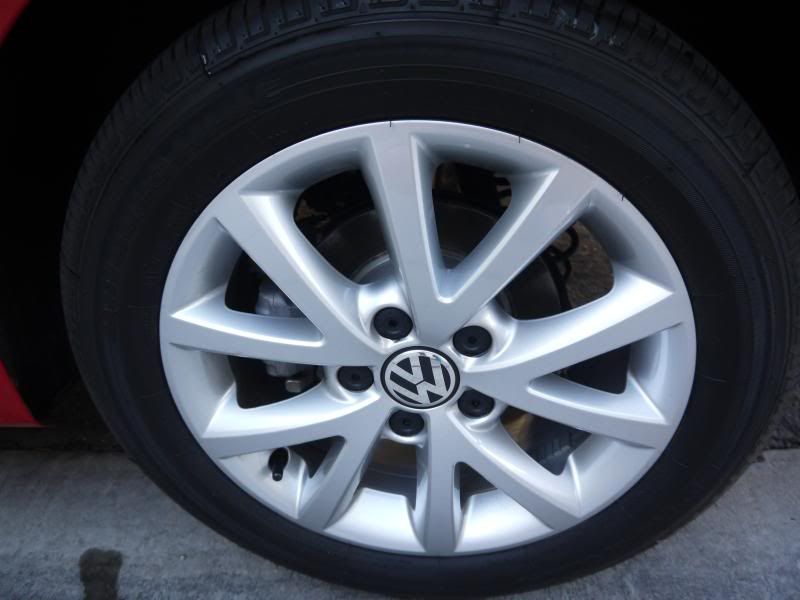
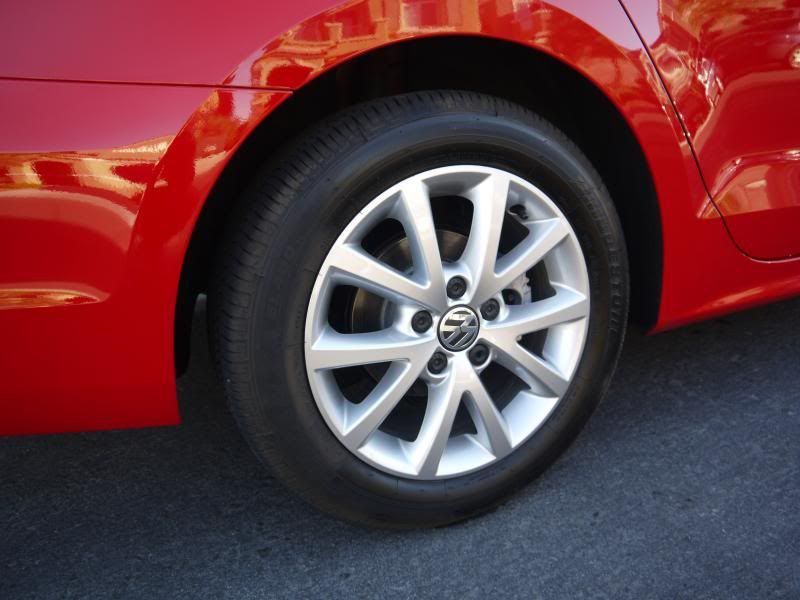
Unfortunately I didn't catch any pictures of the wheel coating in use but I used a basic foam applicator and went over each wheel evenly.  After a bit of a drying period this is the product we are left with.


The shine on the wheels is fantastic.  I was genuinely impressed, but the durability and ease of cleaning is just as important as the appearance.  The coating spread evenly and I didn't notice any high spots in use.  I did lightly buff the interior of the rim after coating it but that was just too difficult between the spokes.

Thanks for reading!

Saturday, September 13, 2014

Simple Wash plus Gtechniq Exo V2 and C4 Reviews

Hello fellow detailers and viewers!

Today is a comprehensive review over Gtechniq Exo V2 and C4 Trim restorer.  Ahead I'm doing this on the Jetta which previous readers will know currently has a layer of Opti-Coat over the vehicle except the hood.  You can find that paint correction here.  This is going to be a simple wash, interior clean, clay and polish with SF4000 and multiple dressing/coatings.

First off was a simple interior clean.  Vacuum first, if you need to know how to vacuum, take your shop vac, press on, take the end of the hose where dirt is.  Done!  I did also touch-up the rubber mats, these came upgraded and are absolutely awesome.  A famous brand for the aftermarket is Weathertech.

Here's what these have been through as a daily driver.


Can you tell which have been cleaned yet?


A simple scrub with an interior cleaner, don't worry these were hosed down on the backside before being placed to dry and in the car.


Just Blackfire Interior Cleaner and a Mother's brush.  These really don't need anything too much done to them.  You could put trim dressing if you wish, but with the abuse in a daily driver these get I don't know how long it would last so I chose not to, also you have to be extremely careful that anything you put on is dry and non-slippery.  It can very easily turn a quick drive into your foot slipping off the brake or gas pedal, similar to uneducated people putting tire shine on top of the tire.  


Up ahead I was able to get a cool video showing different LSP's and how they degrade over time.  Check out the video below especially the lack of sheeting and beading in portions.


Also found this nasty rockchip.  Need to get that kit from Dr. Colorchip ordered for the Tornado Red.


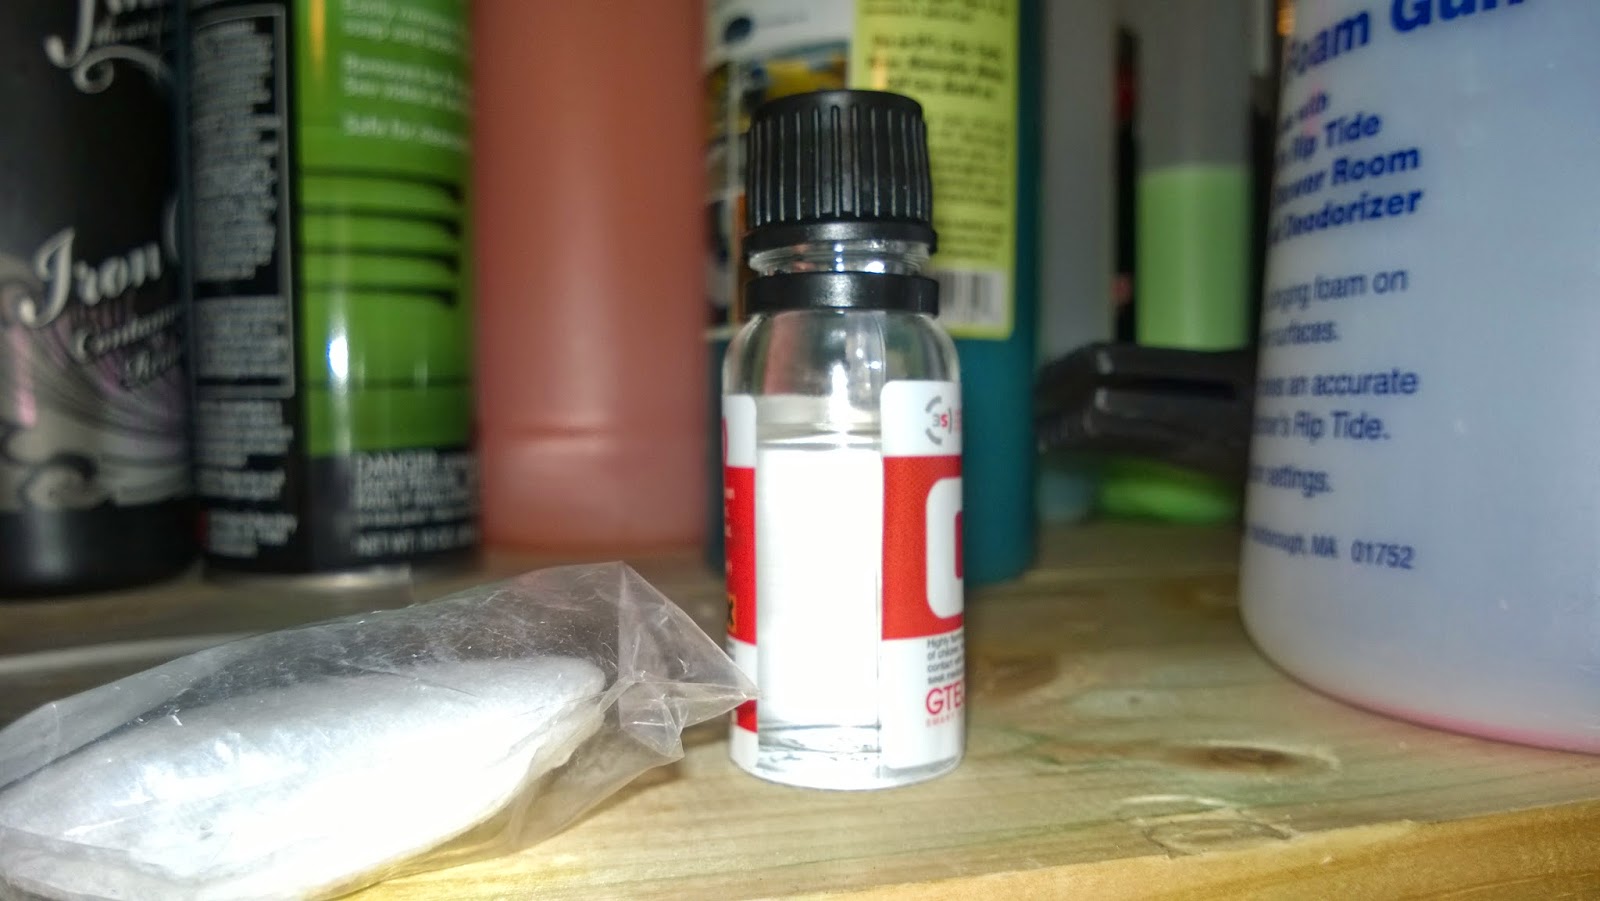
Now onto the goodies Gtechniq C4 and Exo V2 in their respective packaging.


Here are the tools of the trade for the hood polishing, note claying is already complete.  HD Adapt, Blue Uber Pad, GTechniq Panel Wipe, and of course a flashlight.


Alright first off the GTechniq C4.  It came with a few cotton applicators similar to ones found at cosmetic stores.  They aren't the most resilient as can be seen below.

 Here's a comparison between a treated trim and untreated.

For application just a couple drops on an applicator pad and neatly and carefully dress the trim you want covered.  Following application a microfiber towel wipe over the covered areas.


 This is how much was used to cover four window trims and the top part of the engine cowling.  Roughly 1/4 of the bottle.  It has a weird smell I noticed, kind of like an extreme rubbing alcohol type smell.


Now onto Exo V2, it came with a pretty nifty cotton applicator with finger pockets and a pair of gloves.  As I already have hundreds, I just tossed them to the side for another day.  


For application; similar to C4 and any other coating, just a few drops applied in a cross-hatch pattern over the panel followed by a light buff by a microfiber towel to knock down high spots.


Here's how much was used for the hood and a couple touchup areas that needed coating.  Roughly 1/5 of the bottle.


Now unfortunately the sun was already down but I did get a good one in the garage.  Here's the final product!


Let me know if you have any questions and feel free to post below!

Wednesday, September 10, 2014

Microfiber Pads and a Quick Update

I had to go back and knock out a couple rough areas and decided just to go with a tried and true favorite.  Menzerna FG400 on a Meguiar's Microfiber Pad.


You can see this is after a quick section was completed, the fibers are laid down and are not cutting to their true potential.  By using a simple pad brush or an air compressor to "refluff" the fibers you cna rejuvenate the pads quite easily.  It is also important to keep the heat down to reduce the risk of de-lamination and the pad breaking down.  Keep your polisher in the 4 speed range when cutting and let the pad do the cutting not pressure. 


I decided to go after this RID again.  Now since its directly near the door jamb and near the side window a full 5" pad wouldn't work.  This is why the Porter Cable 7424XP is now dedicated to 3" pads for these tighter areas.  I went with a Cyan Hydrotech pad and Menzerna FG400.  You can see how easy it was to see even without having to force the camera to focus and in pure daylight.  


Here it is after.  I could keep chasing it but unless the light catches it perfectly it has diminished by quite a bit.

Microfiber pads have to be dealt with slightly differently than foam pads.  If you have any questions on taking care of microfiber pads or recommendations or help with them, feel free to post below.  Thanks for reading!

Wednesday, August 13, 2014

BRZ Opti-Coat

I decided recently to Opti-Coat the BRZ and took yesterday and today to go ahead and get that done.  I went with the usual foam wash with Chemical Guys Maxi Sud and All Purpose Cleaner added in for some extra stripping power.  Followed by a Nanoskin clay, polish with HD Adapt, wipedown with CarPro Eraser and GTechniq Panel Wipe, then Opti-Coat.


Then after the solid foam bath and deep wheel and wheel well cleaning.


Time to let the brushes soak in some APC to clean them out while I pressed on.


Following the standard rinseless wash, I went with a Microfiber Madness Duo wipedown.  Dry Me Crazy followed by the Crazy Pile to knock out any towel marks or stray water left behind.  Not that its possible the Dry Me Crazy soaks up a ridiculous amount of water.
 

Nanoskin clay was next, I used Ultima Waterless Wash as the lube and just a simple waffle weave to wipedown residue leftover.  Waffle weaves are great for claying since the surface is already clean you don't need to worry about the short nap and they are lightweight, easy to use, can be folded numerous times, and soak up multiple times their weight in liquid.


D'oh!  Bottle of V07 fell and broke the sprayer, good thing I keep a few extras around and used up a bottle of CarPro Eraser on this detail.


Following with the duo wipedown, I've began to really use this technique in most aspects, two towels is better than one especially on softer paints.


RID down below, didn't try chasing this one too far, may have to use some Dr. Colorchip later on to see if it can be filled in slightly.  I don't think I'm ready for wetsanding just set but that may change.


For the polish I went with HD Adapt and a Blue Uber Pad.  Worked pretty good overall, just a light polish for most but there were a few areas where I needed to go over it again or use varying amounts of pressure.  Found a few spots after I had opti-coated where I missed some, oh well just a project for another weekend.


So, I finally decided to pass this along, I see it quite a few times about draping the cord of an orbital polisher over the shoulder.  But personally I don't think it's good enough, I've had it fall off on more than one occasion. What I've moved on to doing is wrapping the cord around my opposite leg as well, this prevents slack from building up which keeps pressure tighter on the line.  Technique only but I like it and will continue to use it.


Wipedown post polish was done with CarPro Eraser until it ran out then followed by GTechniq Panel Wipe.  Both work great, Eraser by far has a better scent but ease of use is just about equal.


Again I went with a crazy pile to ensure nothing was transferred to the surface.


Opti-Coat time!  Dual Pro Applicator as used and a Gold Plush disposable towel.  I'm not a huge fan of trusting these towels to remove all the residue and be used on the paint again.  Also, interesting issue, since I don't use Opti-Coat too often the blue applicator tip must have had some stuck in it because it refused to work, I ended up going without a tip and using it that way.  The black locking tip still works perfectly.


And the final product, followed by more than one walk-around to check for high spots and missed spots.  Found just a couple, but for a daily driver 85-90% is acceptable but I'll be sure to go back and knock out those couple missed areas and re-apply Opti-Coat.  Ensure if you do this to tape around the area to reduce the area you are removing Opti-Coat from since it needs to be re-applied after polishing.


Thanks for reading!

Thursday, March 20, 2014

Brand New Car Prep

So you have that brand new car that just came home from the dealer.  Now what? Unfortunately most dealerships are time based when it comes to auto detailing, that means more cars in and out means more money.  Well with detailing patience and attention to detail is key, so you can see the issue here.  What this leads to is sub-par products being used, towels being re-used that aren't effective in the first place and would strike horror to anyone who takes a look at the paint under a high power light.  More often than not when you sign those papers you're getting an unintended option, the dealer installed swirl option, or DISO.  Now I don't blame most dealers for this because I believe they just don't know the damage they are doing, but I implore you when taking delivery or having your car serviced that you request your car not be washed.  You can even download and print out placards for your rear-view mirror in big bold print.

Moving on though, what do you do with your new car?!  Well I've outlined steps on what to do and also provide you with options on different ways of protecting your new car.  Now like any regular car wash start with the wheels.  Now overall barring extreme environmental factors a simple rinse, gentle agitation with brushes like Wheel Woolies (which are fantastic), if you need a dedicated wheel cleaner congratulations because there are numerous but for simplicity's sake I recommend 1z Einszett Colourtec.  I would next move on with a solid foam gun pre-wash such as Chemical Guys Honeydew.  This will allow all of the extra and loose dirt to wash off reducing any chances of marring, scratching, etc...  Next is a simple car wash dependent on the condition of the vehicle will determine if a 2-bucket wash or rinseless wash is required.

(Optional) Now this is where we go more in-depth because the car has been transported across large distances, more often than not it is done by rail.  What traveling by rail allows is iron particles to embed in the paint that won't be removed by regular washing.  Here is where we can use a product called CarPro Iron-X just spray it on, you can also work it in with a sponge if you desire, and watch it do magic.  Let it sit for 5-10 minutes (I recommend making sure it is cool out when doing this to avoid spotting), and then rinse off, you will see red/purplish marks as you rinse it off where the product has bonded with iron particles and removed them from your paint.

After using Iron-X we can move on to claying, pretty standard, ensure you cover each area until it feels smooth (use the baggie test for reference).  Check the link down below or post a comment below if you absolutely have any questions.

 Polishing is the next step.  Unfortunately this is where it gets murky.  Why?  Because every car is different, paint reacts slightly different between cars and wildly difference between makes and colors.  This is where the least aggressive mindset comes in to play.  You don't need or want to jump straight to wet sanding when a light finishing polish will do.  So using common sense and having a few variety of products allows us to effectively do this.  What this means if you're car is absolutely scratched and swirled like it was ran through a car wash a dozen times, using a light finishing polish and light cutting pad probably isn't the best idea and you likely want to start off with something mid range. So since paint varies here are a variety of options, here's this handy chart I made.


Cutting Pad
Aggressive Compound
Medium Polish
Finishing Polish
Wool
Meg’s M101
Meg’s M205
Menzerna SF4000
Microfiber
Meg’s M105
Menzerna PF2500
Menzerna SF4500
Cutting
Menzerna FG400
HD Adapt
Sonax 3/6
Medium
Wolfgang Uber Compound
Meg’s D300
HD Polish
Light
Optimum Hyper Compound
Optimum Hyper Polish
CarPro Reflect
Waxing

Sonax 5/4


Now I realize this can still be confusing, specifically with pads and which polishes to choose.  All manufacturers use different color schemes with pads so it's not easy to say X pad will be Y color.  Personally I find a microfiber cutting pad from Meguiar's followed by a light pad from Uber either green or blue gives great results on most paint.  With polishes you don't need to have an entire collection of the above, more often than not you can adjust your pad choice to make a specific polish to work.  The internet is also a great resource because you can likely find a paint correction thread on your specific car and color combo and read on what previous detailers have used effectively.

After polishing is compete a simple CarPro Eraser or IPA wipedown ensures the paint is bare, you can also go with a simple wash if you desire as well.  Followed by a thorough inspection under sunlight and artificial light source of your choosing.

Lastly protection.  How do we protect this piece of work we just spent hours and hours over.  Well what are your options?  Do you prefer to protect it and forget it?  Or do you enjoy heading out to the garage every month or two and washing and waxing your car?  If it's the first, go with a long-term coating such as Opti-Coat or CQuartz.  If you enjoy waxing and sealing your car, choose a viable wax or sealant like Chemical Guys Pete's 53, Sonax Net Shield, Menzerna Power Lock, Blackfire Midnight Sun, Blackfire Black Ice, etc...

Well that's all for now! I'm sure as I go through this I'll remember more and edit this as well as add pictures once I get my car in.

Once again thanks for reading post any comments and questions below and I'll get back to you as soon as I can!


How-To's used in this post for reference.

Rinseless Washing

Wheel Cleaning

Claying

Wednesday, March 12, 2014

Preparing for a Roadtrip

We've all gone on roadtrips and plan out other ones, whether that a day trip or a vacation spent cruising around your country of choice.  But there in lies the question, how do I take care of my car?  First is accepting that regardless of what you do your car will get dirty, it will get wet, bugs will manage to at full force aim for those hard to reach spots in your grill with that certain splat sound.  Or the fact that no matter how many cars are in a parking lot yours will be chosen to have a bird bomb land right on it.

But how do we effectively remove bugs and bird bombs that can cause serious etching or eat away at your paint if left untreated without having access to a garage and full detailing arsenal.  Easy, we take our effective and travel friendly products with us and since we all have too many microfiber towels we can easily spare a few of different kinds.

Personally here is what I like to bring on a regular day trip.  Now I will I preface this with saying the most important thing to protect your car during a roadtrip isn't what done during it but before it.  Having a properly protected car with a solid cleaning regimen and layer of wax/sealant/etc... will be the best way to protect your car during a road trip.  Now I'm not saying you need to fully 2-step polish it before a trip, but if it's been 4 months since you last waxed it it may be time for a booster.

Now on to my personal favorites


Why?

Starting off with the interior, 1z Einszett Cockpit Premium, it's effective, has a neutral slightly citrus smell.  And works on almost any interior.  Remember we're on a roadtrip so space is limited and we don't need 10 options for a single job, even though looking in the background you can see multiple waxes, cleaners, car soaps, etc...    Microfiber of choice: ProForce 300gsm (or so) towel, it's cost effective, it works, and they're great for interior work and dirty jobs.

Next is a glass cleaner, arguably the most important thing when driving, a clean windshield, windows, and rear window are essential to being safe, especially when you get in stuck in that torrential downpour or dust storm.  For this I use Meguiar's D120 Glass Cleaner, it's great, safe for tinted windows and has an awesome grape smell.  Now personally I like CarPro Fast Glass towels better overall, but since it requires water to clean and the towel gets soaked after every use it's just not effective on a roadtrip because that towel has to go somewhere and I'd rather not have a soaking wet towel in the car.  Microfiber of choice: Microfiber Madness Cloudbuster, hands down one of the best glass towels I've found.  It cuts through heavy dirt and dust with no problem and a simple flip to a clean side ensures no streaks, residue, or light distortion occurs which can happen when leftover residue is left on a windshield and is downright dangerous.

Lastly, detail spray.  For all of those bug splats and bird droppings.  Here is a toss-up between Optimum No Rinse and Ultima Waterless Wash, either one wins.  Microfiber of choice: 360gsm standard dual nap towel.  They have both sides for heavy detail spray and a buff to remove any leftover product.  Remember we're just trying to remove the effected area, not a full car wash while stopped for gas.

To set this up I'll bring a couple plastic bags and two of each towel, one bag for clean towels, and one for dirty.  That way there is no cross-contamination between towels and they're cheap and found everywhere, we all have that drawer.  For the bottles ensure they are fully closed so there is no leakage and store them in your trunk or in the backseat to your preference.

There ya go a simple how-to setup for any road trips you may encounter.  Safe travels and thanks for reading!

Sunday, October 6, 2013

Review and Head-to-head: CarPro PERL and Wolf's Tire and Trim Gel

I've had CarPro PERL for a little while since I got a sample in but haven't posted up my thoughts on it since I've only used it a handful of times.  But I do find it very promising and versatile as a dressing product.  The tires needed dressing and I had just enough Wolf's "Blackout" Tire and Trim Gel to do roughly 2 tires, what better time to do a head-to-head long-term review!

You can find my thoughts on the Wolf's version here.

CarPro PERL according to CarPro is:

"PERL Coat by CarPro is a concentrated versatile water-based, protective coating for plastics, rubber, and leather that offers tremendous UV protection.  PERL Coat is a water based dilute to suit product, covering a large array of tasking within car care.  It can be used to restores the like-new appearance of hard exterior plastic surfaces and keeps them looking good with strong UV and hydrophobic protection.  The sun can be damaging on flexible materials, like rubber, plastic, and leather. Gradually & over the course of time they fade & become brittle and cracked.  PERL Coat is changing the rules. PERL Coat provides excellent protection and lasts up to three months on interior and engine surfaces.  Durability on Exterior Surfaces varies based on the type of plastic and the exposure in your environment.  It can protect for up to 3 months on exterior surfaced as well however if you see constant rainy conditions the darkness will fade from some plastics and tires sooner.  For a dedicated extremely long lasting Exterior Trim Coating please take a look at our "CarPro DLux" product."

Here you can see the sample size I have.


And Meguiar's Hyper Dressing behind it which I am a fan of for an economic water-based dressing.

I applied it like any other tires dressing and found it to be quite glossy, but this can easily be remedied by diluting it at a 1:1 ratio or even more depending on how far you want to stretch a bottle.  Here are the tires beforehand.  Very dry and blooming due to rubber's natural tendencies.


And here they are after being dressed by Wolf's Tire Gel.


And CarPro PERL


I will update this accordingly as the gel dries and sets in.  It leaves a much more satin type look as compared to a glossy look.  And I will keep you all updated on how long each respective products lasts in normal usage on a daily driver vehicle.

Product Links

CarPro PERL
Wolf's Trim Gel

Thanks for reading and post up any comments or questions you have below!