Showing posts with label Nanoskin. Show all posts

Saturday, March 29, 2014

New Car Prep: Subaru BR-Z

It finally came in!

And boy was the paint thrashed from some rain storms and being on a hauler for a couple of days.  Unfortunately I had to pick up this beauty on the way to work so no room to clean it or really do anything but get the license plate on and hit the road.

So with this car being transported by ship, rail, truck it was bound to see some less than perfect environmental conditions so I gave it a thorough decon that I'll outline below.

Here's a few pictures of the situation at hand.


First off, started with the wheels and wheel wells, these were actually in pretty great shape and I used some diluted Adam's APC with assorted brushes.

Then I moved on to the usual foam gun wash to get rid of loose dirt and grime, as well as start to break down remaining surface dirt.  For added effect I threw in car shampoo and some all-purpose cleaner to give it some extra kick. 

Followed by that since the foam wash got it quite a bit cleaner than I had expected, I moved on to a rinseless wash.  Standard ONRWW (Optimum No Rinse Wash and Wax) and 700gsm towels per the standard.  This went over pretty easily and didn't find anything out of the ordinary.  Overall the paint was in pretty great shape.

And finally the glass.  My Fast Glass towel before and after.


Then I moved on to a step I usually skip, IronX treatment.  And does this stuff smell...it is not pleasant to say the least.  It gets stuck in the air and clings to clothing, but with white paint (Satin White Pearl to be exact) IronX really showed it's form.  The iron bled right out.

My car is bleeding!!!


Following the iron decon step I moved on to claying the vehicle.  Using the Nanoskin Fine Grade towel.  The lube of choice was regular Optimum No Rinse and for the towel a Cobra Guzzler HD.


Well now we are all set to polish.  First to do a thorough check of RIDS (random isolated deep scratches) and areas to hit heavier.  Now whether you consider this fortunate or unfortunate white paint hides scratches extremely well.  Overall pretty impressed, there were a few areas where the paint needed special attention.  But for the most part a finishing polish and light-medium cutting pad did the job.

Here's a few shots of the RIDS we were dealing with.


Nothing too crazy minor scratches.  Bu then again I picked this car up with 6 miles on it.


The heavier scratches I used HD Adapt paired with an Uber Green (medium cut) 5.5" pad.  I tried out HD Polish and Menzerna SF4000 on a Blue Uber pad, and decided on Menzerna SF4000.


Here's a quick before and after


Next I moved on to touching up the hidden areas.  So door sills, trunk area, and nooks and crannies.  Quite a bit of grim that required some special brushes and ingenuity to get into.


And now the engine bay.  Just a simple wipedown then moving on with a Sonus Trim and Motor Kote spraydown.


Now to seal everything up.  For the glass Sonax Polymer Net Shield.


And the wax of choice.  Bouncer's Sherbet Fizz.


When waxing especially around trim and areas that are hard to reach.  Wipe away from trim and rubber weatherstripping where you dont want wax to go.  And for areas that you can't reach with a machine, push the wax that way so you ensure proper coverage.  For wiping off I use two towels, one initial one that I'll use for 2-3 panels, then a second towel to ensure it's wiped clean and buffed to a nice shine.

And the sun shots and final product!


Thanks for reading! Feel free to post up any questions or comments!

Sunday, October 13, 2013

The Importance of Claying


I find that one of the most intimidating things new people coming to detailing are afraid of is claying.  It appears dangerous, or misguidance that it could harm your paint, and just the fact that it's different.  A majority of car owners will never clay their cars and do not know the benefits and importance of it.

So where do you begin when you decide you want to clay your vehicle?  Well let's start out with the purpose of it.  After washing your car and everything looks clean and glossy you must have gotten all of the dirt of right? Wrong.  There are tons of dirty contaminants embedded in your paint, from the environment, the weather, rain, dust, dirt, salt, pick your choosing based on your environment and it's on there.  What clay or clay alternatives do is pick up your these contaminants in your paint and leave your paint feeling smooth and clean.

Now that we have the purpose let's move on to the types of clay you can choose from and there are two major categories.  Clay Bars and Clay Towels/Sponges (Same product just a different form).  Clay bars are exactly that, bars of clay, when you use a clay bar personally I use only 1/3 of a bar and return the rest to the container it comes in, add a spritz of detail spray to ensure it stays moisturized.  Another reason for splitting the bar is that if you drop it I cannot recommend it enough that you throw it away, it is not worth the risk trying to clean it and run the error of using it scratching up your paint due to embedded dirt and sand bits.  It's horrible but everyone will make the mistake at one point, I know I have at least once.

Here is what a clay bar looks like prior to using it.  Picture from Detailer's Domain , Phil over there is absolutely fantastic and will no doubt give you great advice that is completely tailored to what you need.


Uber Gray Clay Bar
There are different forms of clay and grades, for most jobs the Fine grade will be more than enough. As of September 2013 Clay Magic no longer owns the patent and there are now multiple manufacturers of clay bars.  But a simple Mother's Kit which can be found at any auto parts store will work fine for those starting out.

The next form is towel/sponges, personally I use the Nanoskin Fine Grade Towel but it does come in sponge form as well.  Now why choose someone choose this over a traditional clay bar?  Well the pros are fantastic, as I said above when you drop a clay bar it's effectively ruined, well with these alternatives a simple dunk in a bucket of water and wash solution and it releases the dirt and whatever else it gets picked up.  Other pros include numerous uses, a clay towel will give you upwards of 50+ uses as compared to 6-10 out of a traditional clay bar, and the clay towel can be opened up (such as the towel measures at 12" x 12") this is great for wide open panels such as the roof, for many other sections I fold it in quarters.  The cons with clay towels are the price, the Nanoskin of Speedy Prep Towel runs in the $50-60 range.

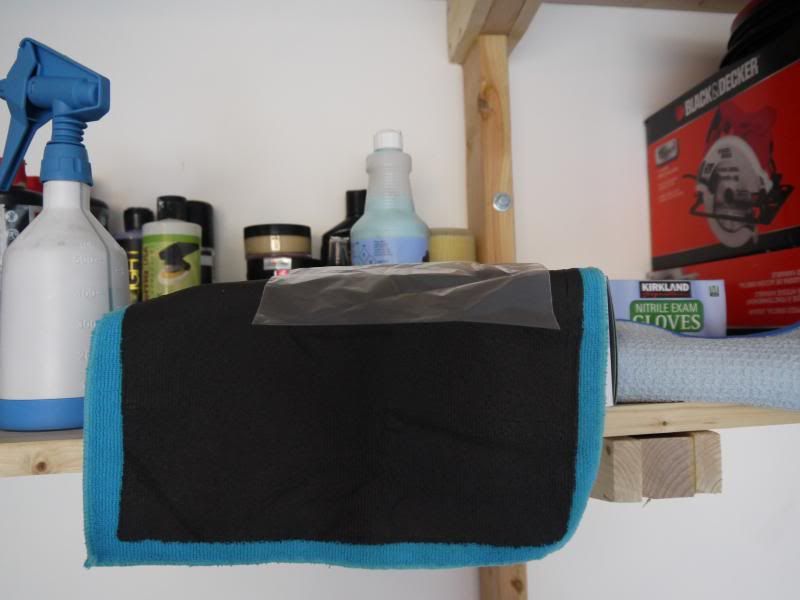
Here is a photo of my fine grade towel, note the blue edging which denotes Fine Grade as compared to red for Medium grade.


Finally we will discuss how to clay effectively and safely.

Now the reason I recommend fine grade over medium grade is that the vast majority of cars will not need medium grade clay, and on softer paints such as Subaru and some BMW paint colors can lead to marring, which are minor imperfections not as severe as swirls and can appear as hazing in the paint.

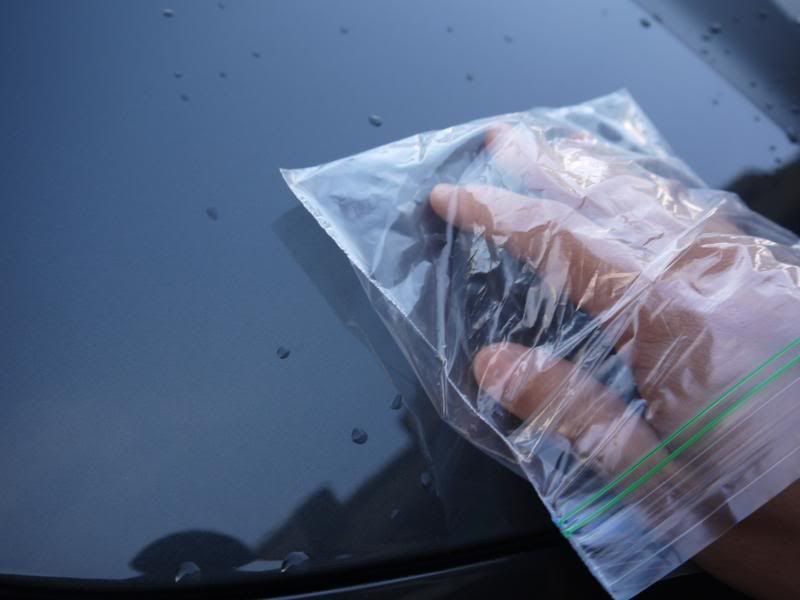
So how do you know if your car needs to be clayed.  Well a simple and easy test is the plastic bag test, by simply running your hand over your paint inside of a plastic bag you can easily feel the contaminants in the paint.  Below is a picture showing how I personally do it.


Moving on to the act of claying itself, when claying there a few important things that you need to have, first a clay or alternative, second a clay lube (personally I've used Ultima Waterless Wash+ and Optimum No Rinse and both work great, there is also Nanoskin Glide which I've heard good things about but have not used), and lastly a good towel to absorb the clay lube and dry the paint behind it. For towels I like a waffle-weave towel, it absorbs great and since the paint is already clean a longer nap towel isn't necessary to pull surface dirt away.  On softer paints I will also follow it up with a medium weight 530gsm or so towel just to buff off any possible towel marks or smearing.

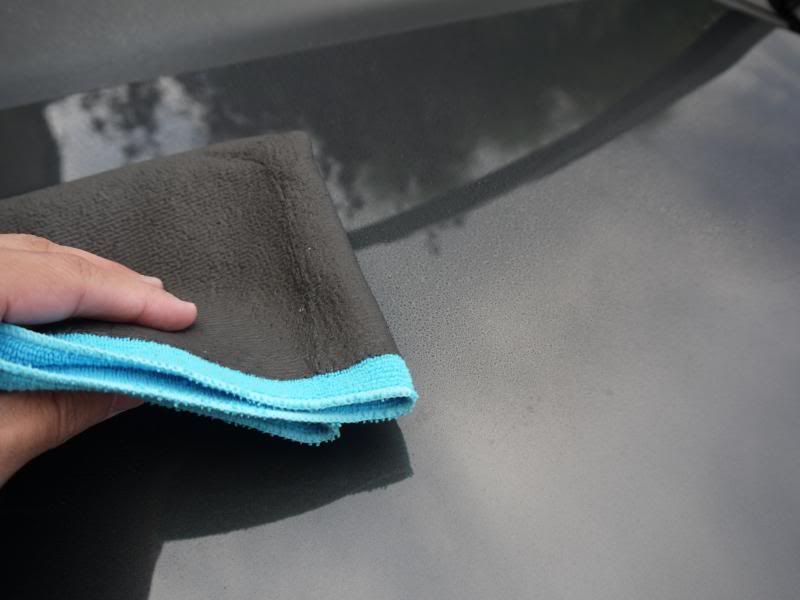
With clay bars it's important to spread the clay bar out into a rectangle that fits in the palm of your hand, avoid using your fingertips because the pressure will force holes in the clay and force you to knead it, or fold it onto itself,  more than you have to.  A 3" x 2" or so clay patty is about what I usually work with.  For clay towels on most panels I will fold it into 1/4's.  This lets it be much more manageable and do a thorough job.  See below.  You can also see the amount of clay lube I use, personally it is much better to use more than less, most clay lubes are incredibly cost effective so being sparse with it is not required.  Liberally spray the panel before gliding over it, pressure used is very light, just enough to keep the media moving.


Lastly, when using this you will actually feel the grittiness of the paint as you glide over it.  After 2-3 passes you will the clay or towel moving much more lightly and the paint overall will have a smooth feel to it.

Product Link:

Nanoskin Wash Mitt
Fine Grade Clay Bar

Clay Lube:

Optimum No Rinse
Ultima Waterless Wash


Thank you for reading, post any comments or questions below.  Thanks!

Sunday, August 11, 2013

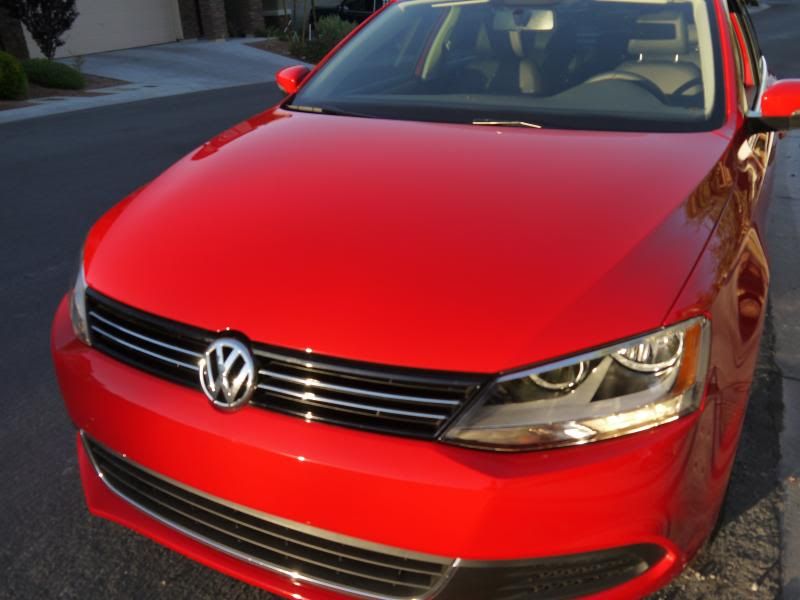
2013 VW Jetta Paint Correction and Opti-Coat

Here is a 2013 Tornado Red VW Jetta paint correction and Opti-Coat 2.0 application.  This was my first go at using Opti-coat and application was pretty straight forward and easy.  This car only had 3000 miles on it

Process
Rinseless wash with ONR and APC to strip any previous waxes or sealants applied by the dealer
Nanoskin fine grade clay
FG400 with Meguiar's MF pad after trying Optimum Hyper Polish, HD Polish, and Menz PF2500
Eraser Wipedown
Opti-Coat 2.0 Application

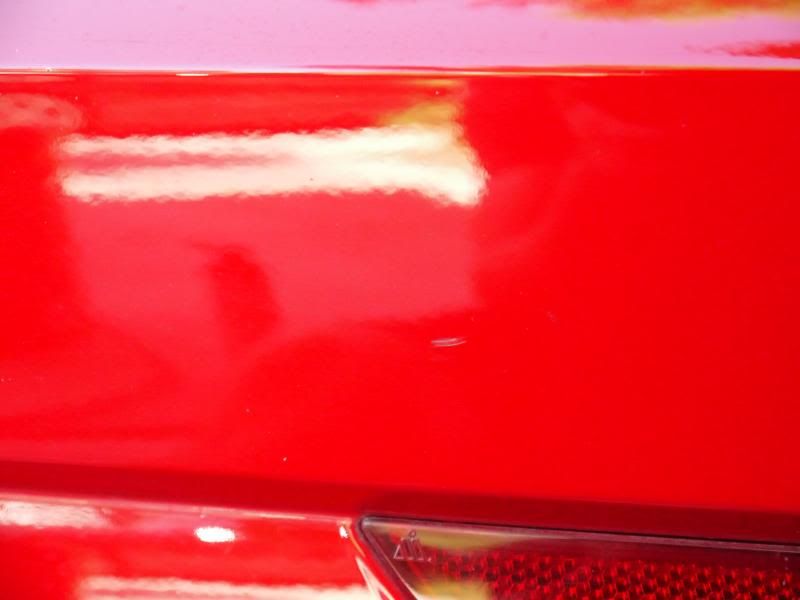
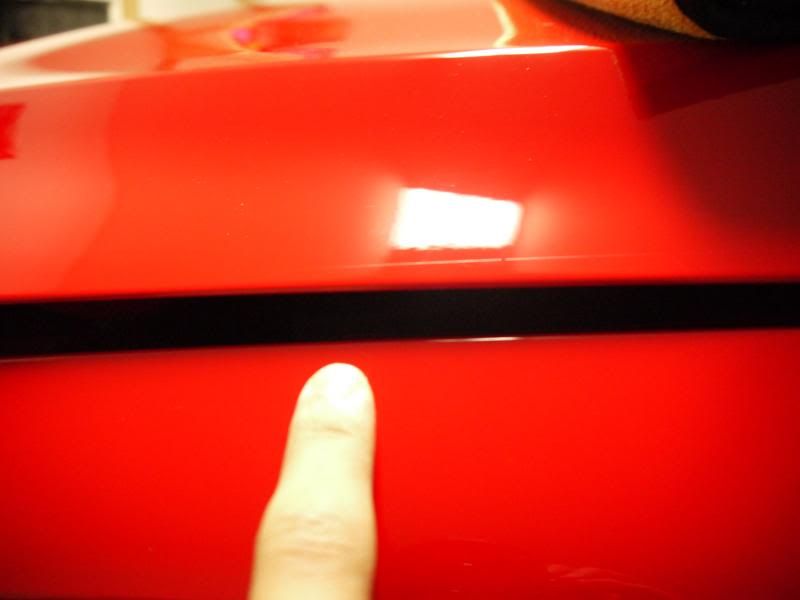
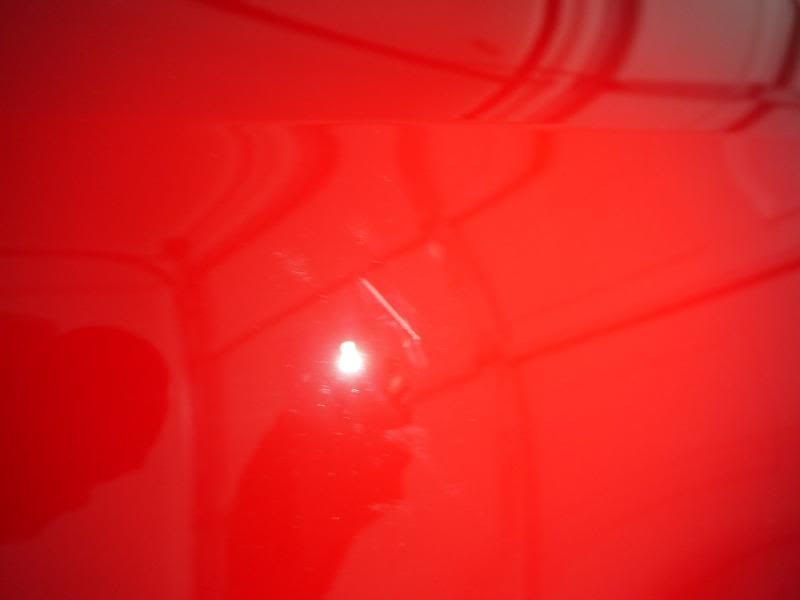
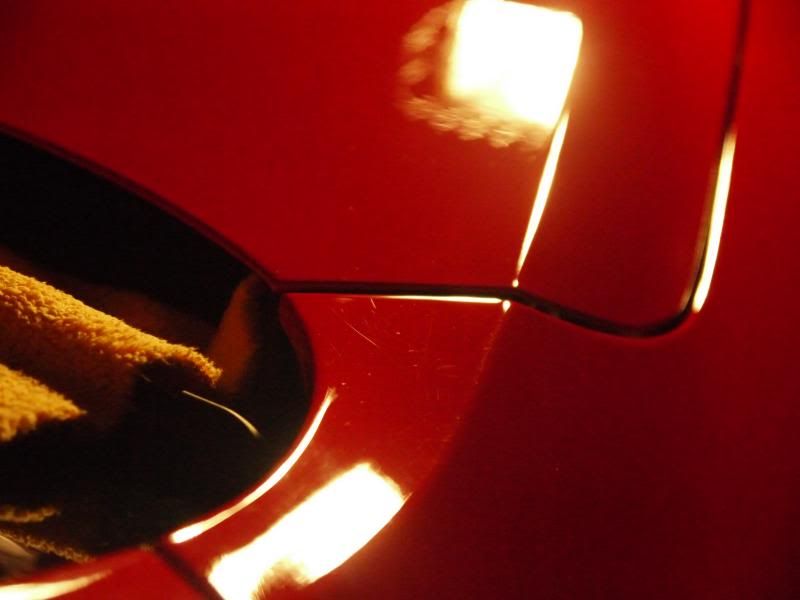
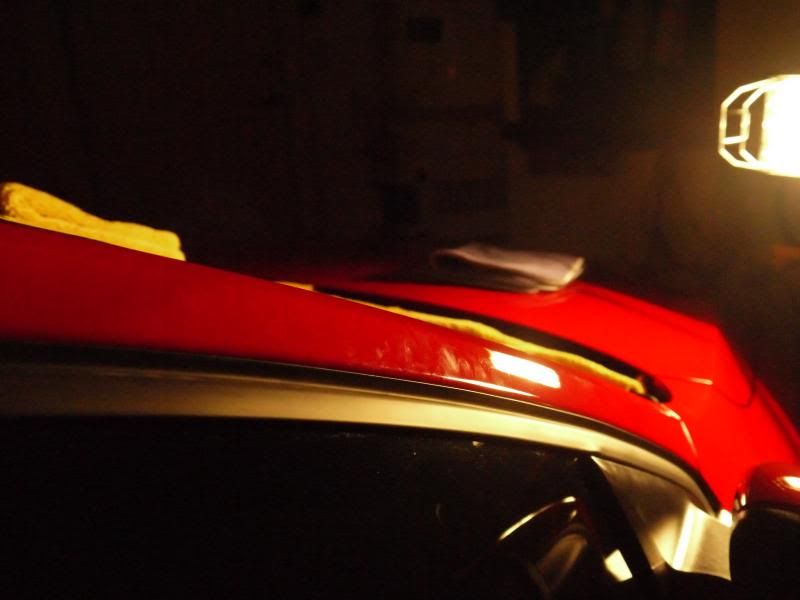
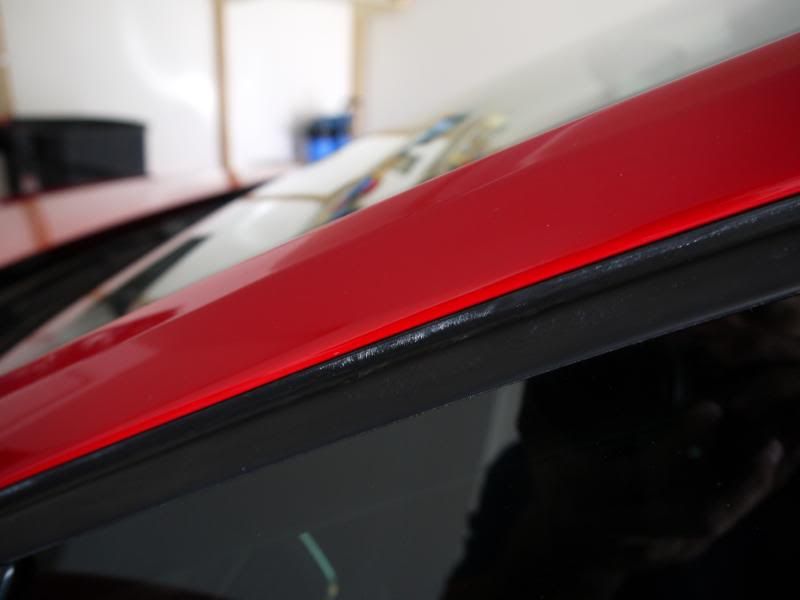
Quite a few scratches and RIDs (Random Isolated Deeper Scratches)


Usual scratches and swirls


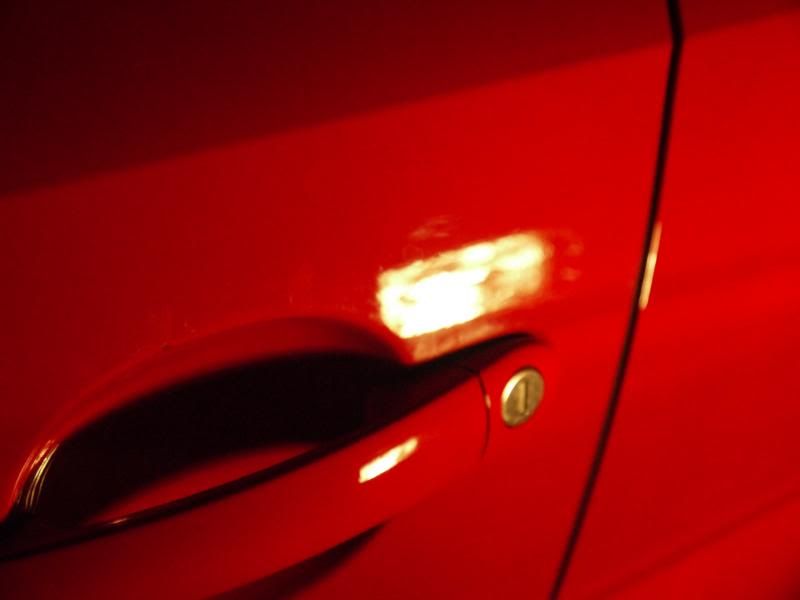
And of course it wouldn't be complete without lazy dealership detailers putting wax everywhere


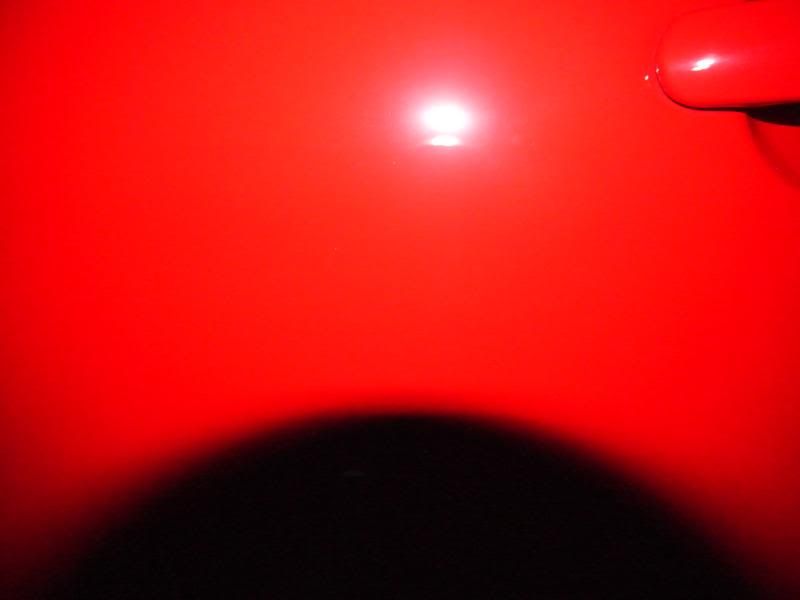
50/50 On the Driver's Side Passenger Door

Unpolished
Polished
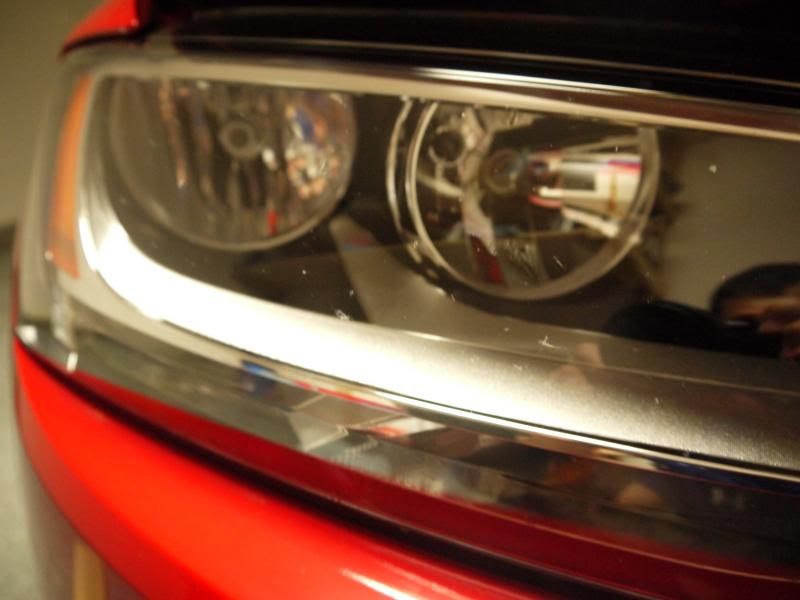
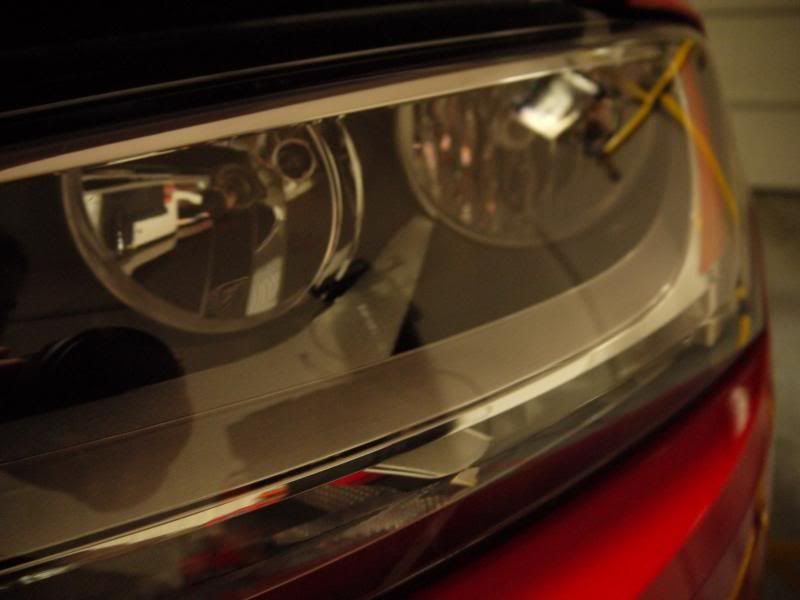
 After a cross-country roadtrip bug bombs on the headlight

Uncleaned

Cleaned


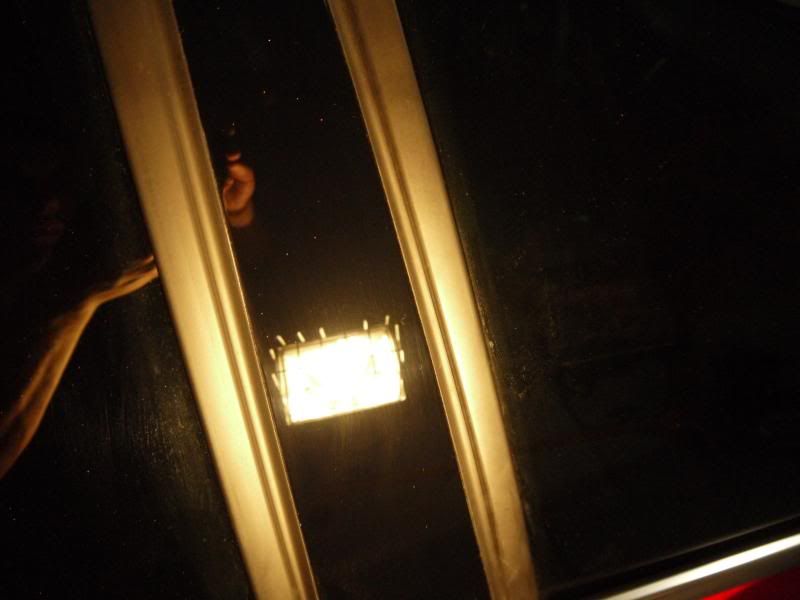
Pillars Before polishing

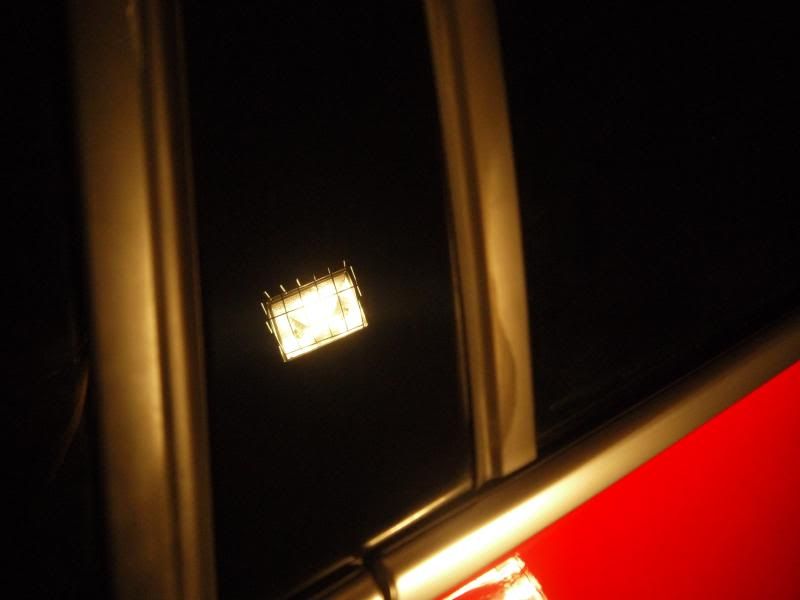
After

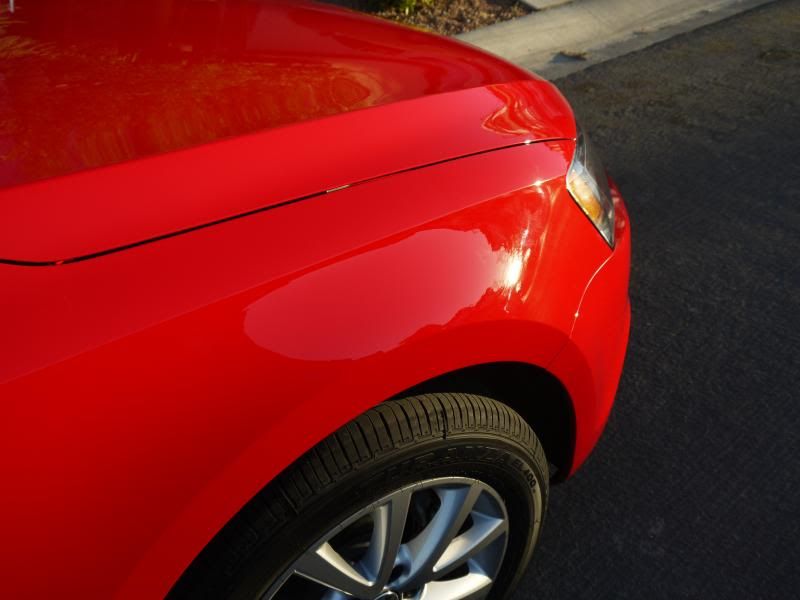
And done!

Feel free to post up any questions or tips!