Showing posts with label Iron X. Show all posts

Thursday, October 2, 2014

Foam Cannon and Iron X Snow Soap Review

I finally jumped the ship from foam gun to foam cannon from CarPro.  Here's a stock picture of what you can expect if you order one.


It attaches to a pressure washer replacing the lance portion.  You must know the correct connection or fitting to your specific pressure washer.  I have a Simpson Pressure Washer and used the Bosch fitting. It is nearly a perfect fit but the tabs are slightly too large but it works just not a perfect fit.

Here's a quick overall picture.  Those samples to the right may or may not be an upcoming sampler giveaway pack...


It's just a standard bottle and a sample of Iron X Snow Soap.  I figured it couldn't hurt to use that first.


Here's the foam that came out of just under 2 oz of soap diluted into the water bottle.


And another picture of the foam.


The foam cannon offers quite a bit more cling to the foam.  This helps because allowing the soap to dwell on the paint surface helps loosen surfactants, dirt and grime sitting on the surface.  It also assists in removing the light pieces of dirt which can be removed by spraying water.  This all helps in reducing swirls and scratches by helping you touch the paint less.

As for Iron X Snow Soap, 2 oz diluted just isn't enough for a foam cannon/gun I believe.  3-5oz is much more effective.  I didn't see anywhere near the iron deposits as compared to when using Iron X straight or the color change.  Iron X Snow soap is ph-balanced at a level of 7 and is safe for coatings and sealants.  It is much more cost effective than Iron X straight which can consume quite a bit of product per vehicle even when the method of spraying and spreading with a wet sponge is used.

Pros

  • Price
  • More efficient
  • Easier to Use
  • Smell is much, much more tolerable compared to Iron X
  • Will not strip Wax/Sealants
Cons
  • Effectiveness
  • Still has a sulfuric smell that may irritate some
Overall using this in combination with Iron X straight would remove the most fallout and iron deposits on vehicles.  But for a maintenance upkeep shampoo it does work effectively.  As a dedicated iron deposit remover I standby traditional Iron X.  If you are someone who can't stand the smell of Iron X this is a viable alternative, it works, it's cost effective as well.

As for the foam cannon it's great, the higher pressure assists in knocking off dirt and grime much better than the foam gun.  While the foam gun is good for those without a pressure washer or wanting soap that moves quickly I believe clinging foam that breaks down dirt is more effective.  It is a premium type option, but it looks awesome and does assist in avoiding swirls.  In addition, detailing should be a fun hobby not work, and a foam cannon is just plain fun.


Finally, a couple shots of the finished product.


Thanks for reading!


Saturday, March 29, 2014

New Car Prep: Subaru BR-Z

It finally came in!

And boy was the paint thrashed from some rain storms and being on a hauler for a couple of days.  Unfortunately I had to pick up this beauty on the way to work so no room to clean it or really do anything but get the license plate on and hit the road.

So with this car being transported by ship, rail, truck it was bound to see some less than perfect environmental conditions so I gave it a thorough decon that I'll outline below.

Here's a few pictures of the situation at hand.


First off, started with the wheels and wheel wells, these were actually in pretty great shape and I used some diluted Adam's APC with assorted brushes.

Then I moved on to the usual foam gun wash to get rid of loose dirt and grime, as well as start to break down remaining surface dirt.  For added effect I threw in car shampoo and some all-purpose cleaner to give it some extra kick. 

Followed by that since the foam wash got it quite a bit cleaner than I had expected, I moved on to a rinseless wash.  Standard ONRWW (Optimum No Rinse Wash and Wax) and 700gsm towels per the standard.  This went over pretty easily and didn't find anything out of the ordinary.  Overall the paint was in pretty great shape.

And finally the glass.  My Fast Glass towel before and after.


Then I moved on to a step I usually skip, IronX treatment.  And does this stuff smell...it is not pleasant to say the least.  It gets stuck in the air and clings to clothing, but with white paint (Satin White Pearl to be exact) IronX really showed it's form.  The iron bled right out.

My car is bleeding!!!


Following the iron decon step I moved on to claying the vehicle.  Using the Nanoskin Fine Grade towel.  The lube of choice was regular Optimum No Rinse and for the towel a Cobra Guzzler HD.


Well now we are all set to polish.  First to do a thorough check of RIDS (random isolated deep scratches) and areas to hit heavier.  Now whether you consider this fortunate or unfortunate white paint hides scratches extremely well.  Overall pretty impressed, there were a few areas where the paint needed special attention.  But for the most part a finishing polish and light-medium cutting pad did the job.

Here's a few shots of the RIDS we were dealing with.


Nothing too crazy minor scratches.  Bu then again I picked this car up with 6 miles on it.


The heavier scratches I used HD Adapt paired with an Uber Green (medium cut) 5.5" pad.  I tried out HD Polish and Menzerna SF4000 on a Blue Uber pad, and decided on Menzerna SF4000.


Here's a quick before and after


Next I moved on to touching up the hidden areas.  So door sills, trunk area, and nooks and crannies.  Quite a bit of grim that required some special brushes and ingenuity to get into.


And now the engine bay.  Just a simple wipedown then moving on with a Sonus Trim and Motor Kote spraydown.


Now to seal everything up.  For the glass Sonax Polymer Net Shield.


And the wax of choice.  Bouncer's Sherbet Fizz.


When waxing especially around trim and areas that are hard to reach.  Wipe away from trim and rubber weatherstripping where you dont want wax to go.  And for areas that you can't reach with a machine, push the wax that way so you ensure proper coverage.  For wiping off I use two towels, one initial one that I'll use for 2-3 panels, then a second towel to ensure it's wiped clean and buffed to a nice shine.

And the sun shots and final product!


Thanks for reading! Feel free to post up any questions or comments!

Sunday, October 13, 2013

Review: 1z Colourtec Wheel Cleaner

I've had this wheel cleaner for a few weeks and finally decided to put it to the test and see what how it worked out.

I have to start it off by saying this stuff is pungent, incredibly, bad enough where it's stored outside.  It also was incredibly strong while using it, you can see my findings below.

Product Link


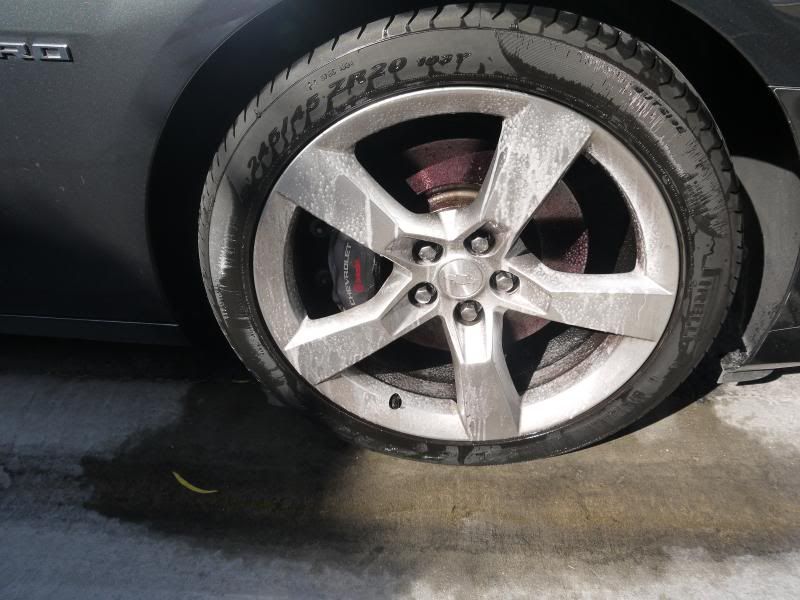
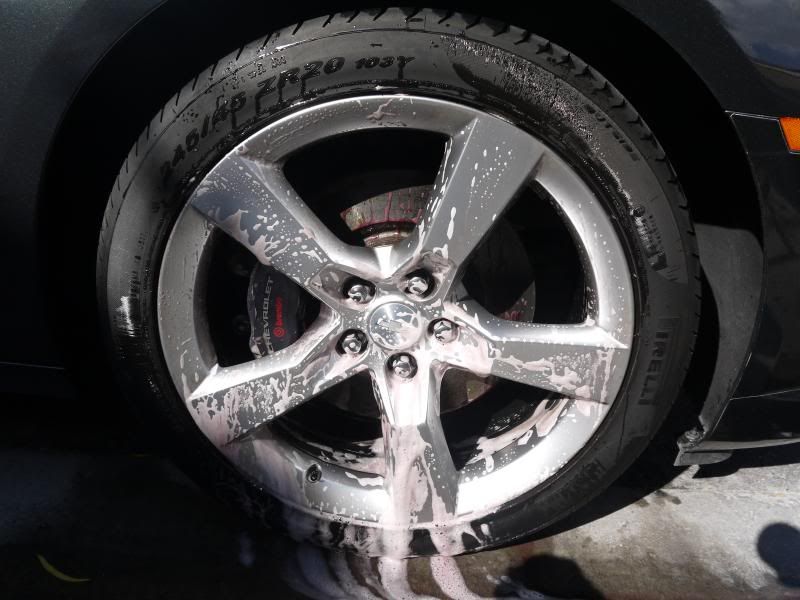
I found this product to have quite a liberal sprayer which I liked for using on wheels.  The color change was also incredible apparent, much more so than Sonax Full Effect.  You can see below on a close up shot.


My other finding were that with even the slightest agitation caused quite a bit of foaming which was very clingy and great for cleaning the wheels.  My technique for using this was to lightly rinse the wheel, spray the product liberally, slightly agitate to add to the foaming, then following this up with rinsing/agitating with a Wheel Woolie heavily to clean the wheel.  I followed this up with a simple microfiber wipe down. 


But my overall thoughts were that it works fantastic, foams incredibly well, smells horrible (even more so than Sonax Full Effect, up there with IronX in my opinion), but is likely the most cost effective wheel cleaner out.  Definitely wear gloves as well when using this product.

Thanks for reading, post any comments or questions below.