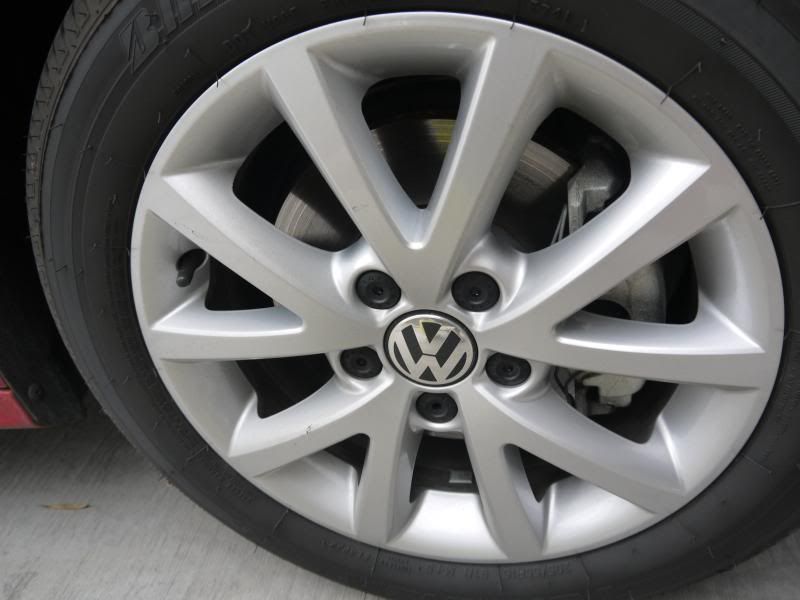
You've got all the products and the car is all cleaned up. You're done right? Almost...now comes the clean-up portion.
I'll begin with a list of common tools used and how I personally clean them as well as possible issues that you may face.
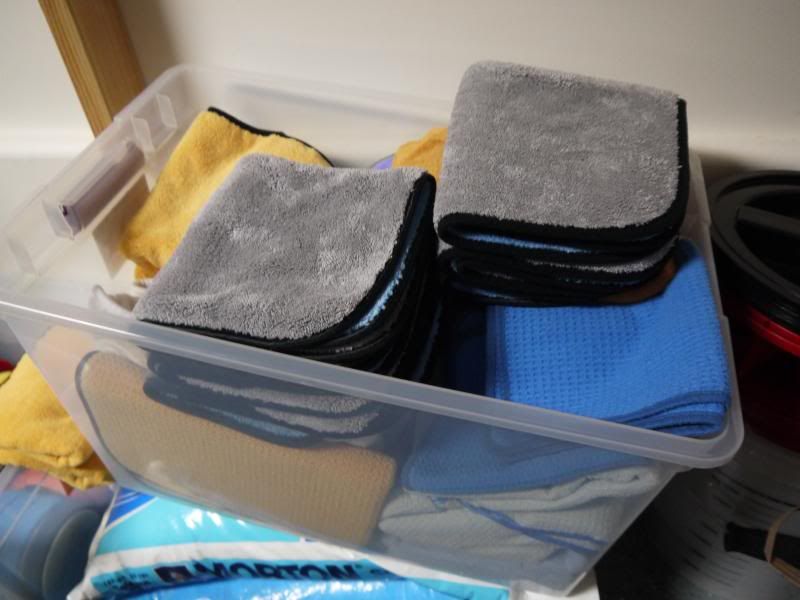
Towels
For basic cleaning of towels after using them I will bring them in soon after I'm done and they go straight into the wash. Now right now I've been continuing to use 3D Towel Kleen (
you can find my review here). I find that it works great, gets them clean, and fluffy. This is not a requirement as I used All Free & Clear for a few months and found no detriment to using them but I do find that a dedicated microfiber cleaner does bring them moderately softer. It is extremely important though that any cleaner that is not created with a microfiber cleaner purpose is dye free, scent free, and is not a fabric softener. The issues that could arise should you do this are clogging towels, possible marring of your paint, and just degraded performance overall.
Here is a possible scenario, you wash your vehicle and just don't have time to wash your towels for a day or two, what do you do? Well two options, which I have used both, and found worked just fine.
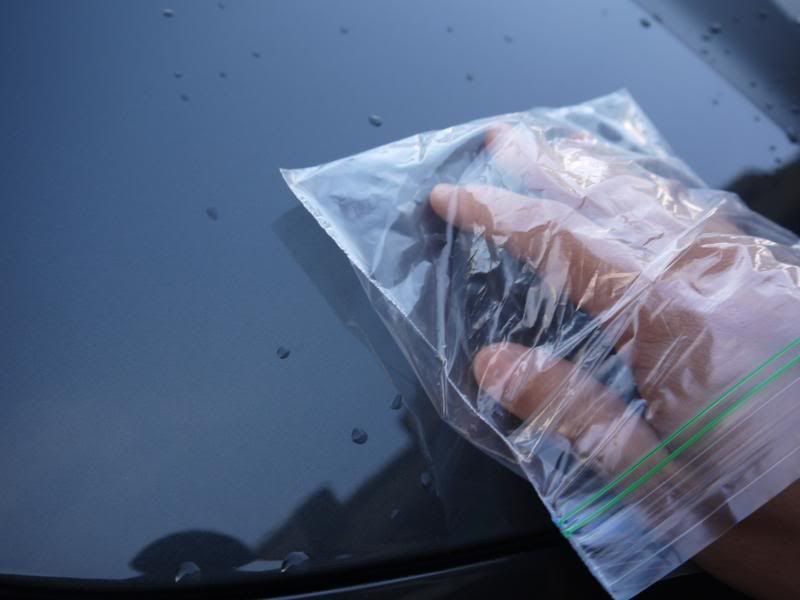
The first is for those of you that do rinseless washes such as myself, for this I will put all the used towels back in the bucket of water and rinseless wash solution.
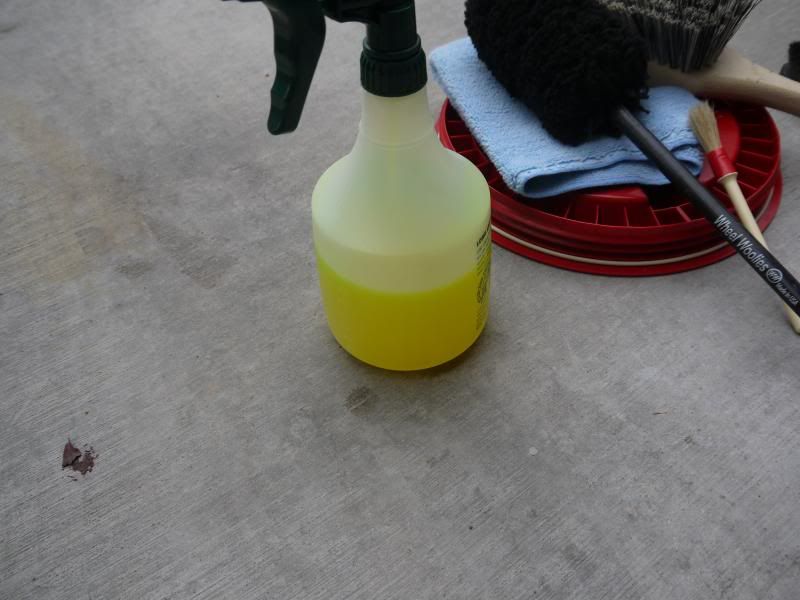
Option number two is for when you don't have a pre-mixed solution to store the towels until you can wash them. For this situation I will mix 1-2 gallons of water and 1-2 ounces of APC (all-purpose cleaner). This varying on how many towels you have and how soiled they are.
Common issues that you may run into after using towels for quite a while are lack of absorption, towels no longer as soft as they are when new, and after washing your towels they do not have that same feel such as washing and drying isn't fully cleaning them. This usually occurs with towels that are used for wax buff off, unfortunately washing and drying over time isn't enough to full clean your towels. But alas there are solutions to this.
One solution many people do and some on every wash is right in your kitchen pantry. Vinegar. Many people after washing their towels will put their towels in another rinse cycle but this point adding vinegar to their rinse cycle only. The amount varies with some people using 1 teaspoon per towel, but a simple portion to add is 1/4 cup to 1/2 cup max depending on towel load. Vinegar helps assist in removing any residue that may be embedded in towels.
The second solution involved boiling your towels. This may seem odd and improbable to work but has been used for years. By boiling your towels for 10-20 seconds then letting them air dry out you are doing a similar function to adding vinegar to the rinse cycle.
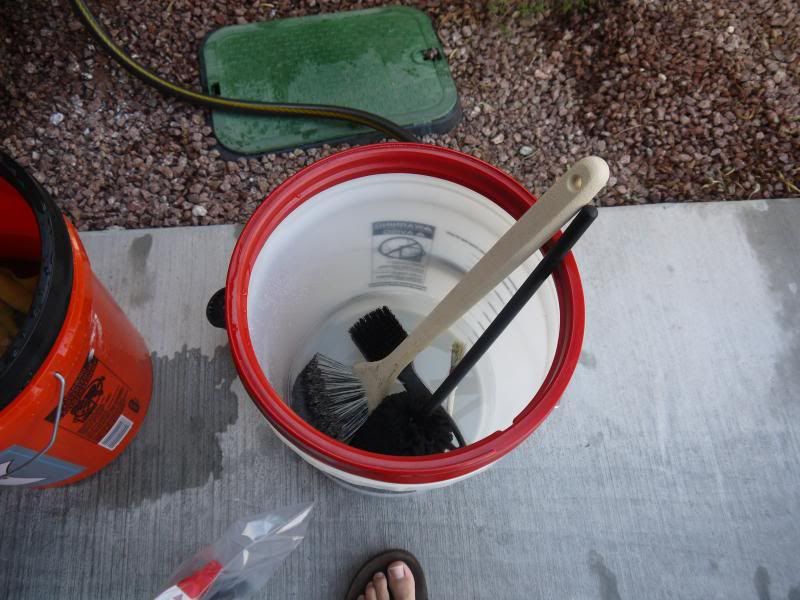
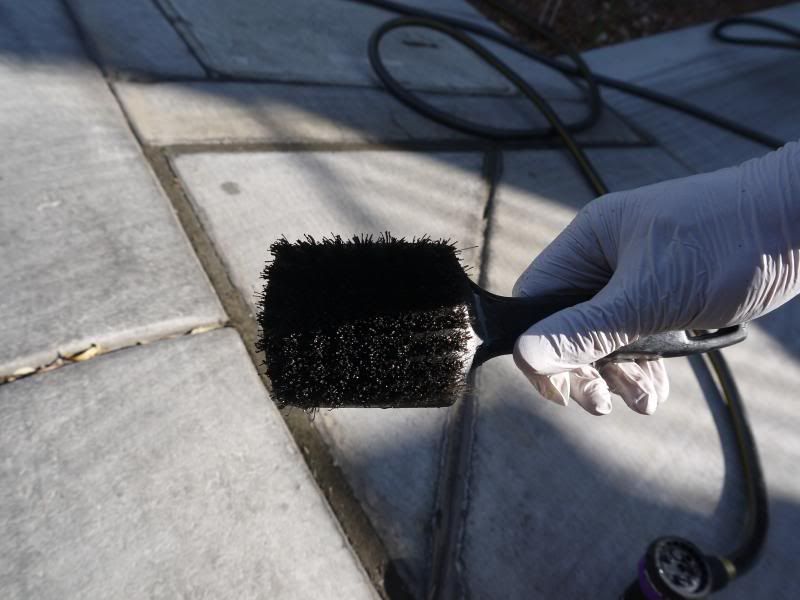
Brushes
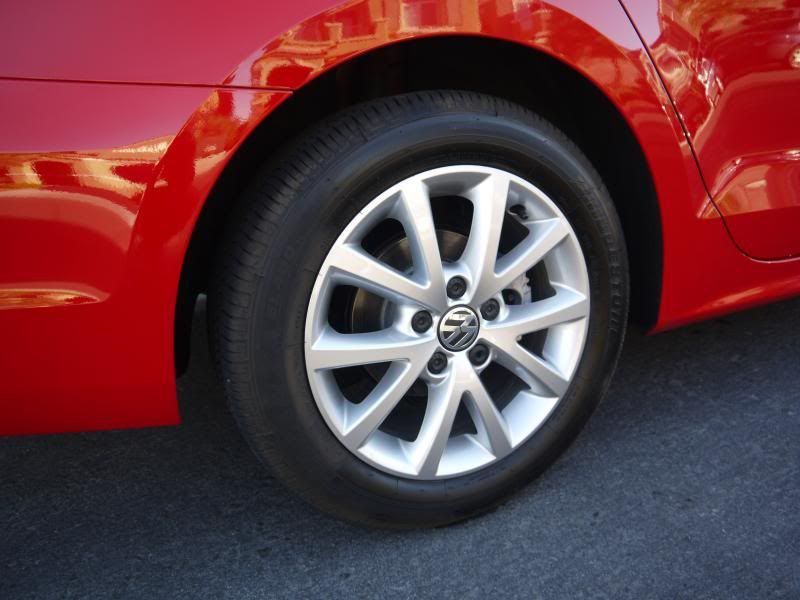
Moving on to brushes, in your detailing you will use a wide variety of brushes such as, Wheel Woolies on your rims, long fender well brushes, paint-safe brushes on plastic parts, between body creases, such as Race Glaze brushes, and numerous others. The good thing is these can all be cleaned similarly. For these a similar soak in water and APC followed by a thorough rinse out well get these clean and back to new condition. Be advised that Wheel Woolies hold quite a bit of water and need to be dried out before storage or hanging.
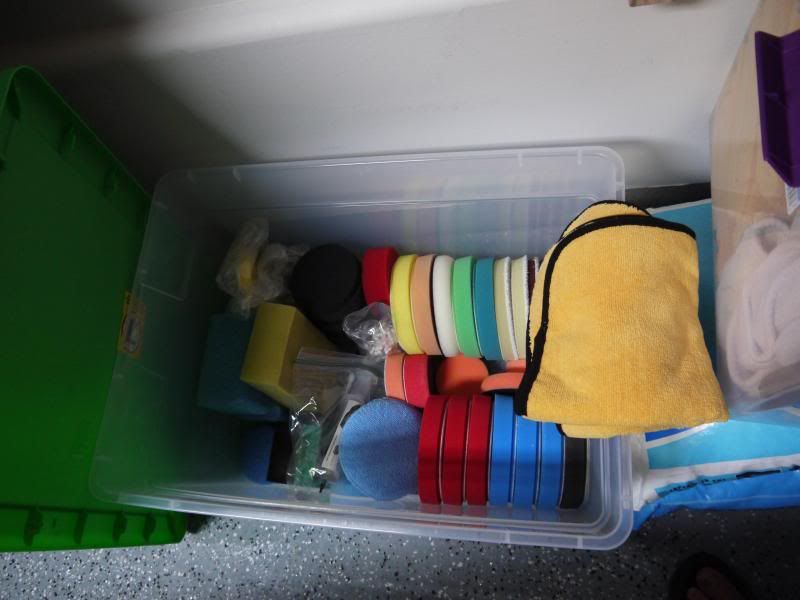
Applicators
Whether it be foam applicators for waxing, sealants, or tire dressing applicators they can all be taken care of easily.
For foam applicators that are used for LSPs (last step products, such as sealants and waxes) I use Dawn, specifically Power Clean. Dawn has been used for years to break down waxes and sealants. By soaking these items submerged in the sink with Dawn and for 30 minutes or so, some items will require multiple sessions. Soaking and rinsing has never been an issue and bring applicators fresh and clean, ready for the next action.
Now as for tire dressing applicators since these usually get extremely dirty require more heavy duty cleaning. For these I wash and dry these specifically with my heavy duty towels. These are the towels that I use for the grimy work, undercarriage work, wheel cleaning, etc... Since these get quite trashed working the similar areas there is no issue washing these together. By washing non-paint safe items separate from paint-safe items you reduce cross-contamination and avoid any chance of having dirt getting stuck in your paint-safe towels.
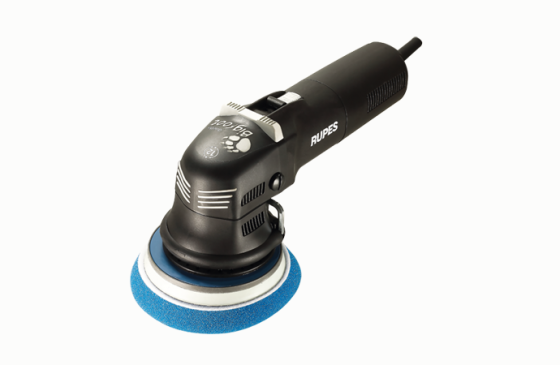
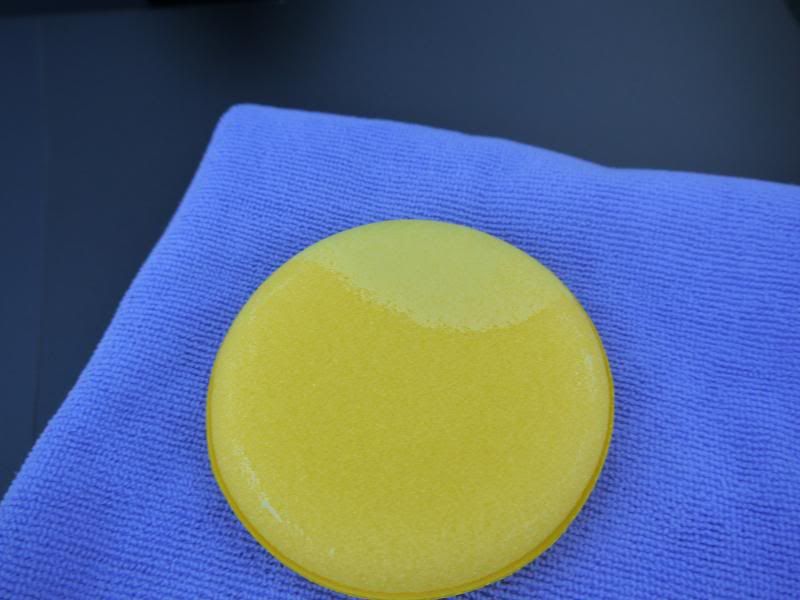
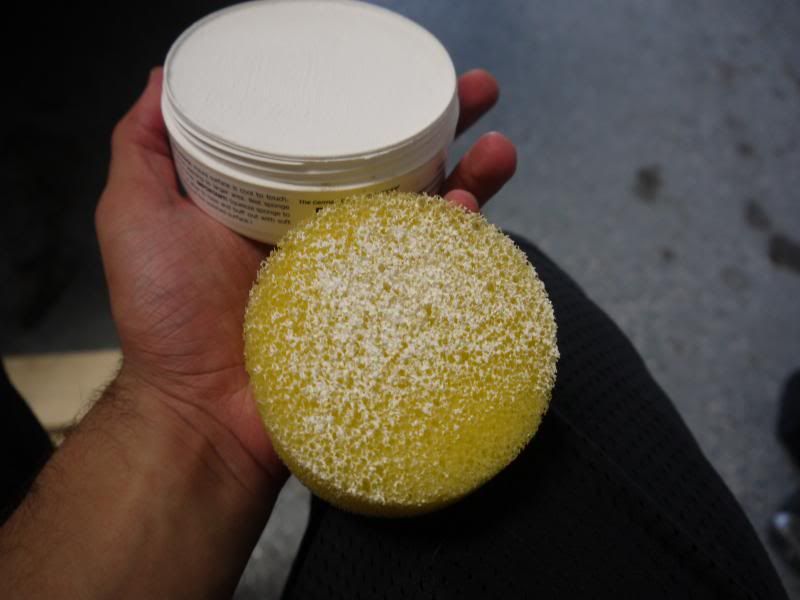
Polishing Pads
The last item are polishing pads and I clean them in the same way as foam applicators. Just a simple soak in Dawn and water in the sink. It may take numerous rinsing out sessions to get all of the polishing oils, soap, and pads completely cleaned out.
And last but not least,
STORAGE
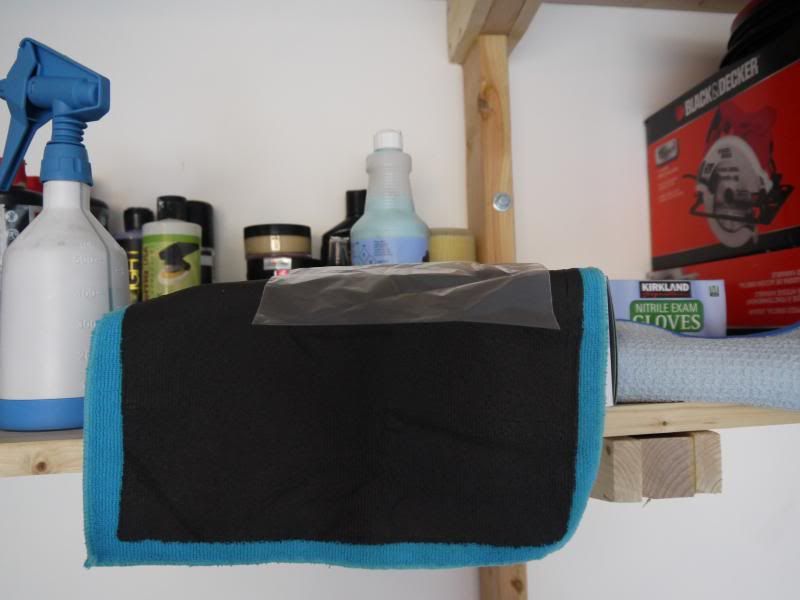
For me I prefer to keep my equipment organized into totes, this lets me keep my product on shelves and be much more economical with my space. It also makes sure that nothing comes in contact with the towels since the totes only contain what I choose, unlike wooden shelving which could have splinters and other debris on it.
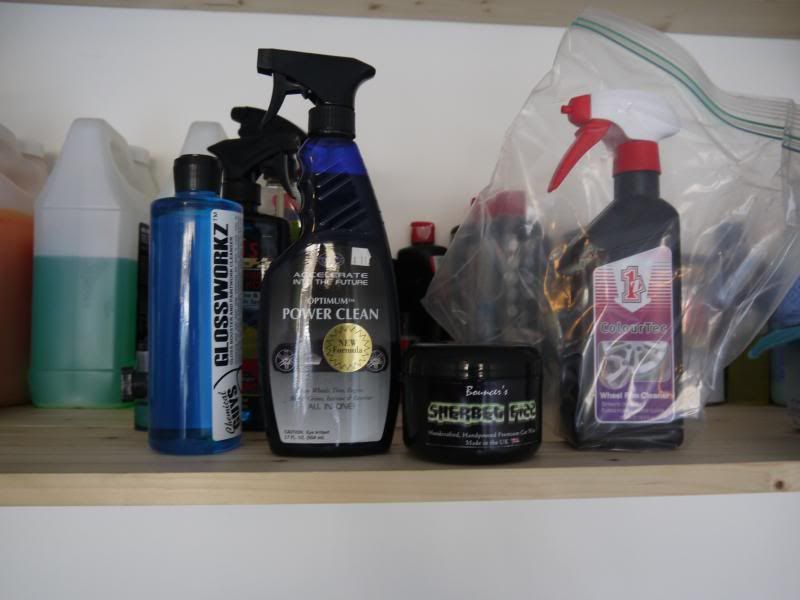
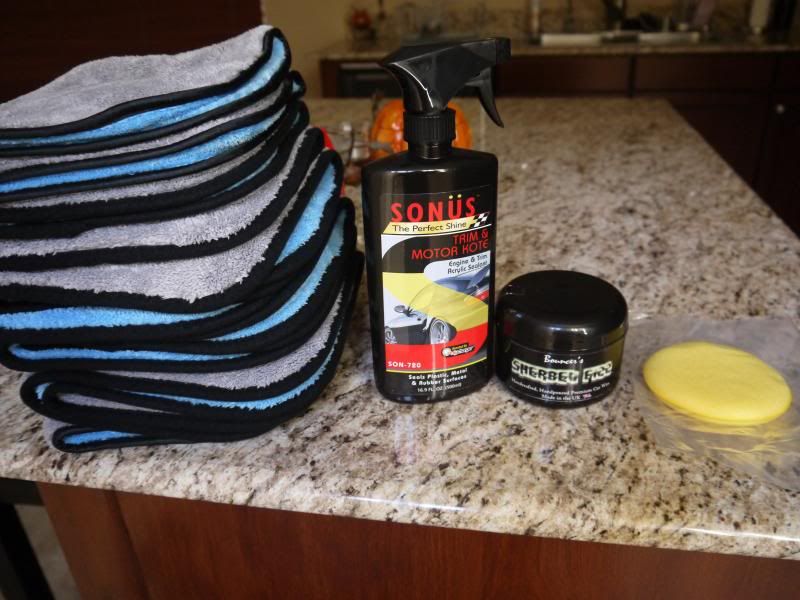
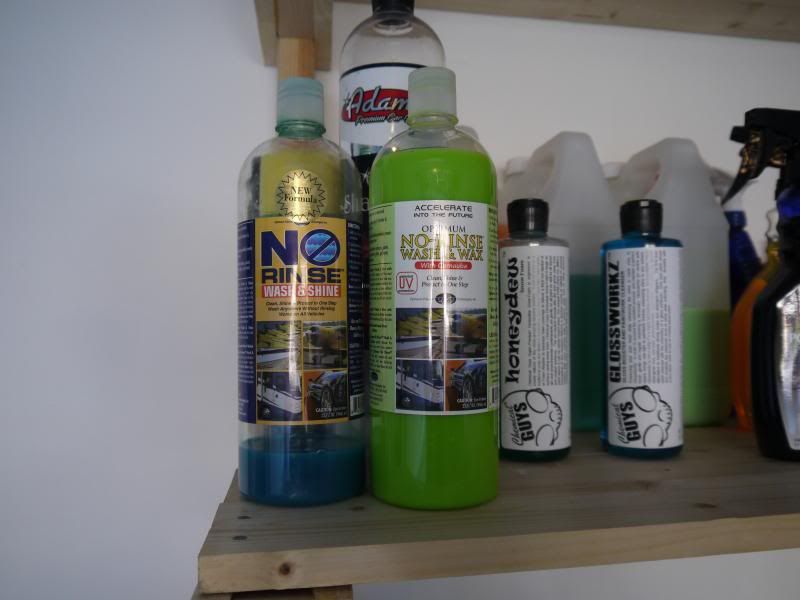
Here's a few quick pictures of my collection.
Towels
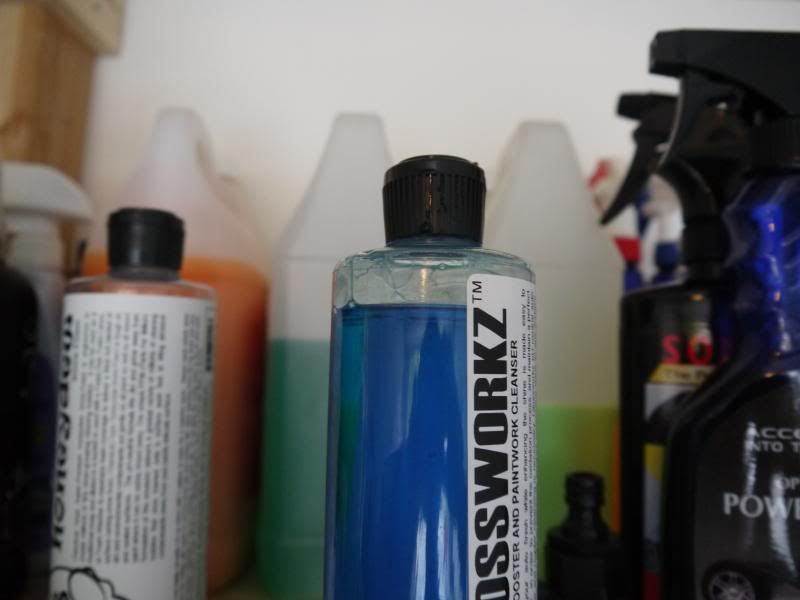
Product Links
Microfiber Madness Towels
Microfiber Cleaner
Pads/Applicators/etc...
Thanks for reading! Post any comments or questions below.