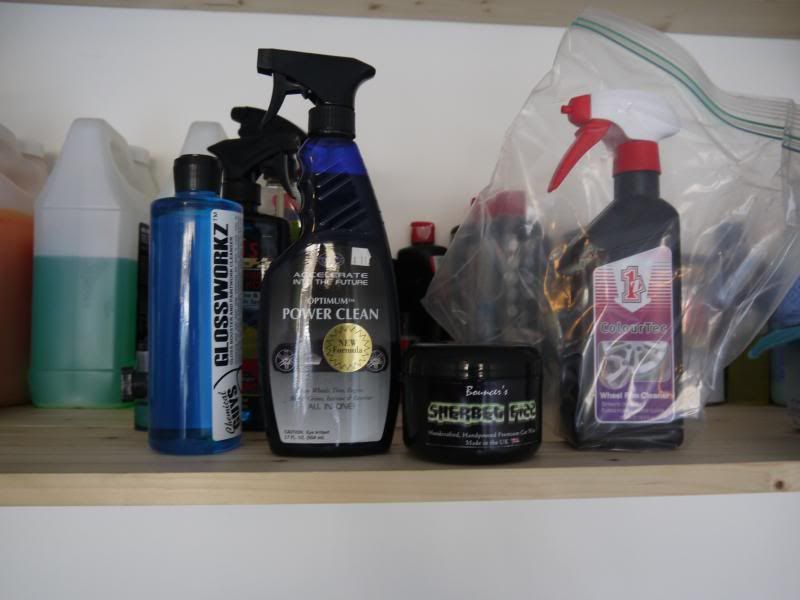
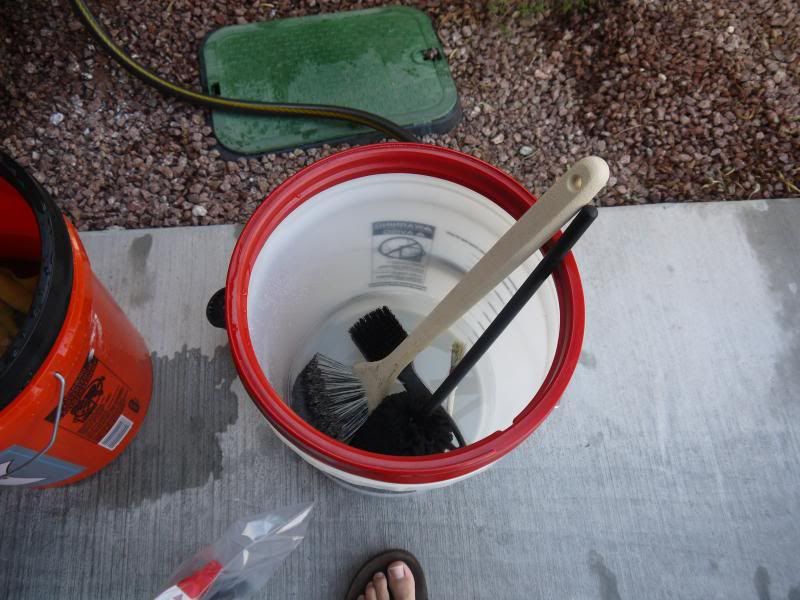
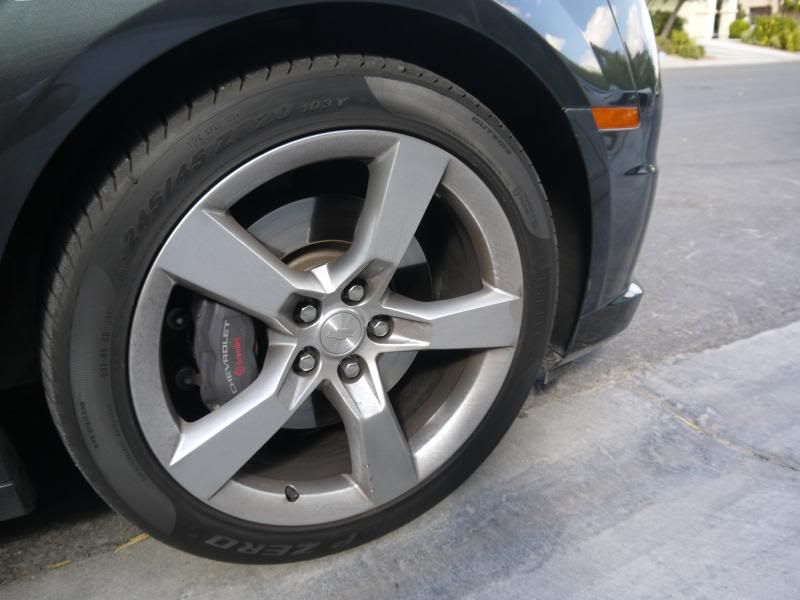
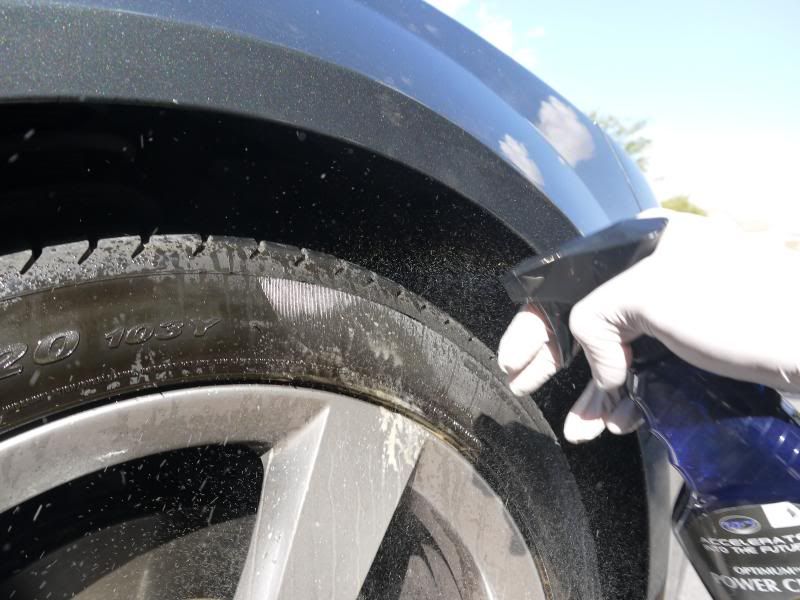
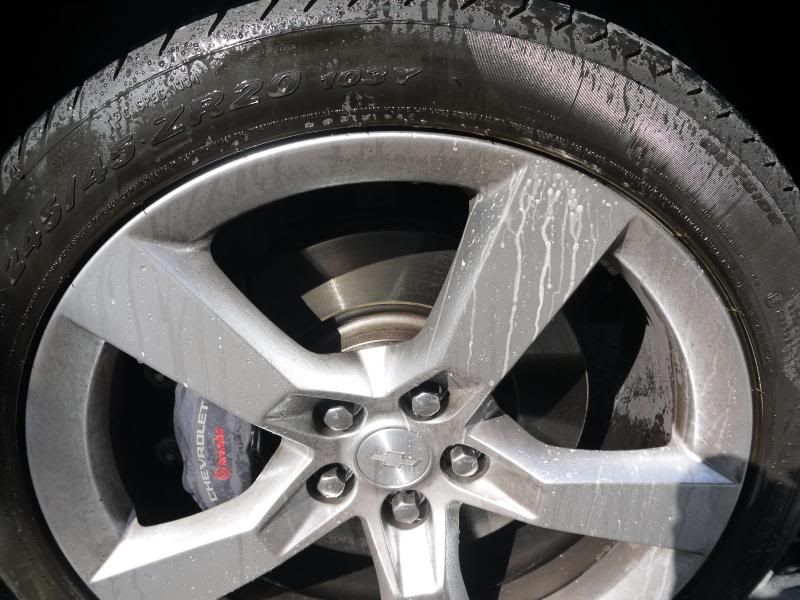
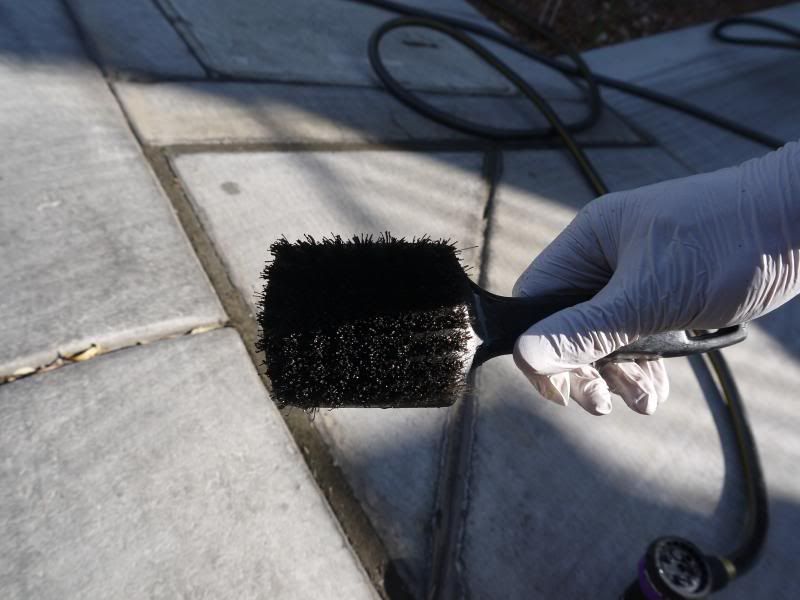
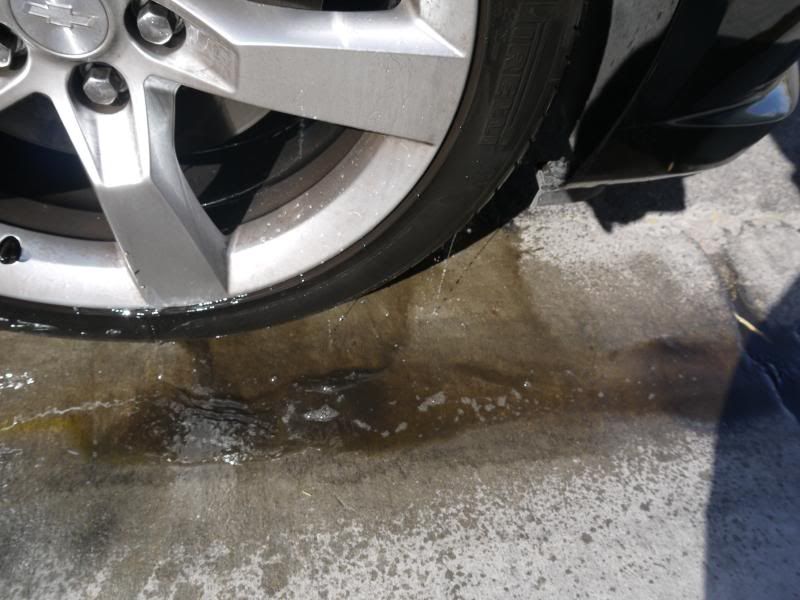
Moving on though, what do you do with your new car?! Well I've outlined steps on what to do and also provide you with options on different ways of protecting your new car. Now like any regular car wash start with the wheels. Now overall barring extreme environmental factors a simple rinse, gentle agitation with brushes like Wheel Woolies (which are fantastic), if you need a dedicated wheel cleaner congratulations because there are numerous but for simplicity's sake I recommend 1z Einszett Colourtec. I would next move on with a solid foam gun pre-wash such as Chemical Guys Honeydew. This will allow all of the extra and loose dirt to wash off reducing any chances of marring, scratching, etc... Next is a simple car wash dependent on the condition of the vehicle will determine if a 2-bucket wash or rinseless wash is required.
(Optional) Now this is where we go more in-depth because the car has been transported across large distances, more often than not it is done by rail. What traveling by rail allows is iron particles to embed in the paint that won't be removed by regular washing. Here is where we can use a product called CarPro Iron-X just spray it on, you can also work it in with a sponge if you desire, and watch it do magic. Let it sit for 5-10 minutes (I recommend making sure it is cool out when doing this to avoid spotting), and then rinse off, you will see red/purplish marks as you rinse it off where the product has bonded with iron particles and removed them from your paint.
After using Iron-X we can move on to claying, pretty standard, ensure you cover each area until it feels smooth (use the baggie test for reference). Check the link down below or post a comment below if you absolutely have any questions.
Polishing is the next step. Unfortunately this is where it gets murky. Why? Because every car is different, paint reacts slightly different between cars and wildly difference between makes and colors. This is where the least aggressive mindset comes in to play. You don't need or want to jump straight to wet sanding when a light finishing polish will do. So using common sense and having a few variety of products allows us to effectively do this. What this means if you're car is absolutely scratched and swirled like it was ran through a car wash a dozen times, using a light finishing polish and light cutting pad probably isn't the best idea and you likely want to start off with something mid range. So since paint varies here are a variety of options, here's this handy chart I made.
Cutting Pad
|
Aggressive Compound
|
Medium Polish
|
Finishing Polish
|
Wool
|
Meg’s M101
|
Meg’s M205
|
Menzerna SF4000
|
Microfiber
|
Meg’s M105
|
Menzerna PF2500
|
Menzerna SF4500
|
Cutting
|
Menzerna FG400
|
HD Adapt
|
Sonax 3/6
|
Medium
|
Wolfgang Uber Compound
|
Meg’s D300
|
HD Polish
|
Light
|
Optimum Hyper Compound
|
Optimum Hyper Polish
|
CarPro Reflect
|
Waxing
|
Sonax 5/4
|
Now I realize this can still be confusing, specifically with pads and which polishes to choose. All manufacturers use different color schemes with pads so it's not easy to say X pad will be Y color. Personally I find a microfiber cutting pad from Meguiar's followed by a light pad from Uber either green or blue gives great results on most paint. With polishes you don't need to have an entire collection of the above, more often than not you can adjust your pad choice to make a specific polish to work. The internet is also a great resource because you can likely find a paint correction thread on your specific car and color combo and read on what previous detailers have used effectively.
After polishing is compete a simple CarPro Eraser or IPA wipedown ensures the paint is bare, you can also go with a simple wash if you desire as well. Followed by a thorough inspection under sunlight and artificial light source of your choosing.
Lastly protection. How do we protect this piece of work we just spent hours and hours over. Well what are your options? Do you prefer to protect it and forget it? Or do you enjoy heading out to the garage every month or two and washing and waxing your car? If it's the first, go with a long-term coating such as Opti-Coat or CQuartz. If you enjoy waxing and sealing your car, choose a viable wax or sealant like Chemical Guys Pete's 53, Sonax Net Shield, Menzerna Power Lock, Blackfire Midnight Sun, Blackfire Black Ice, etc...
Well that's all for now! I'm sure as I go through this I'll remember more and edit this as well as add pictures once I get my car in.
Once again thanks for reading post any comments and questions below and I'll get back to you as soon as I can!
How-To's used in this post for reference.
Rinseless Washing
Wheel Cleaning
Claying
