Thursday, October 2, 2014

Foam Cannon and Iron X Snow Soap Review

I finally jumped the ship from foam gun to foam cannon from CarPro.  Here's a stock picture of what you can expect if you order one.


It attaches to a pressure washer replacing the lance portion.  You must know the correct connection or fitting to your specific pressure washer.  I have a Simpson Pressure Washer and used the Bosch fitting. It is nearly a perfect fit but the tabs are slightly too large but it works just not a perfect fit.

Here's a quick overall picture.  Those samples to the right may or may not be an upcoming sampler giveaway pack...


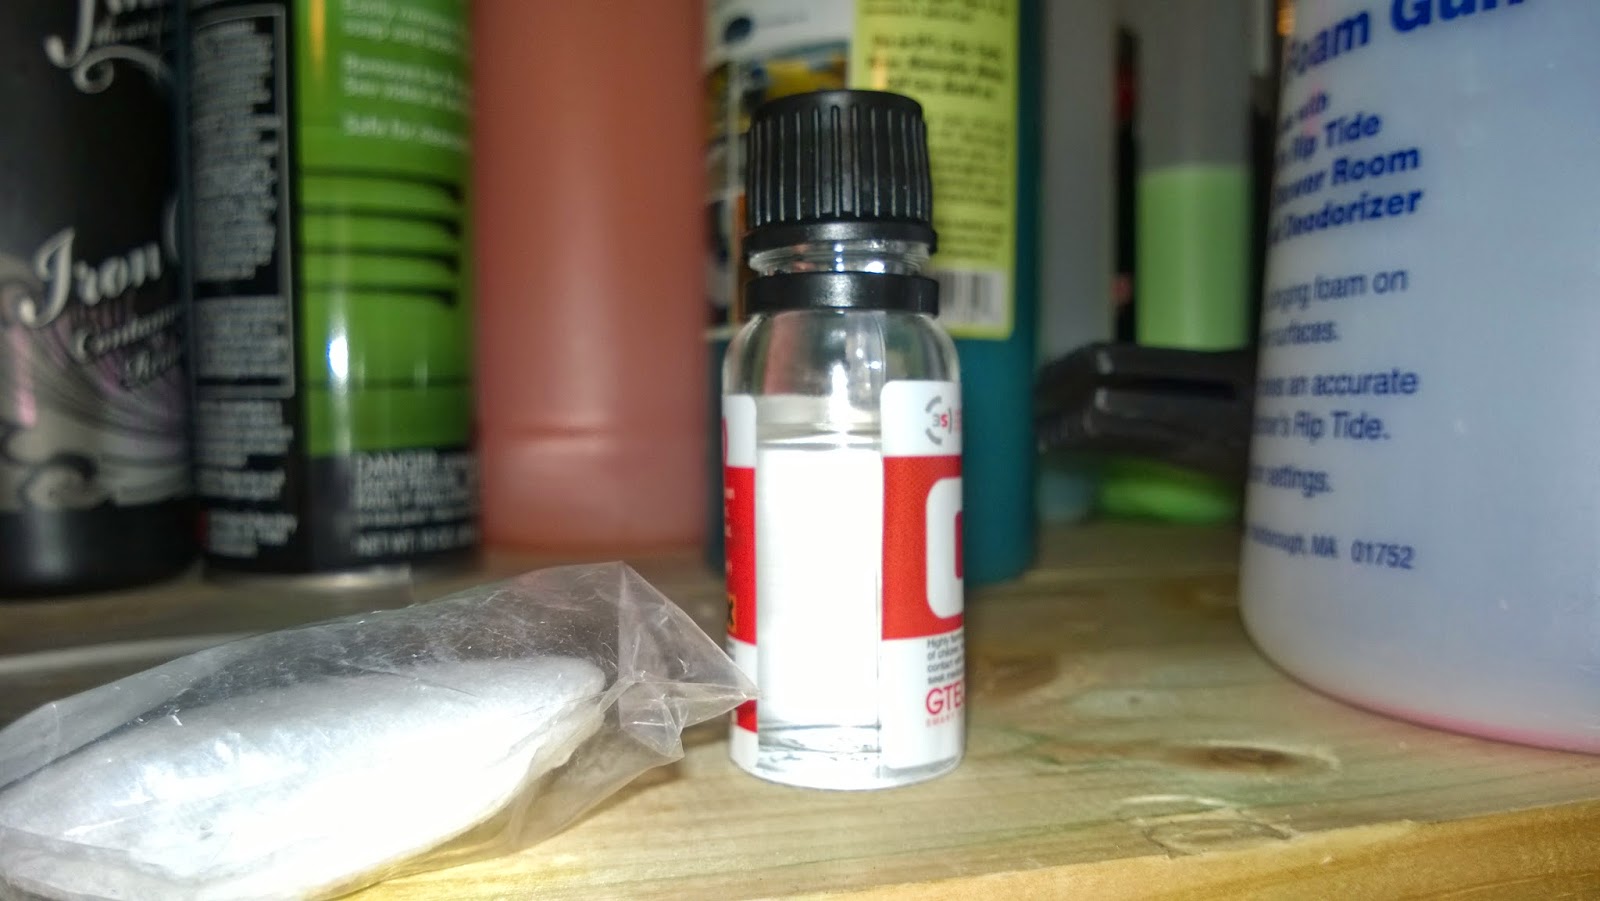
It's just a standard bottle and a sample of Iron X Snow Soap.  I figured it couldn't hurt to use that first.


Here's the foam that came out of just under 2 oz of soap diluted into the water bottle.


And another picture of the foam.


The foam cannon offers quite a bit more cling to the foam.  This helps because allowing the soap to dwell on the paint surface helps loosen surfactants, dirt and grime sitting on the surface.  It also assists in removing the light pieces of dirt which can be removed by spraying water.  This all helps in reducing swirls and scratches by helping you touch the paint less.

As for Iron X Snow Soap, 2 oz diluted just isn't enough for a foam cannon/gun I believe.  3-5oz is much more effective.  I didn't see anywhere near the iron deposits as compared to when using Iron X straight or the color change.  Iron X Snow soap is ph-balanced at a level of 7 and is safe for coatings and sealants.  It is much more cost effective than Iron X straight which can consume quite a bit of product per vehicle even when the method of spraying and spreading with a wet sponge is used.

Pros

  • Price
  • More efficient
  • Easier to Use
  • Smell is much, much more tolerable compared to Iron X
  • Will not strip Wax/Sealants
Cons
  • Effectiveness
  • Still has a sulfuric smell that may irritate some
Overall using this in combination with Iron X straight would remove the most fallout and iron deposits on vehicles.  But for a maintenance upkeep shampoo it does work effectively.  As a dedicated iron deposit remover I standby traditional Iron X.  If you are someone who can't stand the smell of Iron X this is a viable alternative, it works, it's cost effective as well.

As for the foam cannon it's great, the higher pressure assists in knocking off dirt and grime much better than the foam gun.  While the foam gun is good for those without a pressure washer or wanting soap that moves quickly I believe clinging foam that breaks down dirt is more effective.  It is a premium type option, but it looks awesome and does assist in avoiding swirls.  In addition, detailing should be a fun hobby not work, and a foam cannon is just plain fun.


Finally, a couple shots of the finished product.


Thanks for reading!


Wednesday, October 1, 2014

Best Cloth Seat Cleaning Tricks


Courtesy of Larry at AMMO NYC

Monday, September 22, 2014

Polishing Your Exhaust Tips with P21S

Today we'll tackle exhaust tip polishing.  We will be using P21S Polishing Soap and going after the BRZ's exhaust tips.  P21S Polishing Soap is a clay based polish first designed for silversmiths actually and has been designed for use on chrome, polished surfaces, and many other metal surfaces.  As with any product try it out in an inconspicuous spot first.

So here we are.  We'll start off by cleaning the tips and surrounding areas with Chemical Guys V07, I use this product because it is a hybrid of detail spray while also having some sealant properties.


Here's what we've picked up, quite a bit of dirt but nothing too tragic.  Driving through the rain (yes here in Vegas we occasionally get rain) bounced up a few splashes of water.  But now it's time for polishing.  The polishing soap comes with a sponge in the polishing container that is quite abrasive.


 First to wet it until it's damp.


Then squeeze out the extra water until it's damp.


Give it a good swipe until there's a good layer of soap on it.  Be advised a little goes a long way with this product.


Lather the sponge and go to work on the exhaust tip, working in multiple motions until it's been polished to your liking.


You can see even after cleaning embedded dirt lies within the metal and comes out when heavily worked with.


But nothing a simple rinse can't fix!


And here we are brand new and sparkling clean again!


Thanks for reading!

Friday, September 19, 2014

Does Wax Affect Gloss?


A common question many people will come and ask me is the variant of which wax do I use, which will make my paint look the best.

First off no product will make your car and paint look better than it being clean and relatively swirl free.  By polishing the paint to a swirl free surface you create a more uniform surface which allows the light to be better reflected back

Secondly though is whether products can affect gloss.  Now, it wouldn't be fair to purely look by the eye and say "Yes X wax looks better than Y sealant" because that's as reliable as saying that exhaust makes your car feel faster therefore it is putting down more power on the dyno.

I recently came across an interesting study over on the Tesla forums that uses a gloss meter which measures reflectivity of a surface.  As you can imagine, a more reflective surface has more gloss.  The forum post can be found here

The results were taken after eight weeks starting at initial application.  Here is a cutout of the spreadsheet and the products tested.


I found these results interesting but I will not make any conclusions on them.  Post below what you think and your take on it!

Thanks for reading folks! Follow my blog with Bloglovin

Find Your Water Hardness!

A common issue for car owners is water spots.  These are caused by minerals found in the water supply and are allowed by the EPA to be up to 500 parts per million.  Ways to combat this are to use in-line filters or de-ionizing systems that use minerals to reduce these amounts.

An easy way is to head on over to ZeroWater.com


Then input your zip code on the bottom right.


Here is an example of my reading! The higher the reading the higher the mineral content which leads to easier water etching, spotting, and will inform you if your water is nothing to worry about or whether you are asking for issues by letting it remain on your paint.


Thanks for reading!

Sunday, September 14, 2014

Premium Shine Is Now on Twitter and Pinterest!

Yes you read that right!

Stay up to date on the latest from Premium Shine on Twitter and Pinterest!

You can find us on Twitter at @PremiumShine
 
Or on Pinterest at Premium Shine

Follow my blog with Bloglovin

Thanks for reading! Looking forward to seeing you on each site.


Saturday, September 13, 2014

Simple Wash plus Gtechniq Exo V2 and C4 Reviews

Hello fellow detailers and viewers!

Today is a comprehensive review over Gtechniq Exo V2 and C4 Trim restorer.  Ahead I'm doing this on the Jetta which previous readers will know currently has a layer of Opti-Coat over the vehicle except the hood.  You can find that paint correction here.  This is going to be a simple wash, interior clean, clay and polish with SF4000 and multiple dressing/coatings.

First off was a simple interior clean.  Vacuum first, if you need to know how to vacuum, take your shop vac, press on, take the end of the hose where dirt is.  Done!  I did also touch-up the rubber mats, these came upgraded and are absolutely awesome.  A famous brand for the aftermarket is Weathertech.

Here's what these have been through as a daily driver.


Can you tell which have been cleaned yet?


A simple scrub with an interior cleaner, don't worry these were hosed down on the backside before being placed to dry and in the car.


Just Blackfire Interior Cleaner and a Mother's brush.  These really don't need anything too much done to them.  You could put trim dressing if you wish, but with the abuse in a daily driver these get I don't know how long it would last so I chose not to, also you have to be extremely careful that anything you put on is dry and non-slippery.  It can very easily turn a quick drive into your foot slipping off the brake or gas pedal, similar to uneducated people putting tire shine on top of the tire.  


Up ahead I was able to get a cool video showing different LSP's and how they degrade over time.  Check out the video below especially the lack of sheeting and beading in portions.


Also found this nasty rockchip.  Need to get that kit from Dr. Colorchip ordered for the Tornado Red.


Now onto the goodies Gtechniq C4 and Exo V2 in their respective packaging.


Here are the tools of the trade for the hood polishing, note claying is already complete.  HD Adapt, Blue Uber Pad, GTechniq Panel Wipe, and of course a flashlight.


Alright first off the GTechniq C4.  It came with a few cotton applicators similar to ones found at cosmetic stores.  They aren't the most resilient as can be seen below.

 Here's a comparison between a treated trim and untreated.

For application just a couple drops on an applicator pad and neatly and carefully dress the trim you want covered.  Following application a microfiber towel wipe over the covered areas.


 This is how much was used to cover four window trims and the top part of the engine cowling.  Roughly 1/4 of the bottle.  It has a weird smell I noticed, kind of like an extreme rubbing alcohol type smell.


Now onto Exo V2, it came with a pretty nifty cotton applicator with finger pockets and a pair of gloves.  As I already have hundreds, I just tossed them to the side for another day.  


For application; similar to C4 and any other coating, just a few drops applied in a cross-hatch pattern over the panel followed by a light buff by a microfiber towel to knock down high spots.


Here's how much was used for the hood and a couple touchup areas that needed coating.  Roughly 1/5 of the bottle.


Now unfortunately the sun was already down but I did get a good one in the garage.  Here's the final product!


Let me know if you have any questions and feel free to post below!

Wednesday, September 10, 2014

Microfiber Pads and a Quick Update

I had to go back and knock out a couple rough areas and decided just to go with a tried and true favorite.  Menzerna FG400 on a Meguiar's Microfiber Pad.


You can see this is after a quick section was completed, the fibers are laid down and are not cutting to their true potential.  By using a simple pad brush or an air compressor to "refluff" the fibers you cna rejuvenate the pads quite easily.  It is also important to keep the heat down to reduce the risk of de-lamination and the pad breaking down.  Keep your polisher in the 4 speed range when cutting and let the pad do the cutting not pressure. 


I decided to go after this RID again.  Now since its directly near the door jamb and near the side window a full 5" pad wouldn't work.  This is why the Porter Cable 7424XP is now dedicated to 3" pads for these tighter areas.  I went with a Cyan Hydrotech pad and Menzerna FG400.  You can see how easy it was to see even without having to force the camera to focus and in pure daylight.  


Here it is after.  I could keep chasing it but unless the light catches it perfectly it has diminished by quite a bit.

Microfiber pads have to be dealt with slightly differently than foam pads.  If you have any questions on taking care of microfiber pads or recommendations or help with them, feel free to post below.  Thanks for reading!

Wednesday, August 13, 2014

BRZ Opti-Coat

I decided recently to Opti-Coat the BRZ and took yesterday and today to go ahead and get that done.  I went with the usual foam wash with Chemical Guys Maxi Sud and All Purpose Cleaner added in for some extra stripping power.  Followed by a Nanoskin clay, polish with HD Adapt, wipedown with CarPro Eraser and GTechniq Panel Wipe, then Opti-Coat.


Then after the solid foam bath and deep wheel and wheel well cleaning.


Time to let the brushes soak in some APC to clean them out while I pressed on.


Following the standard rinseless wash, I went with a Microfiber Madness Duo wipedown.  Dry Me Crazy followed by the Crazy Pile to knock out any towel marks or stray water left behind.  Not that its possible the Dry Me Crazy soaks up a ridiculous amount of water.
 

Nanoskin clay was next, I used Ultima Waterless Wash as the lube and just a simple waffle weave to wipedown residue leftover.  Waffle weaves are great for claying since the surface is already clean you don't need to worry about the short nap and they are lightweight, easy to use, can be folded numerous times, and soak up multiple times their weight in liquid.


D'oh!  Bottle of V07 fell and broke the sprayer, good thing I keep a few extras around and used up a bottle of CarPro Eraser on this detail.


Following with the duo wipedown, I've began to really use this technique in most aspects, two towels is better than one especially on softer paints.


RID down below, didn't try chasing this one too far, may have to use some Dr. Colorchip later on to see if it can be filled in slightly.  I don't think I'm ready for wetsanding just set but that may change.


For the polish I went with HD Adapt and a Blue Uber Pad.  Worked pretty good overall, just a light polish for most but there were a few areas where I needed to go over it again or use varying amounts of pressure.  Found a few spots after I had opti-coated where I missed some, oh well just a project for another weekend.


So, I finally decided to pass this along, I see it quite a few times about draping the cord of an orbital polisher over the shoulder.  But personally I don't think it's good enough, I've had it fall off on more than one occasion. What I've moved on to doing is wrapping the cord around my opposite leg as well, this prevents slack from building up which keeps pressure tighter on the line.  Technique only but I like it and will continue to use it.


Wipedown post polish was done with CarPro Eraser until it ran out then followed by GTechniq Panel Wipe.  Both work great, Eraser by far has a better scent but ease of use is just about equal.


Again I went with a crazy pile to ensure nothing was transferred to the surface.


Opti-Coat time!  Dual Pro Applicator as used and a Gold Plush disposable towel.  I'm not a huge fan of trusting these towels to remove all the residue and be used on the paint again.  Also, interesting issue, since I don't use Opti-Coat too often the blue applicator tip must have had some stuck in it because it refused to work, I ended up going without a tip and using it that way.  The black locking tip still works perfectly.


And the final product, followed by more than one walk-around to check for high spots and missed spots.  Found just a couple, but for a daily driver 85-90% is acceptable but I'll be sure to go back and knock out those couple missed areas and re-apply Opti-Coat.  Ensure if you do this to tape around the area to reduce the area you are removing Opti-Coat from since it needs to be re-applied after polishing.


Thanks for reading!