Showing posts with label Polishing. Show all posts

Monday, September 22, 2014

Polishing Your Exhaust Tips with P21S

Today we'll tackle exhaust tip polishing.  We will be using P21S Polishing Soap and going after the BRZ's exhaust tips.  P21S Polishing Soap is a clay based polish first designed for silversmiths actually and has been designed for use on chrome, polished surfaces, and many other metal surfaces.  As with any product try it out in an inconspicuous spot first.

So here we are.  We'll start off by cleaning the tips and surrounding areas with Chemical Guys V07, I use this product because it is a hybrid of detail spray while also having some sealant properties.


Here's what we've picked up, quite a bit of dirt but nothing too tragic.  Driving through the rain (yes here in Vegas we occasionally get rain) bounced up a few splashes of water.  But now it's time for polishing.  The polishing soap comes with a sponge in the polishing container that is quite abrasive.


 First to wet it until it's damp.


Then squeeze out the extra water until it's damp.


Give it a good swipe until there's a good layer of soap on it.  Be advised a little goes a long way with this product.


Lather the sponge and go to work on the exhaust tip, working in multiple motions until it's been polished to your liking.


You can see even after cleaning embedded dirt lies within the metal and comes out when heavily worked with.


But nothing a simple rinse can't fix!


And here we are brand new and sparkling clean again!


Thanks for reading!

Wednesday, September 10, 2014

Microfiber Pads and a Quick Update

I had to go back and knock out a couple rough areas and decided just to go with a tried and true favorite.  Menzerna FG400 on a Meguiar's Microfiber Pad.


You can see this is after a quick section was completed, the fibers are laid down and are not cutting to their true potential.  By using a simple pad brush or an air compressor to "refluff" the fibers you cna rejuvenate the pads quite easily.  It is also important to keep the heat down to reduce the risk of de-lamination and the pad breaking down.  Keep your polisher in the 4 speed range when cutting and let the pad do the cutting not pressure. 


I decided to go after this RID again.  Now since its directly near the door jamb and near the side window a full 5" pad wouldn't work.  This is why the Porter Cable 7424XP is now dedicated to 3" pads for these tighter areas.  I went with a Cyan Hydrotech pad and Menzerna FG400.  You can see how easy it was to see even without having to force the camera to focus and in pure daylight.  


Here it is after.  I could keep chasing it but unless the light catches it perfectly it has diminished by quite a bit.

Microfiber pads have to be dealt with slightly differently than foam pads.  If you have any questions on taking care of microfiber pads or recommendations or help with them, feel free to post below.  Thanks for reading!
Thursday, March 20, 2014

An Easy Info-Graphic Courtesy of Autogeek

Here's an easy to read info-graphic courtesy of Autogeek.  Outlining the basic process dependent on vehicle condition.  Enjoy!

 photo flowchart.jpg

Sunday, August 4, 2013

Review: Diamondite Glasswork System Kit for Machine Application

This is a great kit for those without an orbital polisher or want to use a drill instead, it comes with all the pieces required but the drill.  After previous attempts by hand not leading to the results I wanted I picked this up today and used it. Results shown in the pictures.

So this is why hard water is horrible as well as not being with your car for months while it has to sit outside unfortunately.

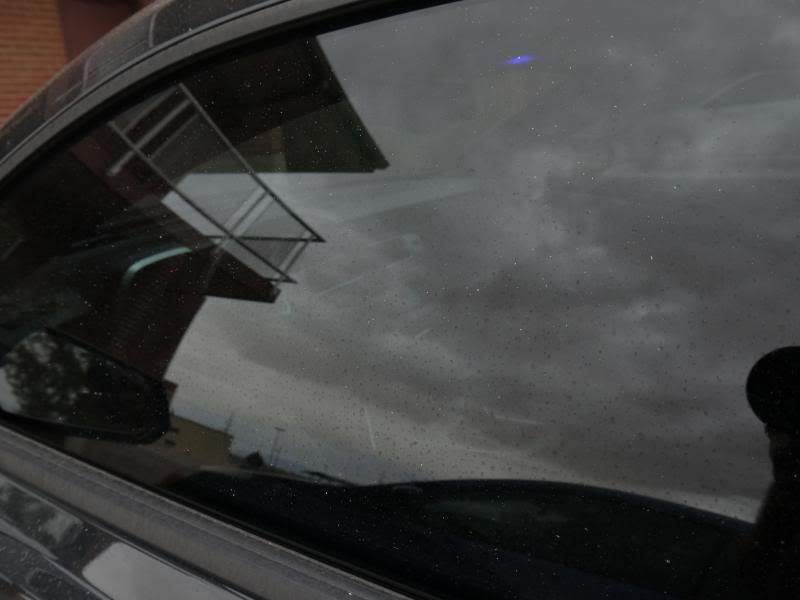
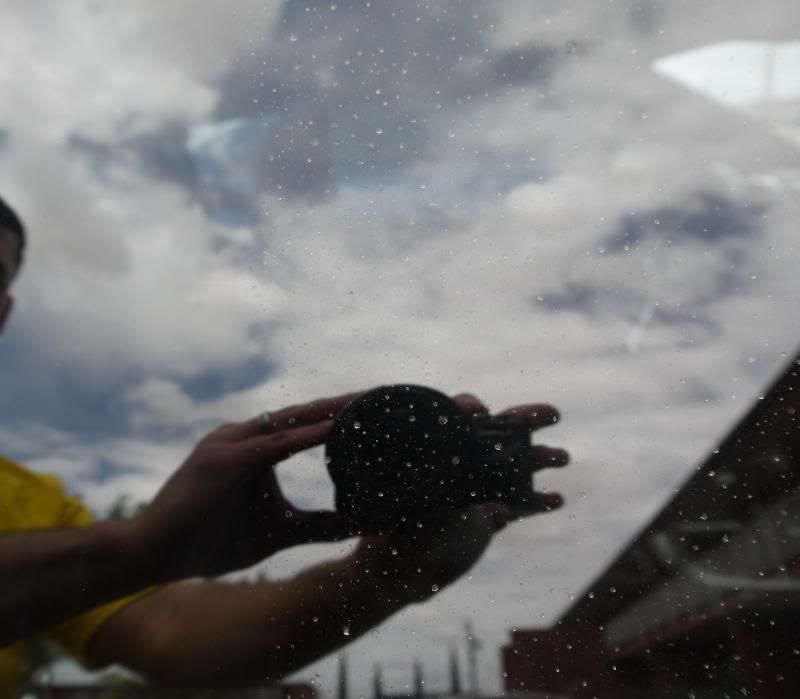
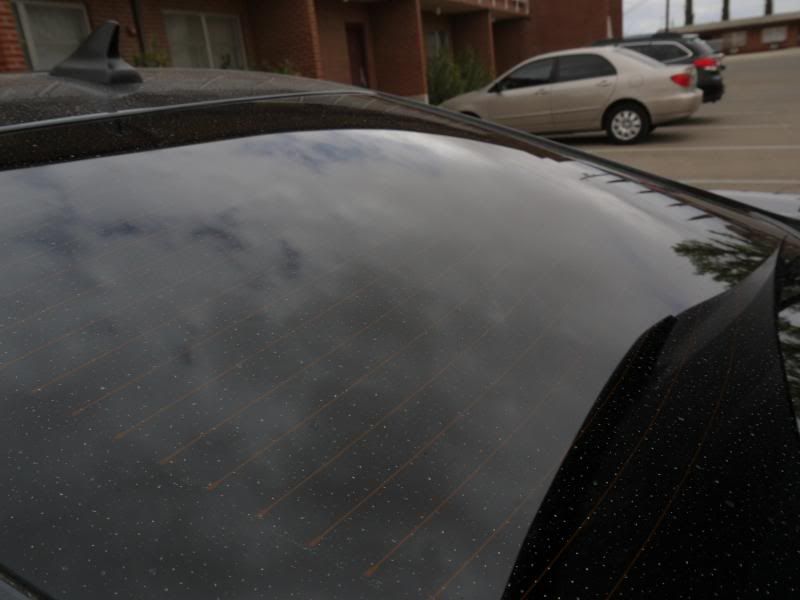
Here's what I'm dealing with


You can see it's full of water spots and living in the southwest means dust storms, plus rain do not equal a good combination and can cover your car in minutes.

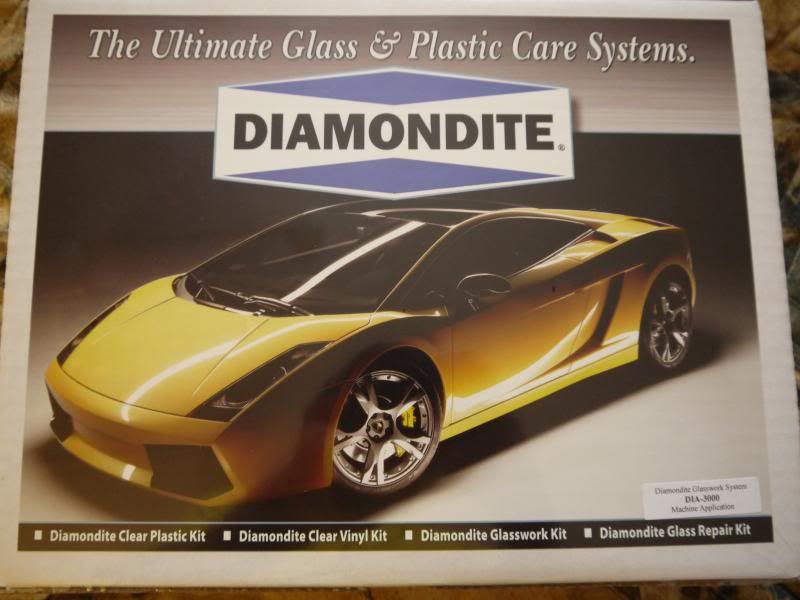
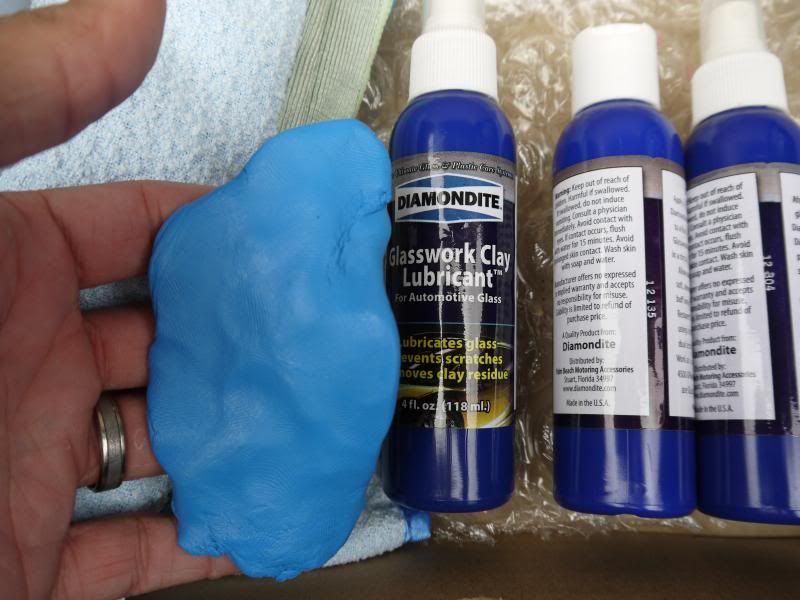
And here's the kit


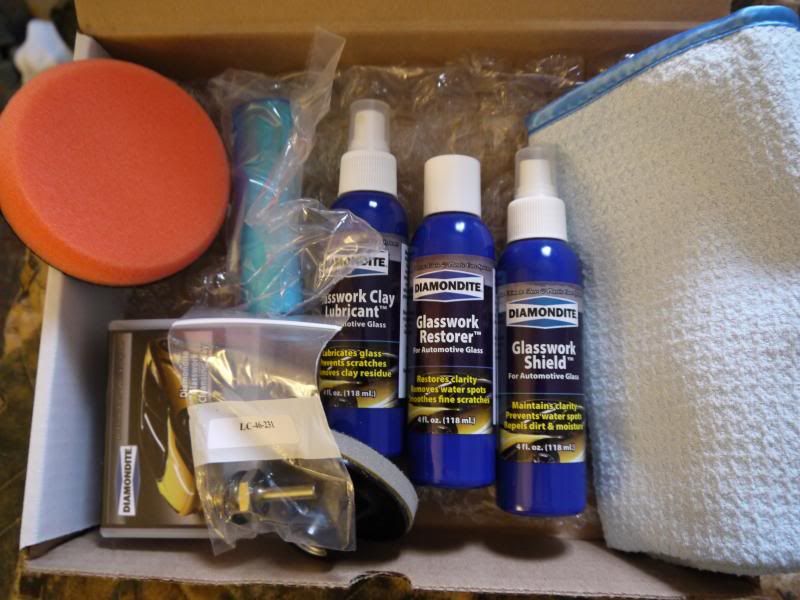
And what's inside


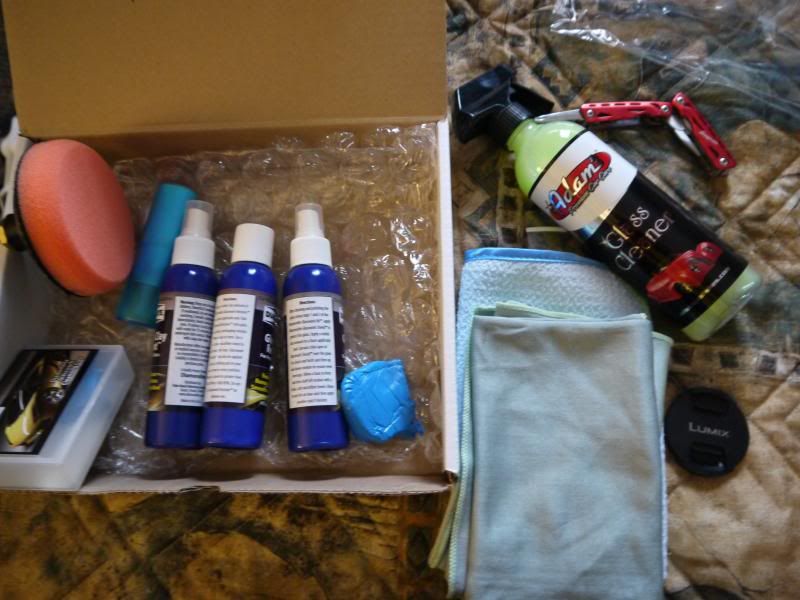
It comes with a clay bar/lubricator, polish, and sealant. It also comes with a 2.75" backing plate with drill attachment and 4" orange pad, as well as a brush to wipe off dusting created. Overall the clay was good quality, the microfiber was great quality, however the pad was not that great in my opinion neither was the brush, bristles were falling when I opened it but it did work.

Here's what I used


Clayed


And a 50/50 (well more like 25/75 shot) the left is cleaned the right is untouched.


I will say my technique could have been better and may have lead to excess dusting but I do say it had more than I expected but it also came with the brush that helped a bit. But overall the product worked great and I doubt the windows have looked better than they do now, I'd say a solid 80-90% improvement and water spots were removed.