So I made the previous list in regards to doing basic rinseless washing, using a foam gun and a few other odds and ends. You can find that post here.
Now we will move on to taking care of the interior for the short term and long term. In this list you will find assorted brushes, cleaners, and sealants.
First off towels, now if you're interior is like most, then plastic and cloth or "leather" (yes that's in quotes since it's not real leather, at least what you clean isn't), those materials are abundant and do not scratch easily like a soft paint. So for towels I stick with simple ProForce towels they're cheap, reliable, and get the job done, perfect for areas that get dirty. You can find them here on Amazon.
Next, moving on to interior cleaners, I've used many from Adam's to Blackfire and a few others. But for the time being I'm sticking with a tried and true favorite, 1z Einszett Cockpit Premium, it has a slight lemony smell to it but gets the job done and doesn't leave any residue. You can find it here.
Interior glass, this can be a pain, anyone with a coupe with a very slanted windshield of rear windscreen can vouch for. For this absolutely whole heartedly stick with CarPro Fast Glass clothes. These are phenomenal, stick them in water, wring them out and clean as you deem fit. When you're done just throw them in the wash with your other towels and it comes out ready to go. Don't buy just one once you find the uses for it, you can find them here.
For brushes I use a wide variety of brushes and sizes. There are many nooks and crannies and places impossible to reach by hand that an assortment are needed. Such examples are a carpet brush found here, there is also a small bristly dual purpose brush that is very handy found here, and lastly if I need something in between for a soft interface such as near the instrument cluster or radio I will use a medium size brush head such as this one.
Leather care and conditioning is very important for the long-term health of your car specifically for cars that remain outside in the sun for long periods of time. I recently tried out a new one and liked it quite a bit, it is Four Star's Leather Conditioner, luckily on my first time using it I broke the cap but it still works. You can find it here. It leaves a very smooth surface, it leaves the leather supple while not being greasy, let it dry for 30 minutes to an hour and you are good to go. The shine is minimal and has a satin sheen to it which you know I am a fan of. I used both a foam applicator and terry cloth, I stick with the terry cloth as I can work it into the cloth more easily before applying thus avoiding big globs ending on one spot of the car.
Lastly, coatings, most people see coatings for the paint but they exist for you interior too! Perfect for those with kids that manage to spill everything. For this market CarPro Fabric and Leather Coating is great, it lasts up to year if not more. You can find it here, I'll liberally spray the product over the seat/areas and follow it up with an applicator to evenly spread the product such as this one. This product does have a bit of chemical smell to it while it is drying, and it is recommended to use a hair dryer or leave the vehicle in the sun to dry. Personally I used around 20mL for the 4 interior seats on the VW Jetta (paint correction found here) and left it in the garage with the windows down overnight and it was dry and soft to the touch the following morning.
Thanks for readying, if you have any questions or comments post below!
Thank you for visiting! I'm a car enthusiast with detailing as a passion. Stay tuned for updates on new products and reviews, if you have any questions or are interested in learning how to detail feel free to use the contact form.
Wednesday, February 26, 2014
Thursday, November 7, 2013
Rupes Announces Two New Polishers
Photos courtesy of Rupes Bigfoot
At SEMA 2013 that began Tuesday November 5, Rupes has two brand new polishers coming out. First is the Rupes LHR12E Duetto.
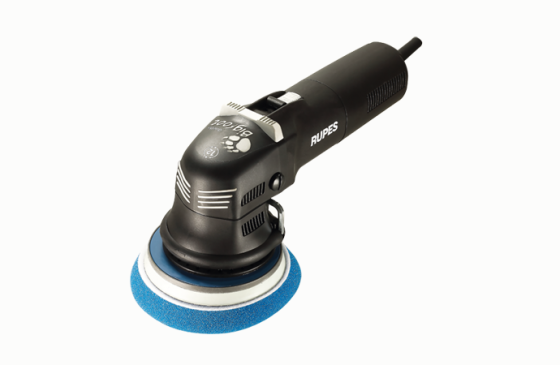
This is a much smaller polisher that brings Rupes into the more entry level market such as the Griot's Garage 6", it is similar in size but continues the Bigfoot way with a 12mm throw. Compared to the 8mm throw of traditional polishers like the Griot's 6" or Porter Cable 7424XP you can see how this would work great on saving time and efficiency.
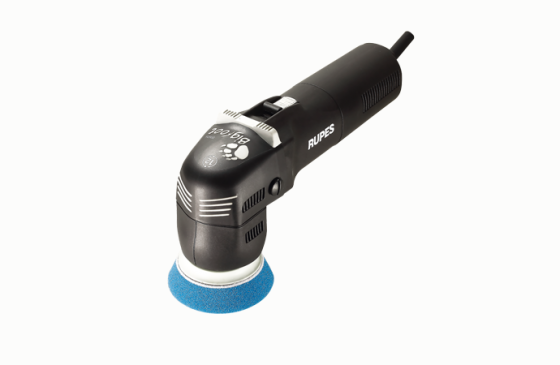
The next polisher to hit the market is the LHR75E MINI. Now this polisher is very similar to the LHR75 Pneumatic polisher except this one runs off electricity. It is a 3" polisher that still delivers the 12mm throw. The smaller size allows better maneuverability and handling in tighter places where a traditional polisher won't fit as easily such as spoiler, vents, and pillar work.
Thanks for reading! Stay tuned for any updates on pricing and availability.
At SEMA 2013 that began Tuesday November 5, Rupes has two brand new polishers coming out. First is the Rupes LHR12E Duetto.

This is a much smaller polisher that brings Rupes into the more entry level market such as the Griot's Garage 6", it is similar in size but continues the Bigfoot way with a 12mm throw. Compared to the 8mm throw of traditional polishers like the Griot's 6" or Porter Cable 7424XP you can see how this would work great on saving time and efficiency.

The next polisher to hit the market is the LHR75E MINI. Now this polisher is very similar to the LHR75 Pneumatic polisher except this one runs off electricity. It is a 3" polisher that still delivers the 12mm throw. The smaller size allows better maneuverability and handling in tighter places where a traditional polisher won't fit as easily such as spoiler, vents, and pillar work.
Thanks for reading! Stay tuned for any updates on pricing and availability.
Wednesday, November 6, 2013
Review: Sonus Trim and Motor Kote
I recently picked up Sonus Trim and Motor Kote (which can be found here) as an accessory to dressing my engine bay. It can be quite difficult to get applicators in tight spots and avoid leaning all over your front bumper, Sonus' offering counters this by offering a spray dressing. The directions are as follows
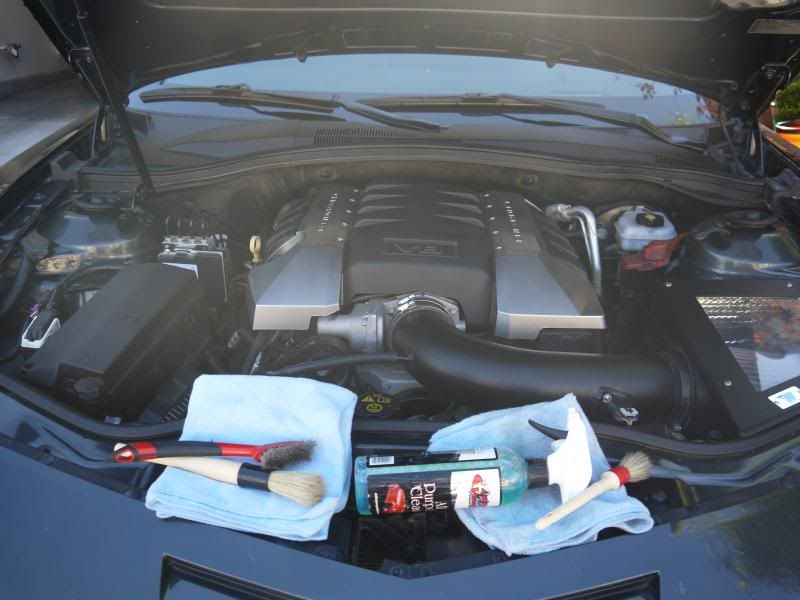
Here are some of the products used to clean my engine bay, I am not a fan of hosing my engine down. I don't prefer to use heavy amounts of water because I don't want to worry about covering up delicate pieces of equipment, and this way I know everything that is touched and where the chemicals are going. I think there is nothing wrong with using a foam gun with a degreaser solution and then hose it down, but I just don't prefer it.
The products here are assorted brushes, my non-paint safe microfiber towels, and Meguiar's D101 in an Adam's APC bottle due to the foaming sprayer which I think is great. For APC I absolutely recommend going with foaming over liquid spray, it allows it to be much more clingy, remove dirt and grime, and stay attached to work on the media much longer.
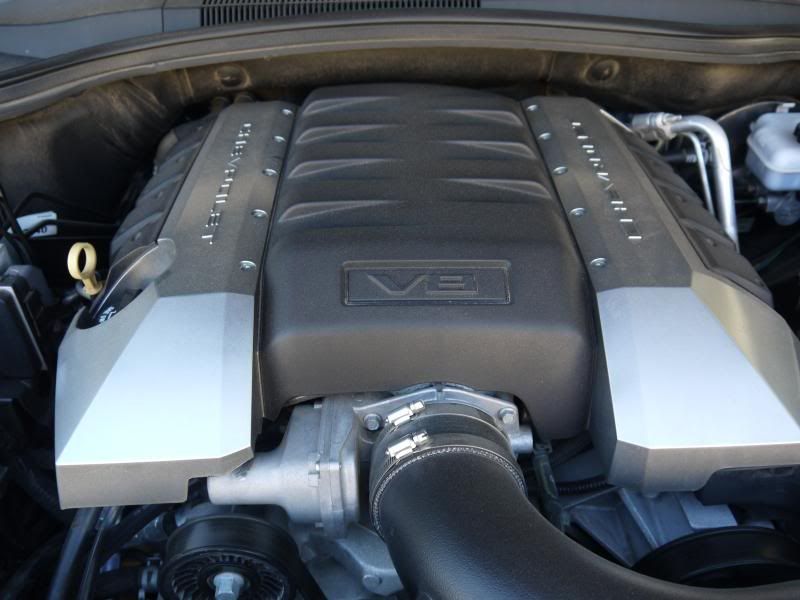
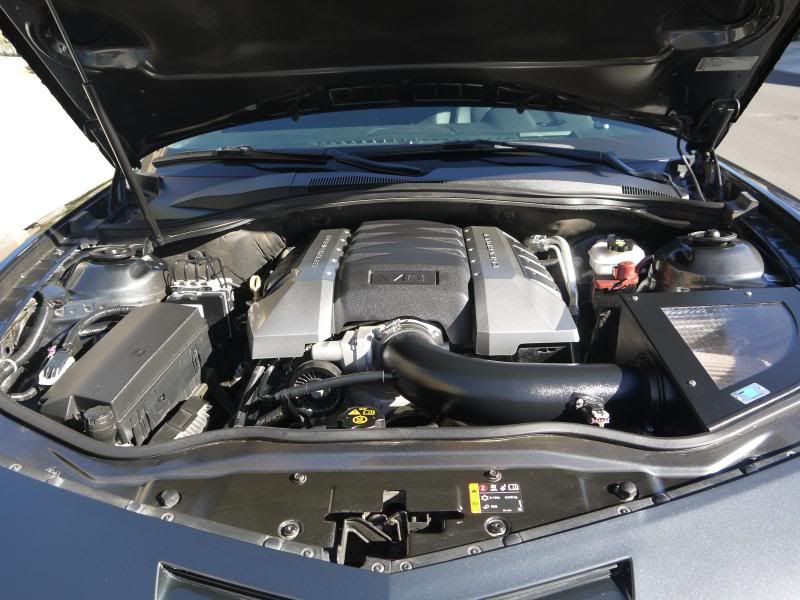
You can see the status of my engine bay, dirty overall it has been a month or two since the last time I cleaned it. Nothing too greasy but a solid layer of dust and dirt.
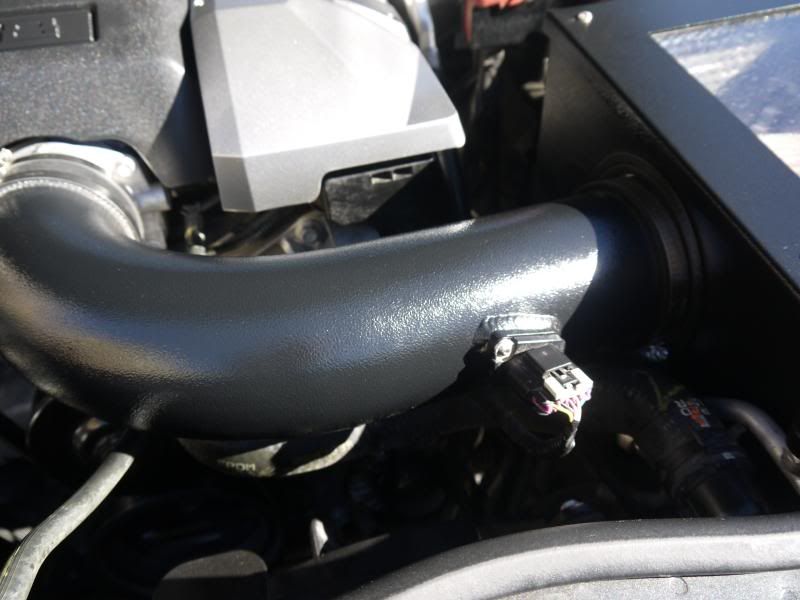
Here it is after cleaning it but before applying the spray, much cleaner but still very dull looking.
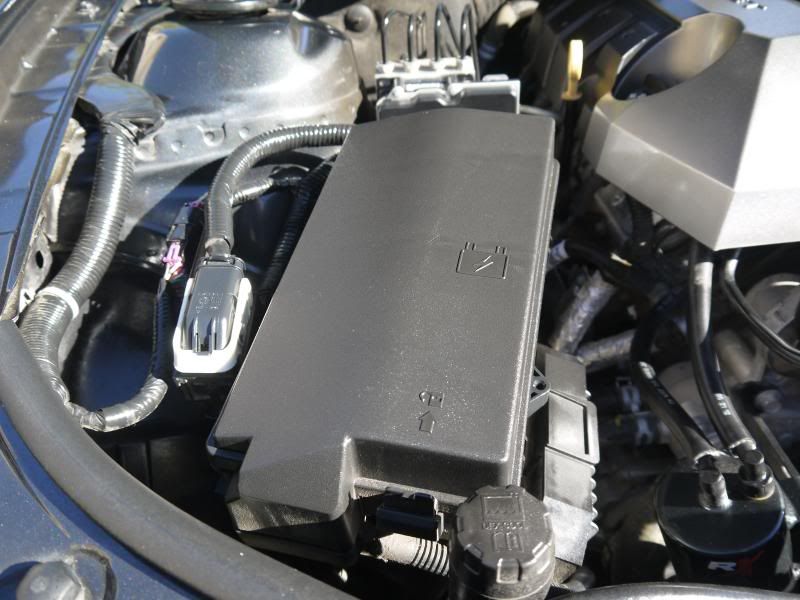
And now the final results and look, note this is pretty soon after the first application, roughly 2 hours so I expect it to dry up more and lose some of the gloss.
My overall thoughts are that a spray product has it's positives and negatives. It spreads and levels exceptionally well, there are no clumps, I didn't notice any missed spots, and it allows much better coverage than would be possible with a foam applicator. Now the downsides, there was quite a bit of overspray on the front bumper and it streaked very badly and took quite a few wipes to remove it all, I originally thought I missed the dilution on my ONR wash, but it turned out to be it. This may be due to poor technique on my part, but I think it's very difficult to effectively spray the forward portion of the engine bay and not get some on the paint. I did not leave it on to find if there would be any negative effects due to the directions saying to wipe it off while it's still damp.
I do like this product and think it's perfect for engine bays but I may look into just using plastic sheeting to cover up the front bumper to avoid overspray.
Thanks for reading and post any questions or comments below !
- Thoroughly clean your engine bay
- Lightly spray your engine bay
- Wait 15-20 minutes before applying your second coat
- Wait one hour
- Remove any overspray while it's still wet
Here are some of the products used to clean my engine bay, I am not a fan of hosing my engine down. I don't prefer to use heavy amounts of water because I don't want to worry about covering up delicate pieces of equipment, and this way I know everything that is touched and where the chemicals are going. I think there is nothing wrong with using a foam gun with a degreaser solution and then hose it down, but I just don't prefer it.
The products here are assorted brushes, my non-paint safe microfiber towels, and Meguiar's D101 in an Adam's APC bottle due to the foaming sprayer which I think is great. For APC I absolutely recommend going with foaming over liquid spray, it allows it to be much more clingy, remove dirt and grime, and stay attached to work on the media much longer.
You can see the status of my engine bay, dirty overall it has been a month or two since the last time I cleaned it. Nothing too greasy but a solid layer of dust and dirt.
Here it is after cleaning it but before applying the spray, much cleaner but still very dull looking.
And now the final results and look, note this is pretty soon after the first application, roughly 2 hours so I expect it to dry up more and lose some of the gloss.
My overall thoughts are that a spray product has it's positives and negatives. It spreads and levels exceptionally well, there are no clumps, I didn't notice any missed spots, and it allows much better coverage than would be possible with a foam applicator. Now the downsides, there was quite a bit of overspray on the front bumper and it streaked very badly and took quite a few wipes to remove it all, I originally thought I missed the dilution on my ONR wash, but it turned out to be it. This may be due to poor technique on my part, but I think it's very difficult to effectively spray the forward portion of the engine bay and not get some on the paint. I did not leave it on to find if there would be any negative effects due to the directions saying to wipe it off while it's still damp.
I do like this product and think it's perfect for engine bays but I may look into just using plastic sheeting to cover up the front bumper to avoid overspray.
Thanks for reading and post any questions or comments below !
Subscribe to:
Posts (Atom)
