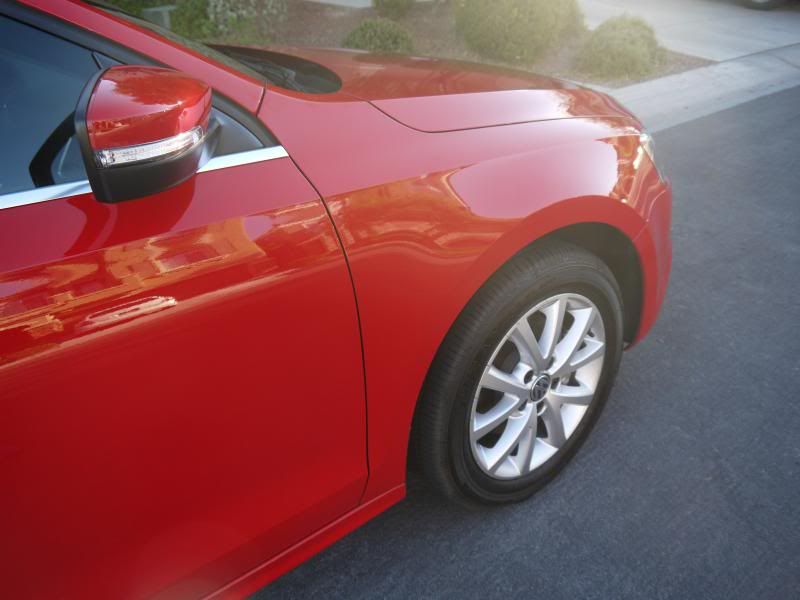
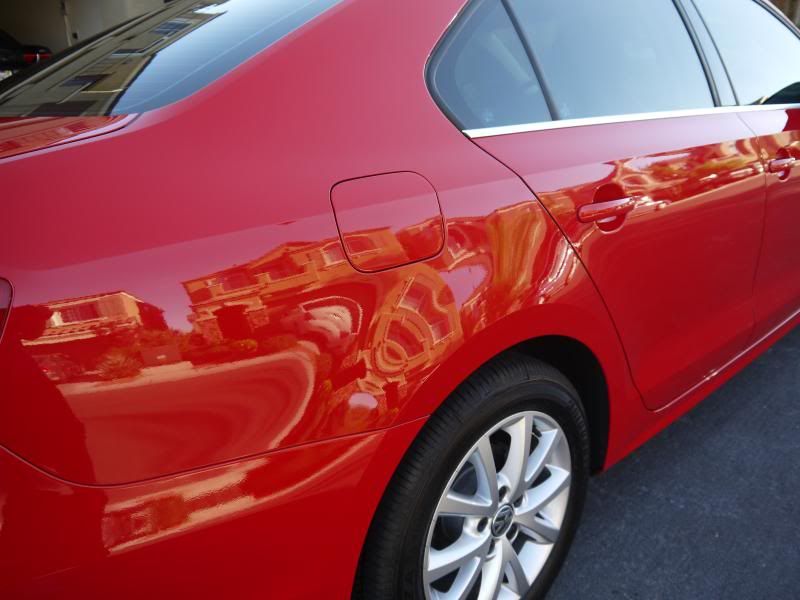
Well I am nothing less than absolutely impressed with this wax. From application to smell, packaging, the only downfall is that it was night out by the time I got done so I didn't have time to get pictures of it. But alas I will tomorrow when I apply a second coat. UPDATED below with pictures
Product Link
I applied this wax by hand and by machine to compare both application forms as well as see how easy the can accepted a 3" pad.
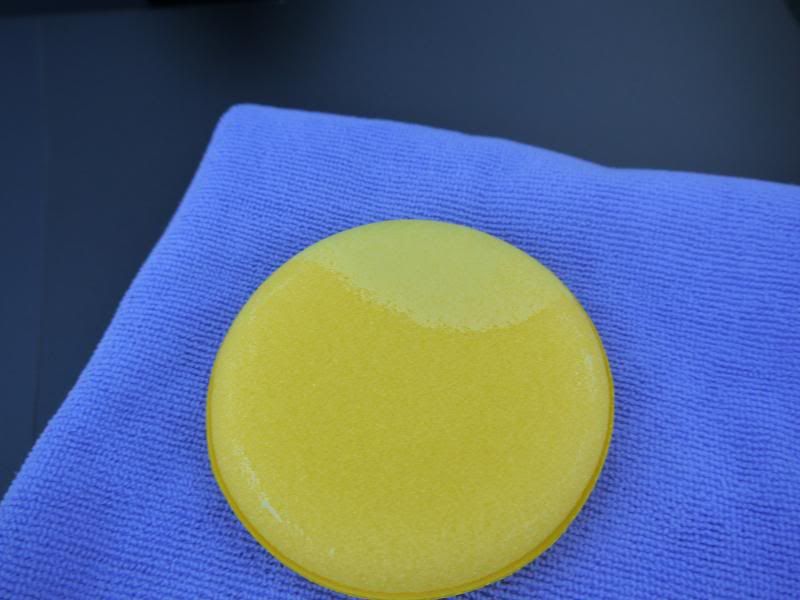
A basic foam applicator was used. Cliche picture of wax pot and applicator below.
The smell on this wax is fantastic, a citrus-type smell that is pleasing to use and be around. The form of this wax is very soft and feels like it melts as you swipe it out, it is not as soft as Wolfgang Fuzion but similar in form and feel. A slight gel type feel to it when it bunches up. It swipes very easily but less is absolutely more, the first couple times I applied by hand and machine I over applied and when I went to buff it off (roughly 1-3 minutes depending on temperature per the can) it slightly smeared over the paint but was not at all difficult to work with. It was just surprising and unexpected, but was remedied once I got used to using it. Here is an example of the amount that could easily cover a large panel and then some.
This may be my favorite wax so far, and from the numerous pictures and videos I've seen of sheeting and beading I almost hope it rains on my car so I can see the results. Long-term durability will be the largest factor but from my research that shouldn't be an issue at all.
Thanks for reading!
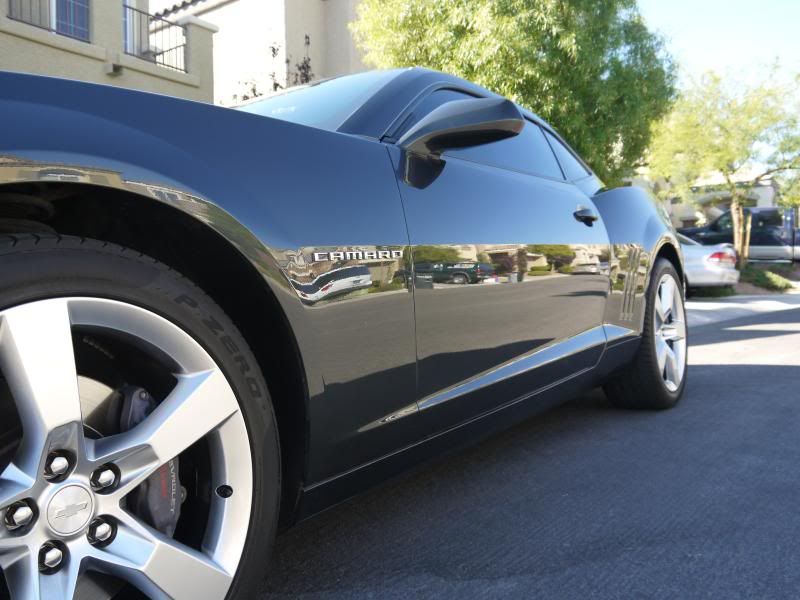
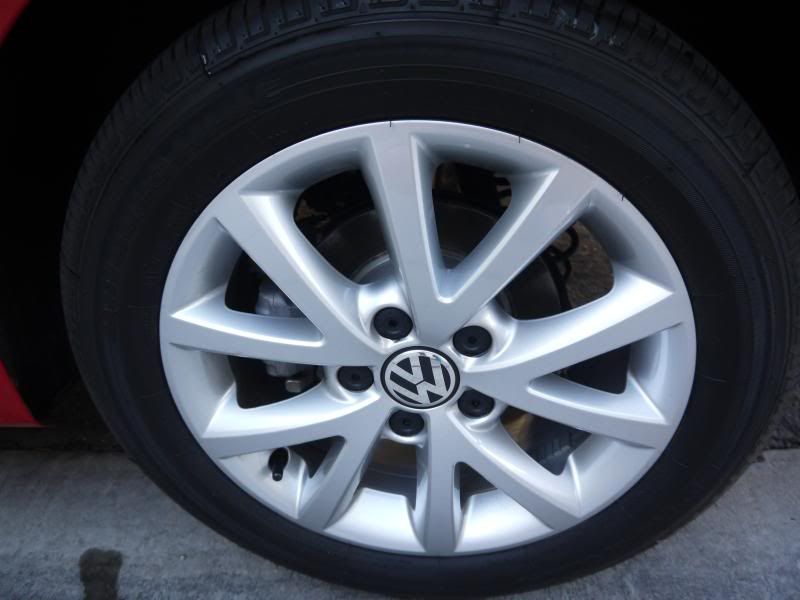
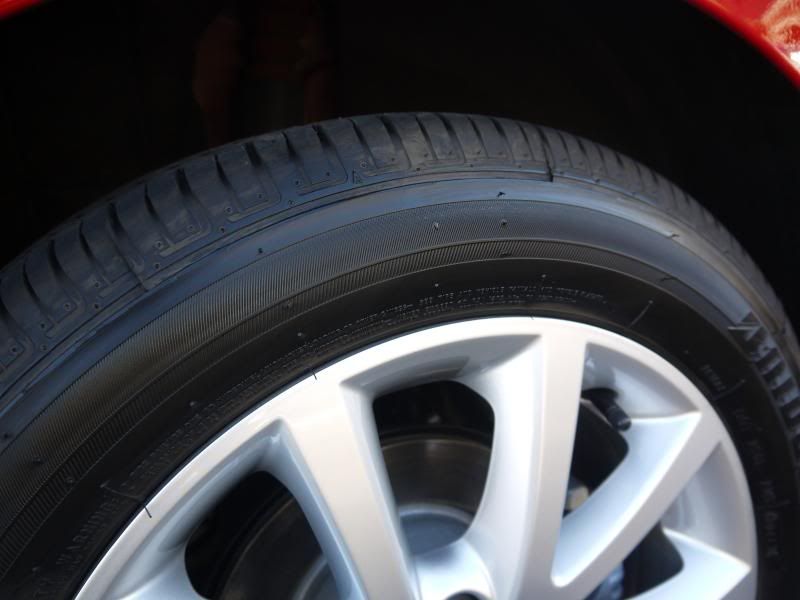
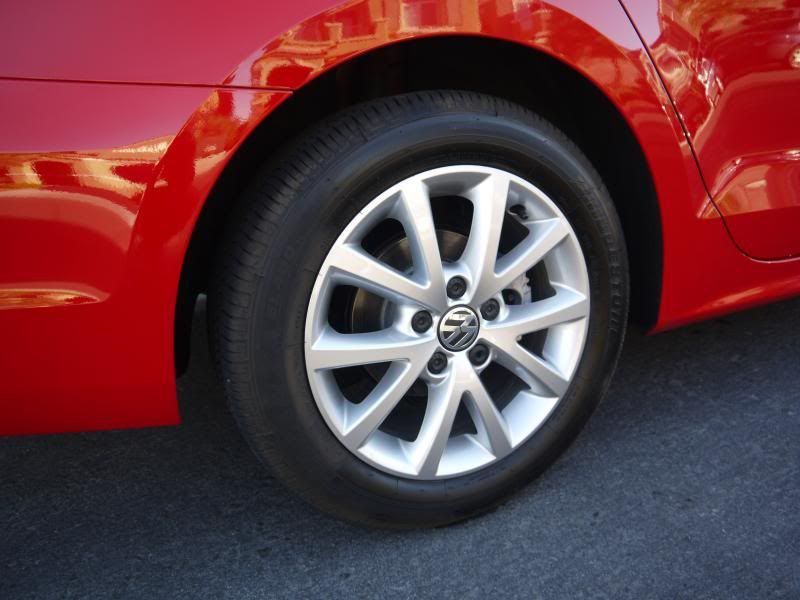
Update: Pictures of said car below.
Thank you for visiting! I'm a car enthusiast with detailing as a passion. Stay tuned for updates on new products and reviews, if you have any questions or are interested in learning how to detail feel free to use the contact form.
Monday, October 14, 2013
Sunday, October 13, 2013
The Importance of Claying
I find that one of the most intimidating things new people coming to detailing are afraid of is claying. It appears dangerous, or misguidance that it could harm your paint, and just the fact that it's different. A majority of car owners will never clay their cars and do not know the benefits and importance of it.
So where do you begin when you decide you want to clay your vehicle? Well let's start out with the purpose of it. After washing your car and everything looks clean and glossy you must have gotten all of the dirt of right? Wrong. There are tons of dirty contaminants embedded in your paint, from the environment, the weather, rain, dust, dirt, salt, pick your choosing based on your environment and it's on there. What clay or clay alternatives do is pick up your these contaminants in your paint and leave your paint feeling smooth and clean.
Now that we have the purpose let's move on to the types of clay you can choose from and there are two major categories. Clay Bars and Clay Towels/Sponges (Same product just a different form). Clay bars are exactly that, bars of clay, when you use a clay bar personally I use only 1/3 of a bar and return the rest to the container it comes in, add a spritz of detail spray to ensure it stays moisturized. Another reason for splitting the bar is that if you drop it I cannot recommend it enough that you throw it away, it is not worth the risk trying to clean it and run the error of using it scratching up your paint due to embedded dirt and sand bits. It's horrible but everyone will make the mistake at one point, I know I have at least once.
Here is what a clay bar looks like prior to using it. Picture from Detailer's Domain , Phil over there is absolutely fantastic and will no doubt give you great advice that is completely tailored to what you need.

The next form is towel/sponges, personally I use the Nanoskin Fine Grade Towel but it does come in sponge form as well. Now why choose someone choose this over a traditional clay bar? Well the pros are fantastic, as I said above when you drop a clay bar it's effectively ruined, well with these alternatives a simple dunk in a bucket of water and wash solution and it releases the dirt and whatever else it gets picked up. Other pros include numerous uses, a clay towel will give you upwards of 50+ uses as compared to 6-10 out of a traditional clay bar, and the clay towel can be opened up (such as the towel measures at 12" x 12") this is great for wide open panels such as the roof, for many other sections I fold it in quarters. The cons with clay towels are the price, the Nanoskin of Speedy Prep Towel runs in the $50-60 range.
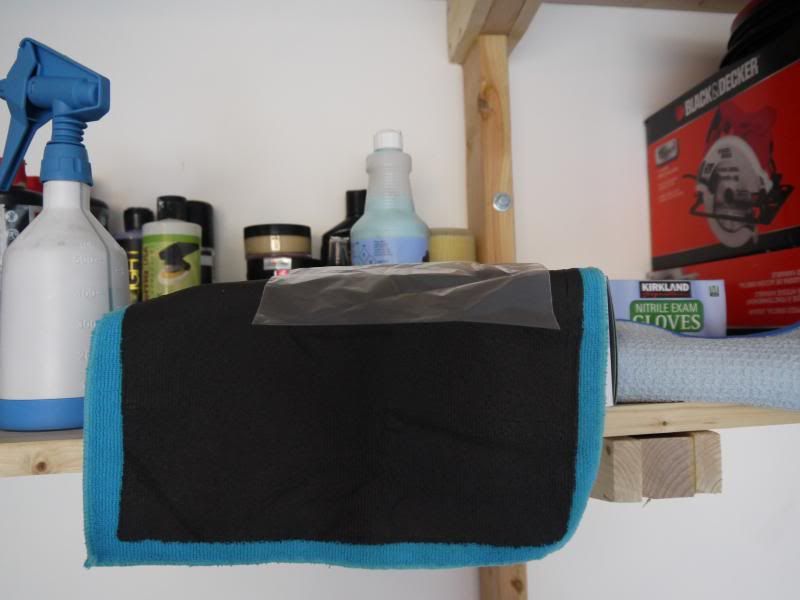
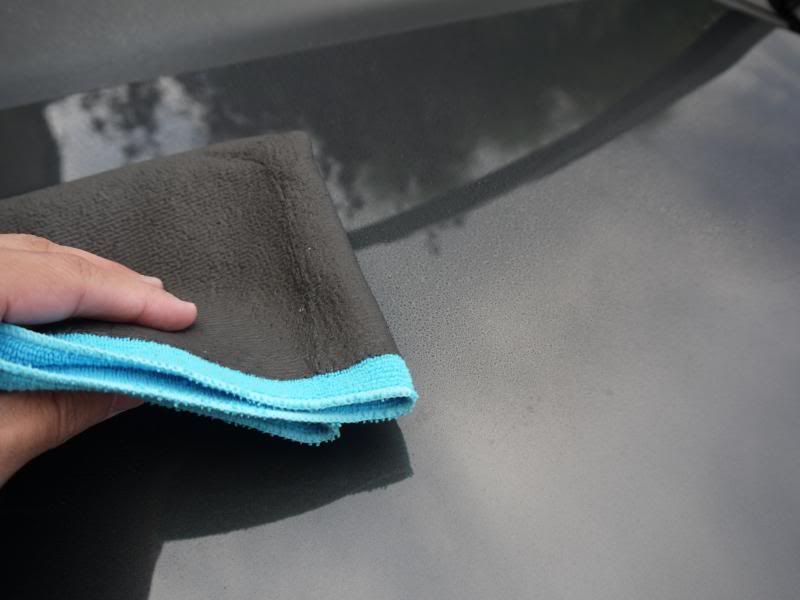
Here is a photo of my fine grade towel, note the blue edging which denotes Fine Grade as compared to red for Medium grade.
Finally we will discuss how to clay effectively and safely.
Now the reason I recommend fine grade over medium grade is that the vast majority of cars will not need medium grade clay, and on softer paints such as Subaru and some BMW paint colors can lead to marring, which are minor imperfections not as severe as swirls and can appear as hazing in the paint.
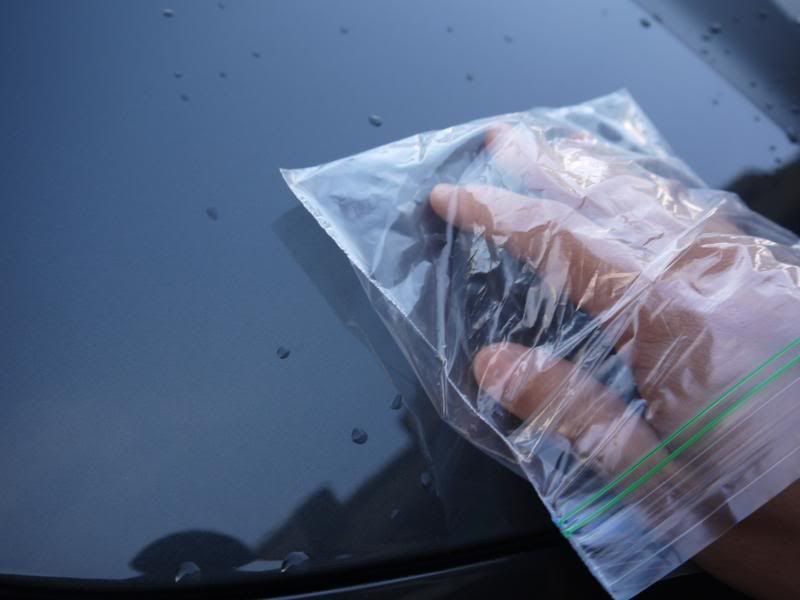
So how do you know if your car needs to be clayed. Well a simple and easy test is the plastic bag test, by simply running your hand over your paint inside of a plastic bag you can easily feel the contaminants in the paint. Below is a picture showing how I personally do it.
Moving on to the act of claying itself, when claying there a few important things that you need to have, first a clay or alternative, second a clay lube (personally I've used Ultima Waterless Wash+ and Optimum No Rinse and both work great, there is also Nanoskin Glide which I've heard good things about but have not used), and lastly a good towel to absorb the clay lube and dry the paint behind it. For towels I like a waffle-weave towel, it absorbs great and since the paint is already clean a longer nap towel isn't necessary to pull surface dirt away. On softer paints I will also follow it up with a medium weight 530gsm or so towel just to buff off any possible towel marks or smearing.
With clay bars it's important to spread the clay bar out into a rectangle that fits in the palm of your hand, avoid using your fingertips because the pressure will force holes in the clay and force you to knead it, or fold it onto itself, more than you have to. A 3" x 2" or so clay patty is about what I usually work with. For clay towels on most panels I will fold it into 1/4's. This lets it be much more manageable and do a thorough job. See below. You can also see the amount of clay lube I use, personally it is much better to use more than less, most clay lubes are incredibly cost effective so being sparse with it is not required. Liberally spray the panel before gliding over it, pressure used is very light, just enough to keep the media moving.
Lastly, when using this you will actually feel the grittiness of the paint as you glide over it. After 2-3 passes you will the clay or towel moving much more lightly and the paint overall will have a smooth feel to it.
Product Link:
Nanoskin Wash Mitt
Fine Grade Clay Bar
Clay Lube:
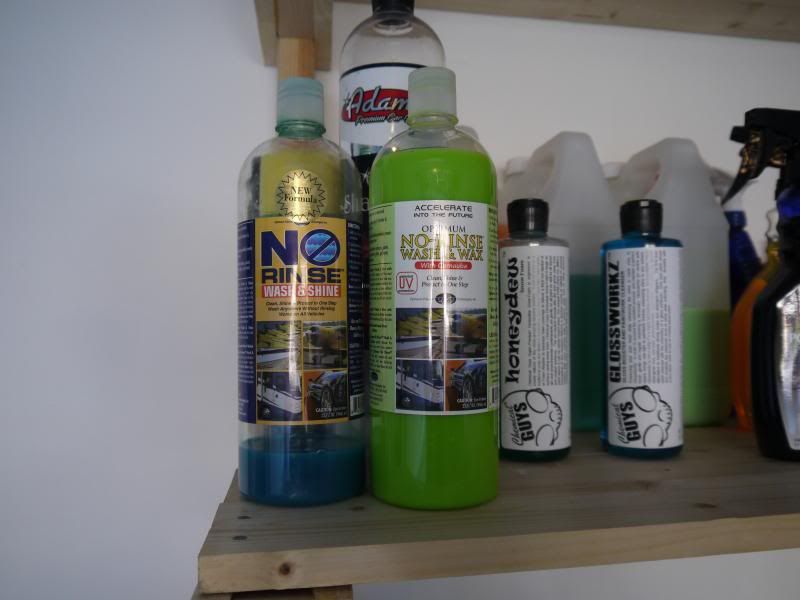
Optimum No Rinse
Ultima Waterless Wash
Thank you for reading, post any comments or questions below. Thanks!
Review: Chemical Guys Glossworkz Car Shampoo
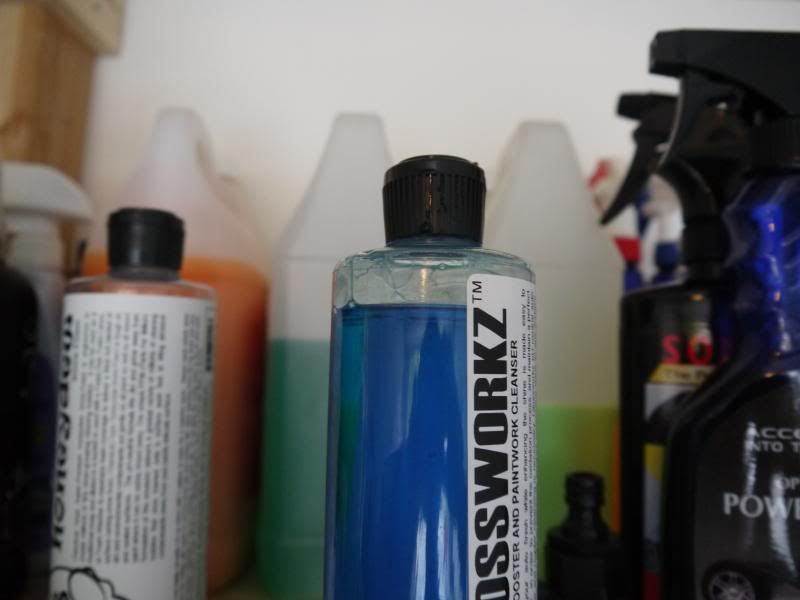
Lately I've been trying new soaps out to see which I prefer ever since I got the foam gun. Well after using Adam's Car Shampoo, I decided to pick up a couple pretty highly reviewed options. Both from Chemical Guys, Honeydew and Glossworkz, this is my take on Glossworkz.
Product Link
Initial Reactions:
Smell is great, extremely diluted at 1:640 or 1 oz per 5 gallons of water! Now I only used this as an initial foam to get rid of any dirt I could that was barely sitting on top, by reducing this by not touching the car before moving on to my rinseless wash.
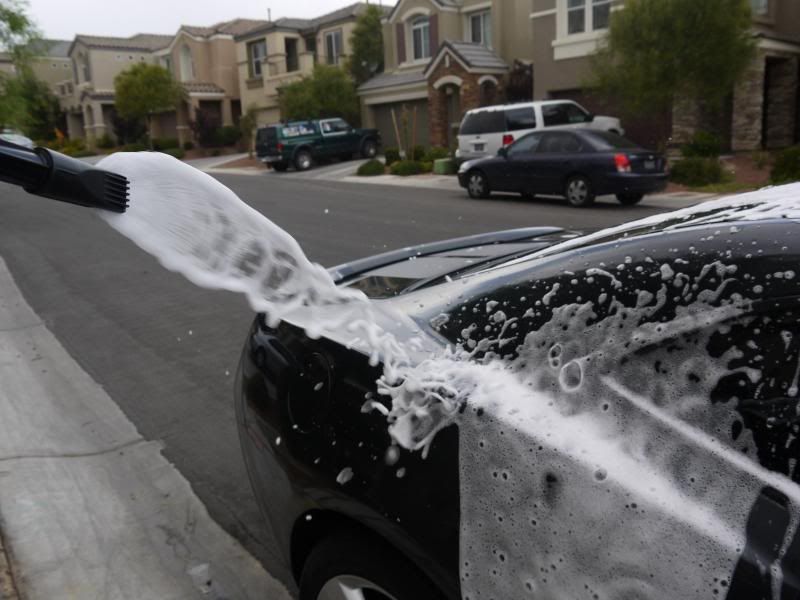
Here it is coming out of the foam gun.
Overall after using it I did like the foam, unfortunately I didn't get the cling I was hoping for, I may adjust the dilution ratio to see if this will help. As for noticeable gloss difference, I will keep this updated, it got dark after I was done but I will check in the morning.
Thanks for reading!
Review: 1z Colourtec Wheel Cleaner
I've had this wheel cleaner for a few weeks and finally decided to put it to the test and see what how it worked out.
I have to start it off by saying this stuff is pungent, incredibly, bad enough where it's stored outside. It also was incredibly strong while using it, you can see my findings below.
Product Link
But my overall thoughts were that it works fantastic, foams incredibly well, smells horrible (even more so than Sonax Full Effect, up there with IronX in my opinion), but is likely the most cost effective wheel cleaner out. Definitely wear gloves as well when using this product.
Thanks for reading, post any comments or questions below.
I have to start it off by saying this stuff is pungent, incredibly, bad enough where it's stored outside. It also was incredibly strong while using it, you can see my findings below.
Product Link
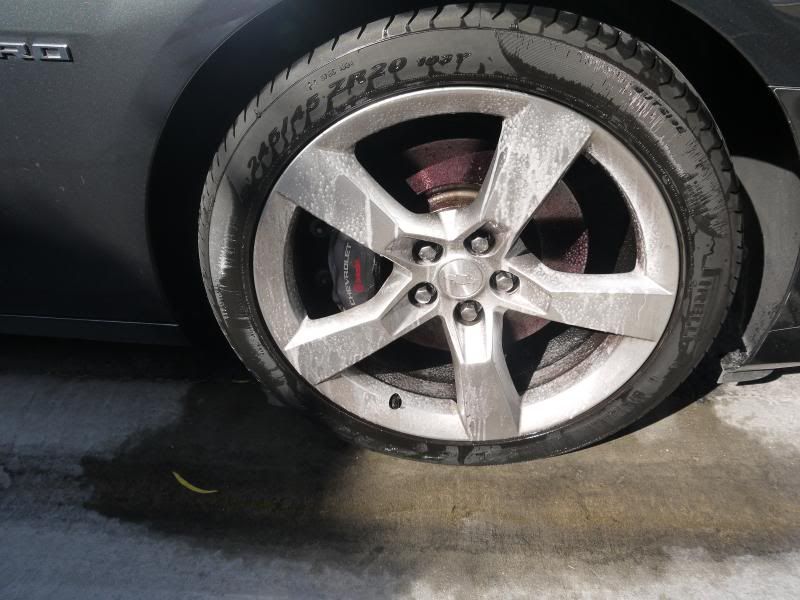
I found this product to have quite a liberal sprayer which I liked for using on wheels. The color change was also incredible apparent, much more so than Sonax Full Effect. You can see below on a close up shot.
My other finding were that with even the slightest agitation caused quite a bit of foaming which was very clingy and great for cleaning the wheels. My technique for using this was to lightly rinse the wheel, spray the product liberally, slightly agitate to add to the foaming, then following this up with rinsing/agitating with a Wheel Woolie heavily to clean the wheel. I followed this up with a simple microfiber wipe down.
Thanks for reading, post any comments or questions below.
Review: Optimum Power-Clean
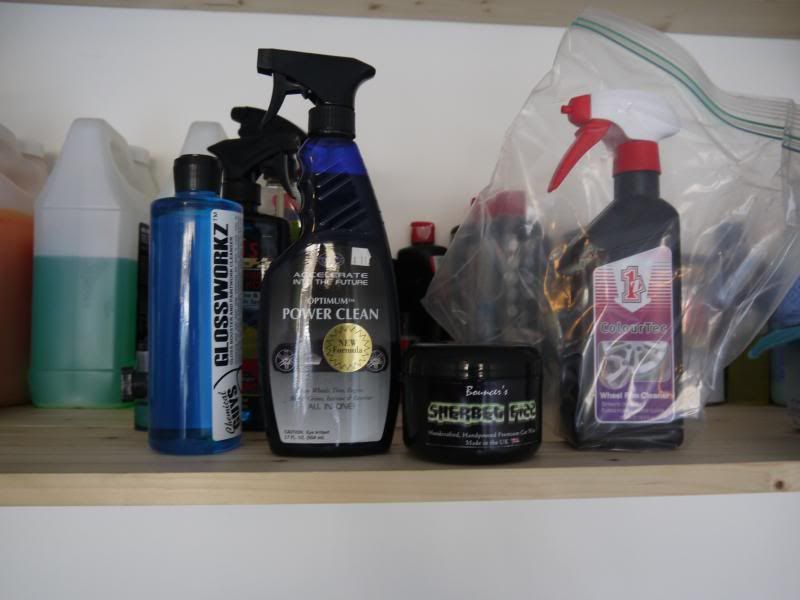
Well it's review day. Here are the stack of products I'm hoping to complete. Unfortunately after foaming the car a storm started to move in so I have to pause while it moves through.
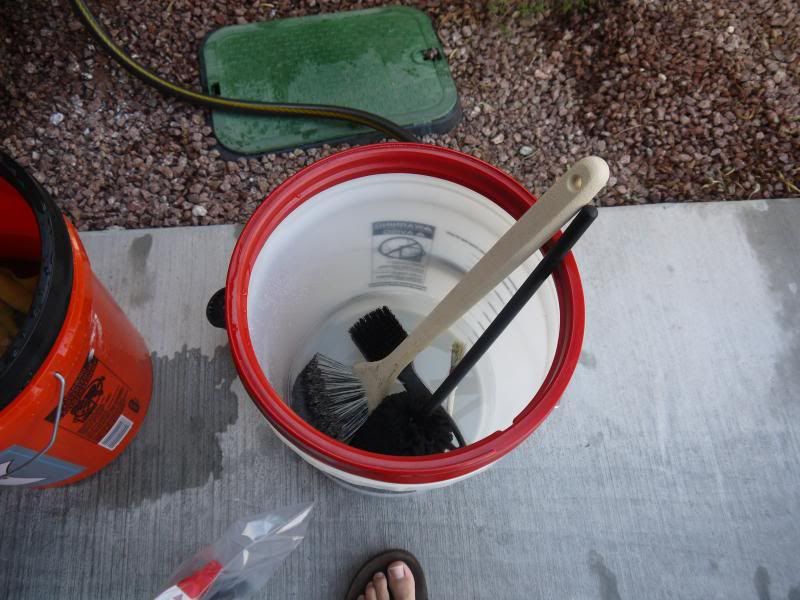
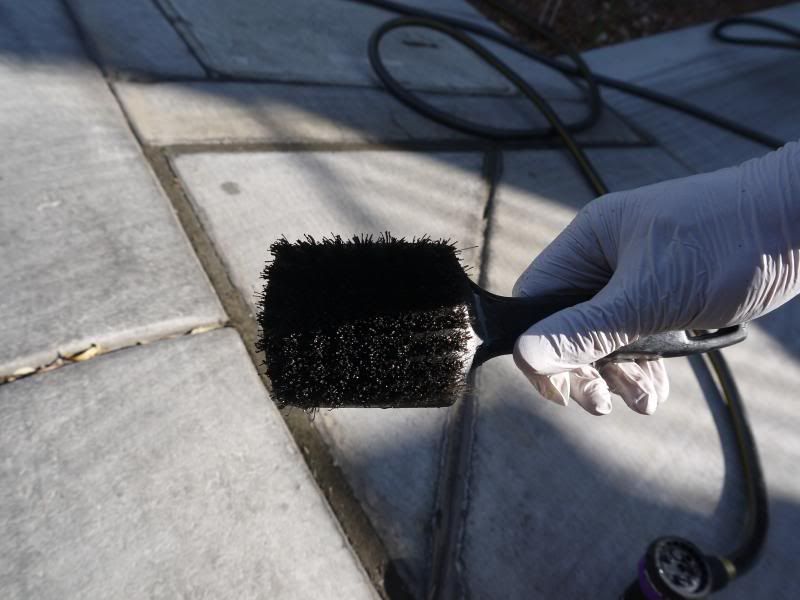
And the assortment of brushes
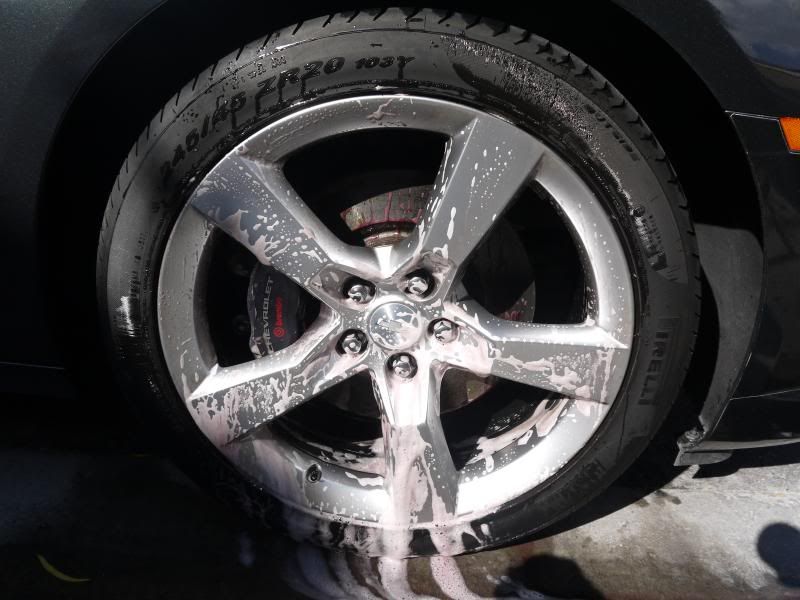
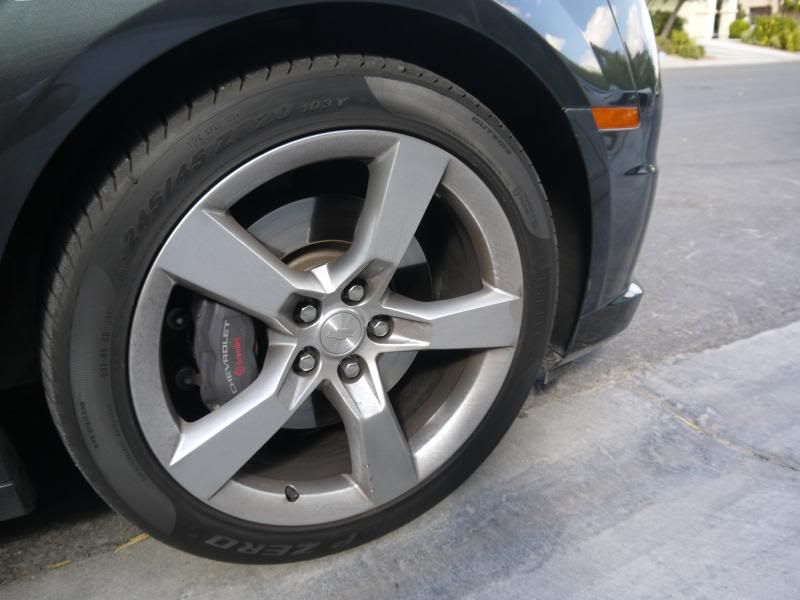
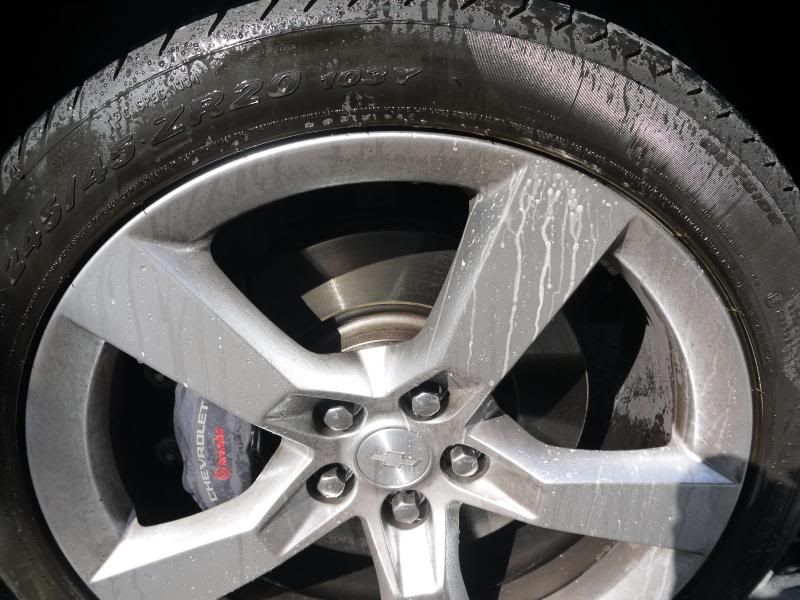
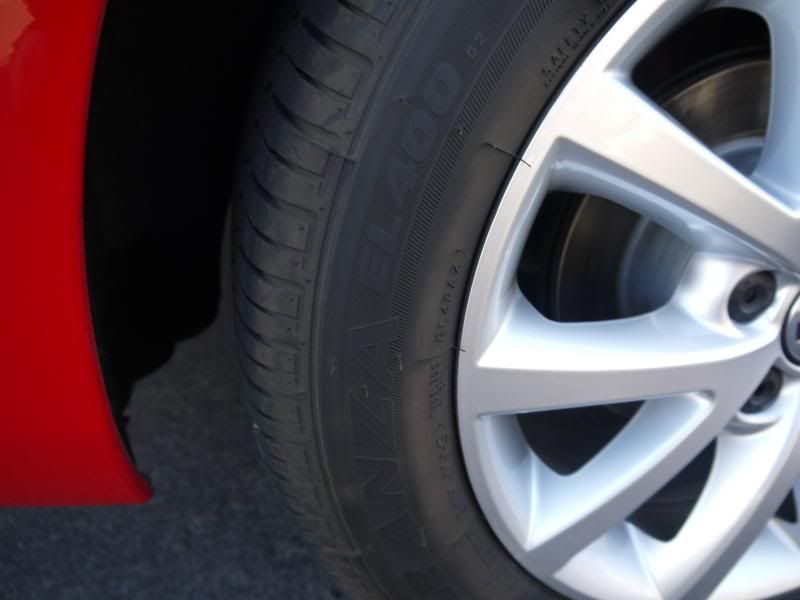
Here's the test wheel, the process was completed for all 4 wheels and tires.
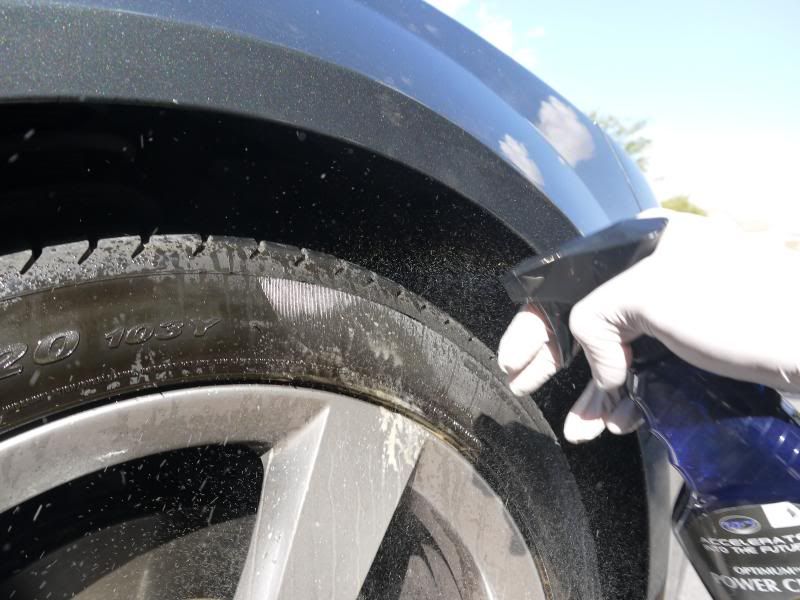
So for Power Clean I heavily spray the tires and use the Tuff Shine tire brush to clean it out.
I was able to get this picture in action.
And it working on the tire
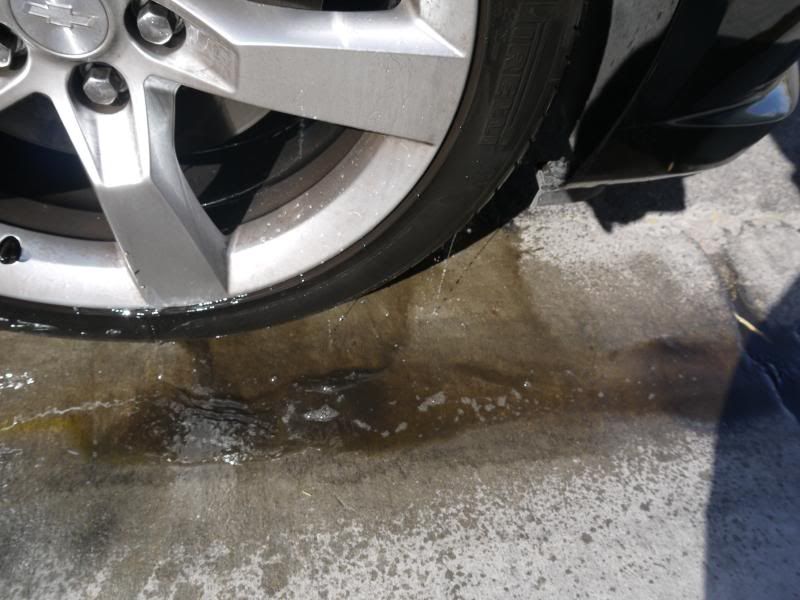
You can see all the grime that has built up over the past couple weeks since I last cleaned my tires.
Overall my experience with this product so far is that it does what I wanted it to. I will need to continue to use this but for the most part APC is used to clean tires for me primarily and it did it fantastic. Easy to use, does not smell pungent, and easy to work with. If I had to change something I would put a foaming sprayer on it as I feel it allows the suds to stick and dwell much longer.
Product Link
Optimum Power Clean
Thanks for reading and post any comments or questions below!
Saturday, October 12, 2013
Taking Care of Your Equipment
You've got all the products and the car is all cleaned up. You're done right? Almost...now comes the clean-up portion.
I'll begin with a list of common tools used and how I personally clean them as well as possible issues that you may face.
Towels
For basic cleaning of towels after using them I will bring them in soon after I'm done and they go straight into the wash. Now right now I've been continuing to use 3D Towel Kleen (you can find my review here). I find that it works great, gets them clean, and fluffy. This is not a requirement as I used All Free & Clear for a few months and found no detriment to using them but I do find that a dedicated microfiber cleaner does bring them moderately softer. It is extremely important though that any cleaner that is not created with a microfiber cleaner purpose is dye free, scent free, and is not a fabric softener. The issues that could arise should you do this are clogging towels, possible marring of your paint, and just degraded performance overall.
Here is a possible scenario, you wash your vehicle and just don't have time to wash your towels for a day or two, what do you do? Well two options, which I have used both, and found worked just fine.
The first is for those of you that do rinseless washes such as myself, for this I will put all the used towels back in the bucket of water and rinseless wash solution.
Option number two is for when you don't have a pre-mixed solution to store the towels until you can wash them. For this situation I will mix 1-2 gallons of water and 1-2 ounces of APC (all-purpose cleaner). This varying on how many towels you have and how soiled they are.
Common issues that you may run into after using towels for quite a while are lack of absorption, towels no longer as soft as they are when new, and after washing your towels they do not have that same feel such as washing and drying isn't fully cleaning them. This usually occurs with towels that are used for wax buff off, unfortunately washing and drying over time isn't enough to full clean your towels. But alas there are solutions to this.
One solution many people do and some on every wash is right in your kitchen pantry. Vinegar. Many people after washing their towels will put their towels in another rinse cycle but this point adding vinegar to their rinse cycle only. The amount varies with some people using 1 teaspoon per towel, but a simple portion to add is 1/4 cup to 1/2 cup max depending on towel load. Vinegar helps assist in removing any residue that may be embedded in towels.
The second solution involved boiling your towels. This may seem odd and improbable to work but has been used for years. By boiling your towels for 10-20 seconds then letting them air dry out you are doing a similar function to adding vinegar to the rinse cycle.
Brushes
Moving on to brushes, in your detailing you will use a wide variety of brushes such as, Wheel Woolies on your rims, long fender well brushes, paint-safe brushes on plastic parts, between body creases, such as Race Glaze brushes, and numerous others. The good thing is these can all be cleaned similarly. For these a similar soak in water and APC followed by a thorough rinse out well get these clean and back to new condition. Be advised that Wheel Woolies hold quite a bit of water and need to be dried out before storage or hanging.
Applicators
Whether it be foam applicators for waxing, sealants, or tire dressing applicators they can all be taken care of easily.
For foam applicators that are used for LSPs (last step products, such as sealants and waxes) I use Dawn, specifically Power Clean. Dawn has been used for years to break down waxes and sealants. By soaking these items submerged in the sink with Dawn and for 30 minutes or so, some items will require multiple sessions. Soaking and rinsing has never been an issue and bring applicators fresh and clean, ready for the next action.
Now as for tire dressing applicators since these usually get extremely dirty require more heavy duty cleaning. For these I wash and dry these specifically with my heavy duty towels. These are the towels that I use for the grimy work, undercarriage work, wheel cleaning, etc... Since these get quite trashed working the similar areas there is no issue washing these together. By washing non-paint safe items separate from paint-safe items you reduce cross-contamination and avoid any chance of having dirt getting stuck in your paint-safe towels.
Polishing Pads
The last item are polishing pads and I clean them in the same way as foam applicators. Just a simple soak in Dawn and water in the sink. It may take numerous rinsing out sessions to get all of the polishing oils, soap, and pads completely cleaned out.
And last but not least, STORAGE
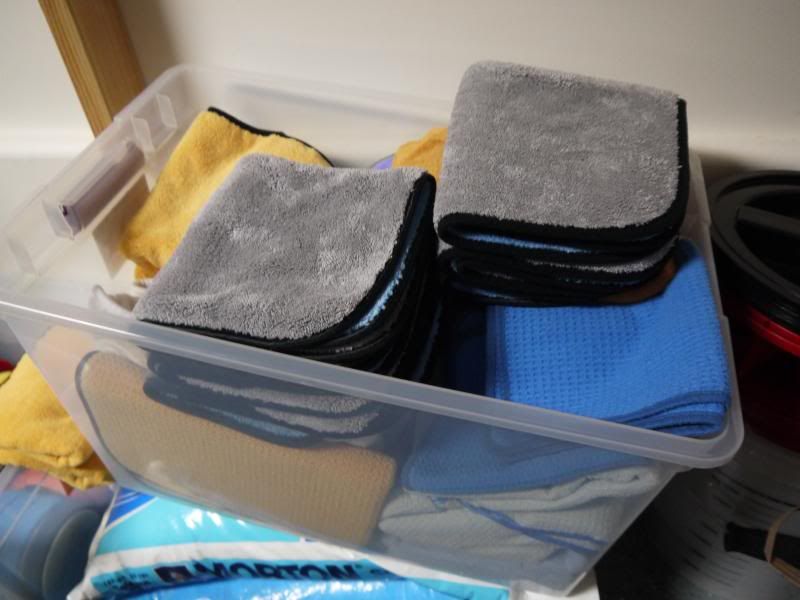
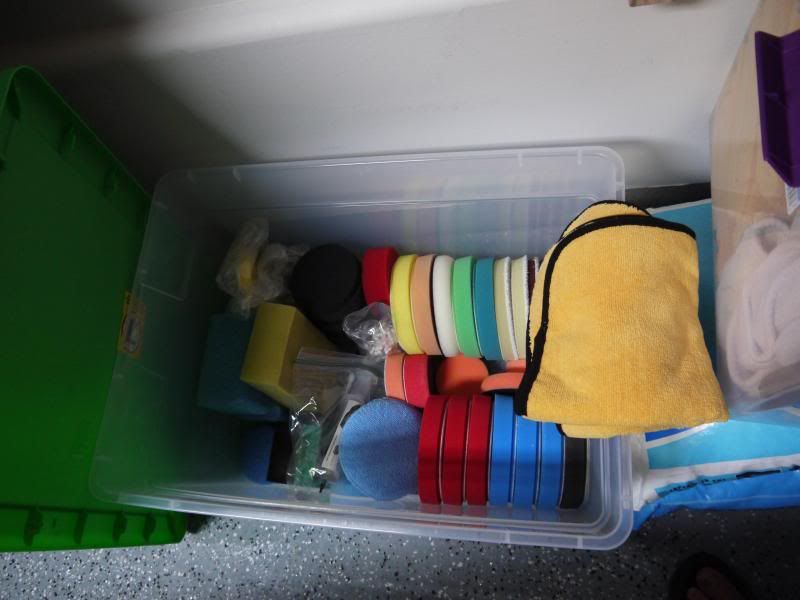
For me I prefer to keep my equipment organized into totes, this lets me keep my product on shelves and be much more economical with my space. It also makes sure that nothing comes in contact with the towels since the totes only contain what I choose, unlike wooden shelving which could have splinters and other debris on it.
Here's a few quick pictures of my collection.
Towels
Product Links
Microfiber Madness Towels
Microfiber Cleaner
Pads/Applicators/etc...
Thanks for reading! Post any comments or questions below.
My Latest Haul
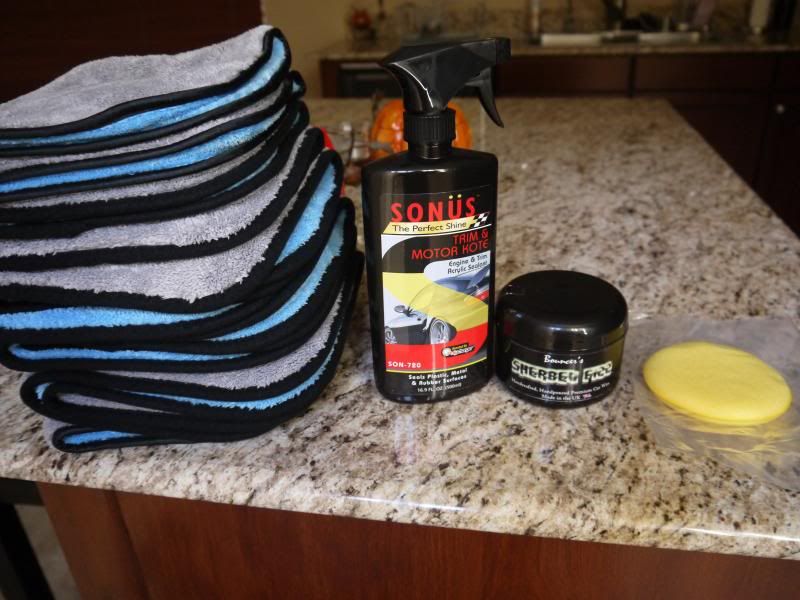
These are the items I picked up this week in my first order in quite a while.
Links are provided for each items and reviews will follow when I get a chance to check them out.
Starting from left to right.
These are 700gsm towels from Microfiber Tech made for waterless and rinseless washes. I like the longer nap and these towels have it on both sides and have different colors which make it easier to know which sides have been used. This should cut down on the number of towels used for a wash for me at least because I prefer to not use short nap on a rinseless wash.
Next is Sonus Trim and Motor Kote from the reviews I've read it's a fantastic engine and trim detailer. I plan on dressing the engine bay with it when I have a chance.
Continuing is a wax I've wanted to try for quite a while. Bouncer's Sherbet Fizz. It's a handcrafted wax from the UK. And since one can never have too many waxes, what's the harm in another one.
Finally just a basic foam applicator, personally these are some of my favorite, simple and effective.
Stay tuned for reviews and post up any questions or comments!
Wednesday, October 9, 2013
Products List: Basic Washing and Drying (Foam Gun, Rinseless Wash, and more!)
Lately I've been responding to quite a few people on what I personally recommend or use to wash and dry my car to keep proper care of it.
I figured I'd consolidate a list (with links!) of what I use for maintenance washes and you can find my technique here.
For all but the most soiled of vehicles I've moved on to pre-soaking with a foam gun.
Foam Gun and Soap
Here is the Gilmour foam gun I use from Amazon (tip if you can find the same gun from Butcher's I paid $36 for it)
This is definitely a technique and not necessary, this just allows the dirt settled on to be moved off before touching the paint and I have found it to soften the dirt and grime on there. It significantly reduces the dirt I have picked up with wash media.
As for foam gun shampoo I have been experimenting with a few but my recommendation as of now is Chemical Guys Honeydew.
I follow the foam gun spray with a simple rinse off then move on to rinseless washing.
Rinseless Wash and Towels
The staple for this of course Optimum No-Rinse (for my Wash & Wax Version review click here)
For the original version click here.
For wash media I use re-usable wash media, this allows different sides of the towel (4 in total) and different towels after each side is used every time I touch the paint. This reduces the risk of inducing swirls and scratches. Here is a great video link that explains this in detail.
As for towels, for washing I use these from MicrofiberTech they are paint-safe 360gsm weight.
Another recommendation many recommend are the 530gsm weight found here.
Note: Use the coupon code NEWS5 for an added discount.
For drying towels my absolute favorite is the Microfiber Madness Dry Me Crazy, one towel is absolutely more enough to dry a car. I follow it up with a simple light buff with a 530gsm towel as found above just to eliminate any residual towel marks that may have been left.
Wheels and Tires
Check out my review page here for multiple links on wheel and tire products
Thanks for reading!
Sunday, October 6, 2013
Review and Head-to-head: CarPro PERL and Wolf's Tire and Trim Gel
I've had CarPro PERL for a little while since I got a sample in but haven't posted up my thoughts on it since I've only used it a handful of times. But I do find it very promising and versatile as a dressing product. The tires needed dressing and I had just enough Wolf's "Blackout" Tire and Trim Gel to do roughly 2 tires, what better time to do a head-to-head long-term review!
You can find my thoughts on the Wolf's version here.
CarPro PERL according to CarPro is:
"PERL Coat by CarPro is a concentrated versatile water-based, protective coating for plastics, rubber, and leather that offers tremendous UV protection. PERL Coat is a water based dilute to suit product, covering a large array of tasking within car care. It can be used to restores the like-new appearance of hard exterior plastic surfaces and keeps them looking good with strong UV and hydrophobic protection. The sun can be damaging on flexible materials, like rubber, plastic, and leather. Gradually & over the course of time they fade & become brittle and cracked. PERL Coat is changing the rules. PERL Coat provides excellent protection and lasts up to three months on interior and engine surfaces. Durability on Exterior Surfaces varies based on the type of plastic and the exposure in your environment. It can protect for up to 3 months on exterior surfaced as well however if you see constant rainy conditions the darkness will fade from some plastics and tires sooner. For a dedicated extremely long lasting Exterior Trim Coating please take a look at our "CarPro DLux" product."
Here you can see the sample size I have.
And Meguiar's Hyper Dressing behind it which I am a fan of for an economic water-based dressing.
I applied it like any other tires dressing and found it to be quite glossy, but this can easily be remedied by diluting it at a 1:1 ratio or even more depending on how far you want to stretch a bottle. Here are the tires beforehand. Very dry and blooming due to rubber's natural tendencies.
And here they are after being dressed by Wolf's Tire Gel.
And CarPro PERL
I will update this accordingly as the gel dries and sets in. It leaves a much more satin type look as compared to a glossy look. And I will keep you all updated on how long each respective products lasts in normal usage on a daily driver vehicle.
Product Links
CarPro PERL
Wolf's Trim Gel
Thanks for reading and post up any comments or questions you have below!
Review: Optimum No-Rinse Wash & Wax
I apologize for it being a while since my last review but being swamped I haven't had a chance to put up any other reviews. But last wash or so I realized I was getting quite low on my stock of Optimum No Rinse and decided I would try out their new wash & wax formula.
Overall this will be quite short review as I used it in the same fashion as I do normal Optimum No-Rinse. You can find that here. I did not clay this time since I used it on the Jetta. Next time I use it on the Camaro I plan on claying and also trying out a brand new wax, stay tuned since it is pretty new on the streets!
Here's a picture of the bottle, nothing new here from Optimum (product link).
It has a smell that's similar to green apple and is noticeably slicker when using wash media and overall feel of the paint.
But who am I kidding, pictures tell the true story (the sun is hard to come by now that it's fall and gets blocked by trees in the early afternoon), hope you enjoy!
Please let me know if you have any questions and post any comments down below. Thanks for reading!
Subscribe to:
Comments (Atom)


